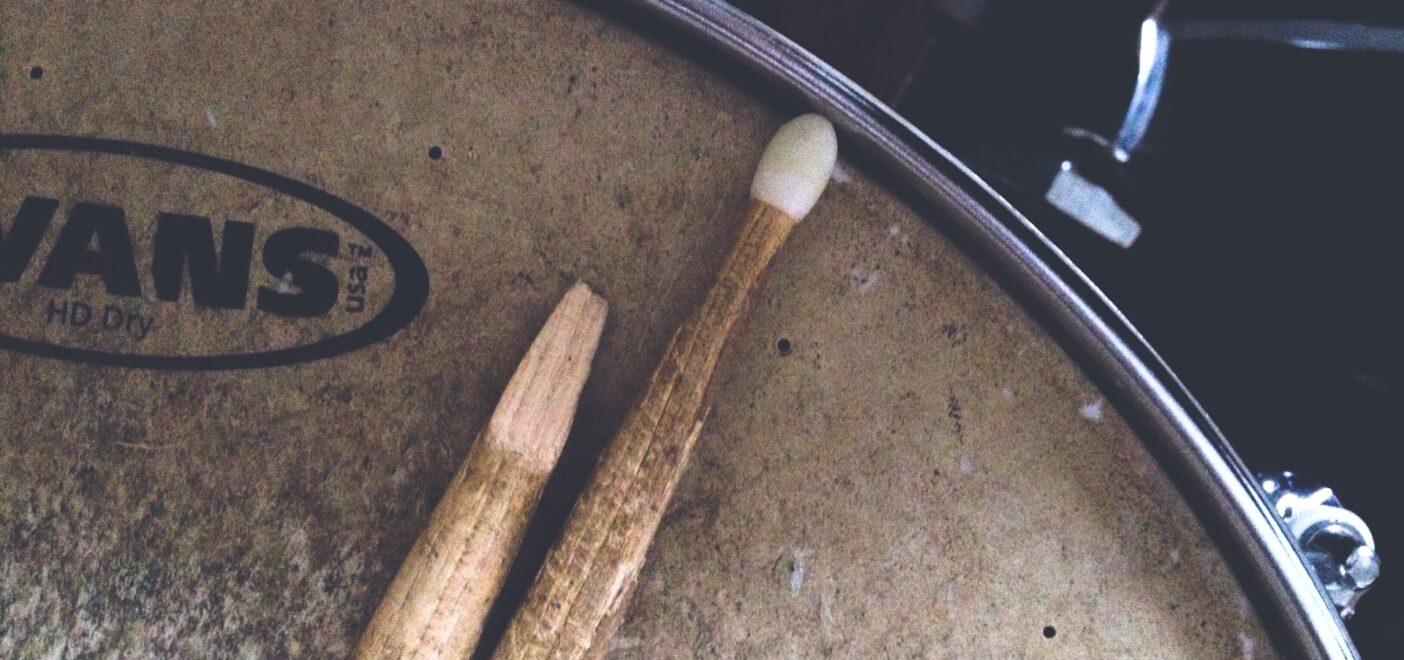
Recently we went over how to record big sounding drums. Of course, recording is only half the battle. While the initial setup and performance is crucial to a powerful drum track, what comes afterward requires just as much effort, if not more. Mixing drums, like mixing any other song element, is an art that will vary from genre to genre and song to song. Every drum mix isn’t created equal, but there are some key strategies to mixing drums in any circumstance. Here we’ll look at five tips for mixing drums effectively.
1. Grouping and Organizing Before Mixing Drums
The biggest hangup for any mix is figuring out where to begin. The best way to start is always by getting yourself organized. Because drum kits are composed of several parts, this is especially true for mixing drums.
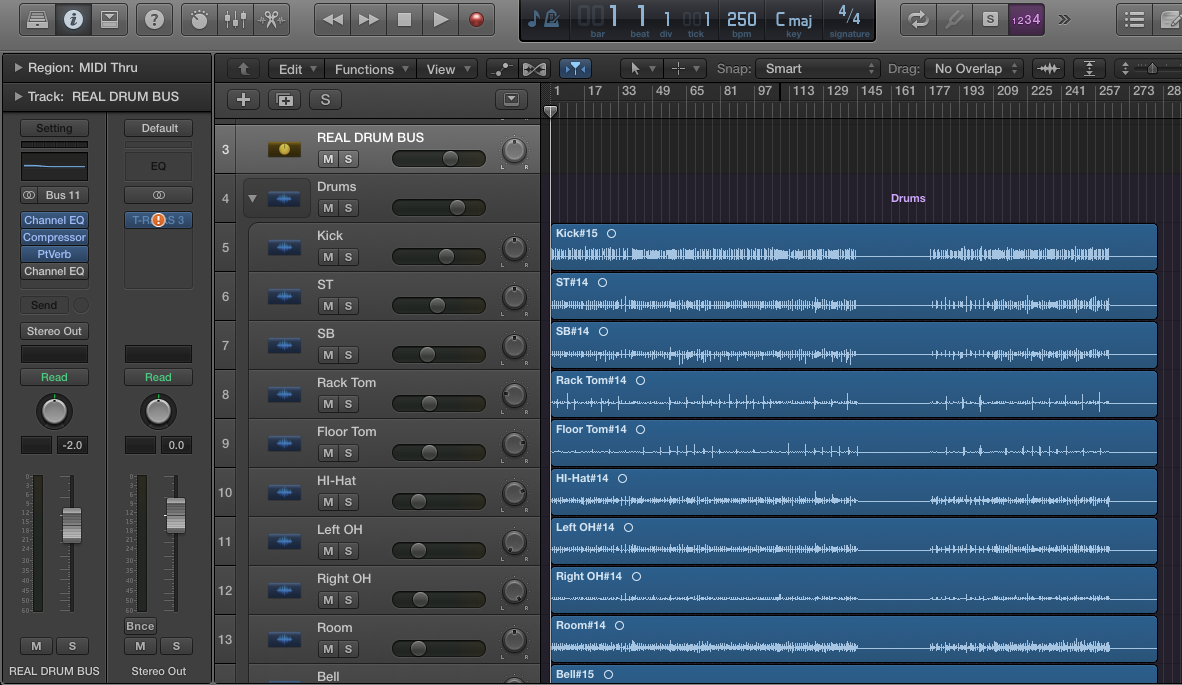
The best way to organize a drum mix is by utilizing the grouping and subgrouping tools in your DAW. Start by grouping all the drums together and sending them to a single auxiliary bus. This allows you to have one single fader for drums. From here, you can also create additional subgroups for shared elements. For instance, if you’re using multiple mics for a single drum (such as kick or snare), tie those channels together in a subgroup. This way, you can separate each drum element at the beginning before diving too deep into a particular track.
2. Beginning Broad, Then Working Inward
This tip ties directly into the first one. The point of grouping and subgrouping is to allow you to mix your entire drum track in a broader sense. Of course, later on, you’ll have to hone in on specific drum elements (see the next tip) for some fine-tuning. But before you get there, it’s best to get a general idea of how you want the drum mix to sound as a whole.
Here is where you’ll want to consider phase (see tip 3) and EQ for the entire drum mix. These choices are more preferential than anything and will depend on what kind of flavor you desire for your song. More jazzy styles might want “softer” sounding drums with more treble tones and less attack. Rock and metal will probably require more aggression, with deeper tones, punchier attack, and added compression. Again, you don’t have to get too deep into the weeds at this juncture. This is a good time to experiment a bit.
3. Pay Attention to Phase
This part of drum mixing sometimes gets overlooked by novice engineers, but it’s key to nailing a great drum mix. When we talk about phase, we’re discussing the relationship of frequencies between drum elements. When two or more sound waves cross paths, they interfere with each other, either constructively or destructively. If both waves are peaking at the same time, the amplitude of the combined sound will increase. If both are dipping simultaneously, the amplitude decreases, causing phase cancellation. When phase cancellation occurs, some sound is lost. And because the frequencies of different drum elements differ so much, this interference can be somewhat unpredictable.
Fortunately, there are ways to reduce phase cancellation and increase phase coherence (the consistent phase difference and same frequency of waves from multiple sources) when mixing drums. One way is to try reversing the polarities on shared drum elements to pick out noticeable differences (for instance, the input and output for the kick drum or snare) and decide what sounds better together. Then you can start adjusting frequencies in your subgroups to get the basic settings you want. Reversing polarities isn’t a catch-all fix, but it can help.
Waves InPhase Plug-in
There are also a number of plug-ins developed to help with phase issues. One of the best is the Waves InPhase plug-in. This tool can adjust gain, invert phase (180 degrees), phase align, and time align any two audio signals sent to it, with a correlation meter to help even further. With two channels, Waves InPhase takes the stereo input and displays both the left and right output one on top of the other. This gives you a clear view of how closely in or out of phase the channels are. Since it’s often hard to see this difference with the naked eye, the correlation meter at the bottom of the screen indicates the phase relationship. This makes manual tweaking much easier.
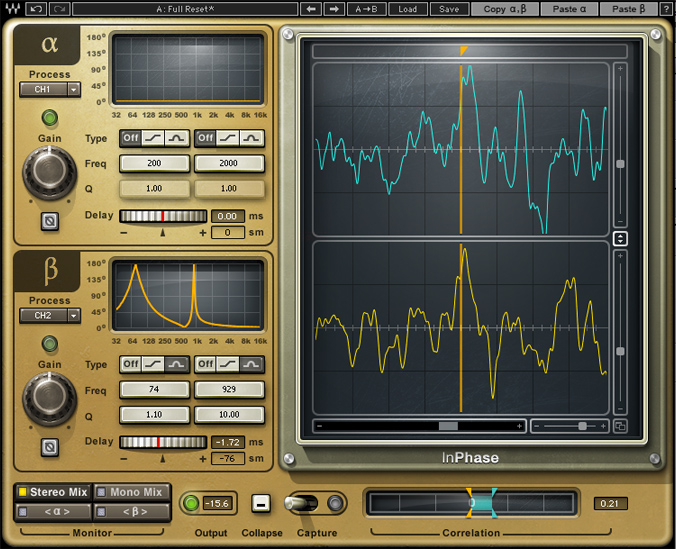
The time alignment (or “delay compensation”) feature allows you to line up the channels in time with one another. An easy way to do this is to find a high peak or low valley for a clear marker of where to move one channel to match the other. After aligning the channels in time, phase issues may still occur, however. For further phase adjustment, there are two types of filters available for the low-frequency range (32-500 Hz) and high-frequency range (1k-16k Hz) of each channel. These filters adjust the shape of the frequency band in that range, either slope or bell. All of this control over the phase will make your drums clearer, more powerful, and more central in the mix.
4. EQing Specific Drum Elements
If you’re happy with how the drum mix as a whole is sounding, you can start getting into the nitty-gritty with each drum element and track. Now that you have a general sense of where each part of the kit should be, this part of the process will be much less of a headache.
In essence, snares and cymbals come through at higher frequencies, while toms and kick drums come through at lower frequencies. But there’s a lot of cutting and boosting to be done across the spectrum to allow the drums to shine. How much high or low end you want out of each part of the kit will yet again depend on the sound you’re going for. Here’s a quick rundown to help guide you as you EQ:
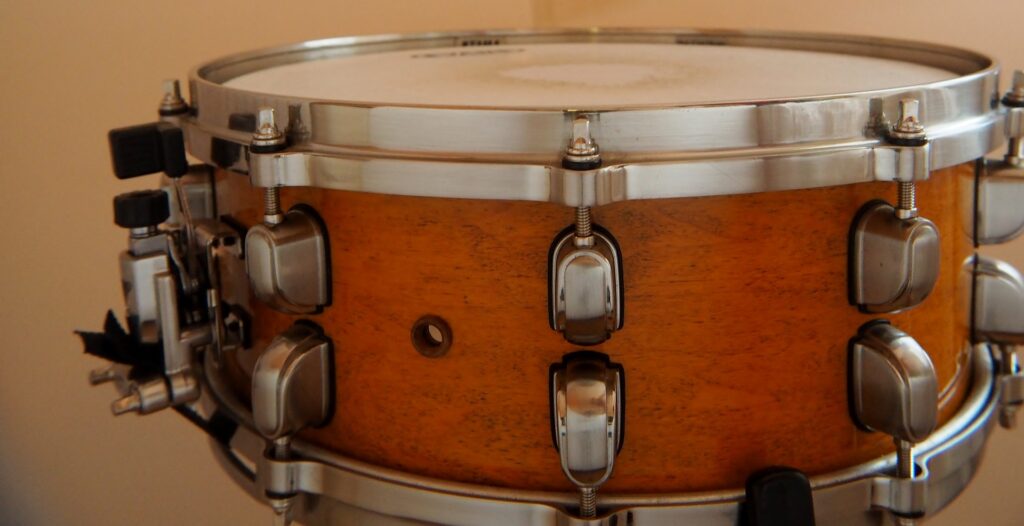
Snare
Boosting the 3k Hz area will reveal the snappy end of the snare. There’s plenty of low end to a snare as well; this is really around 500 Hz. However, if you want an even heavier sounding snare, consider boosting near the 150 Hz region.
Kick
Around 2-4k Hz is the “clicky” beater sound of the kick drum. For the lower tones, boost 50-100 Hz. Boost too low, though, and most ears won’t even register those tones.
Toms
Not all toms are alike. For bigger floor toms, boosting around the 80-100 Hz range will really thicken the sound. Smaller toms will want a boost at a slightly higher range, often between 100-120 Hz for the sweet spot. Be sure to cut the mids starting around 300 Hz and consider elevating the higher frequencies (above 1k Hz) for more attack.
Cymbals
Cymbals need to blend in nicely with the rest of the kit, not be too overbearing or underwhelming. A common technique for mixing cymbals is to use a high-pass filter, cutting somewhere between 300 and 400 Hz. Some of the super high frequencies around 2k-5k Hz should be cut as well to avoid clashing with vocals.
5. Contextualizing At The End
Remember, unless your song consists only of drums, there’s a lot more going on here. Once you’ve mixed the drums in a way that allows each element to shine, you need to bring the whole track into context with the rest of the song. This is like going full circle. You began with a rudimentary mix of the drums as a whole, and now you can mix them as a whole once more. Only this time, each element is more properly in place than before.
In context, you’ll hear whether or not your cymbals are clashing with vocals, or how well the kick mixes with the bass, and so on. There might be some panning to do and some phase issues to work out. Maybe you want more punch out of the drums. If so, you can utilize parallel compression by duplicating your drum subgroup, compressing it, and blending it with the non-compressed original. If you placed some mics around the room for some spacious, organic takes, you might blend these in or use them for a specific part of the song for some flavor. But rest assured, the difficult part of getting all the drum pieces in place has been completed.

Conclusion
Mixing drums might be the most challenging aspect of mixing simply due to all the moving parts. To keep yourself from getting too overwhelmed, follow these five tips: Organize yourself, start broad then work inward, get really specific with each drum element, and contextualize at the end. The more you practice, the better your mixes will get!
About the Author

Ethan Keeley
Writer, Voice Talent, Musician, and Audio EditorEthan Keeley is a musician, voiceover talent, and writer from Rochester, New York. When he's not on tour with his band Unwill he's working on new songs and stories.
Leave a comment
Log in to comment