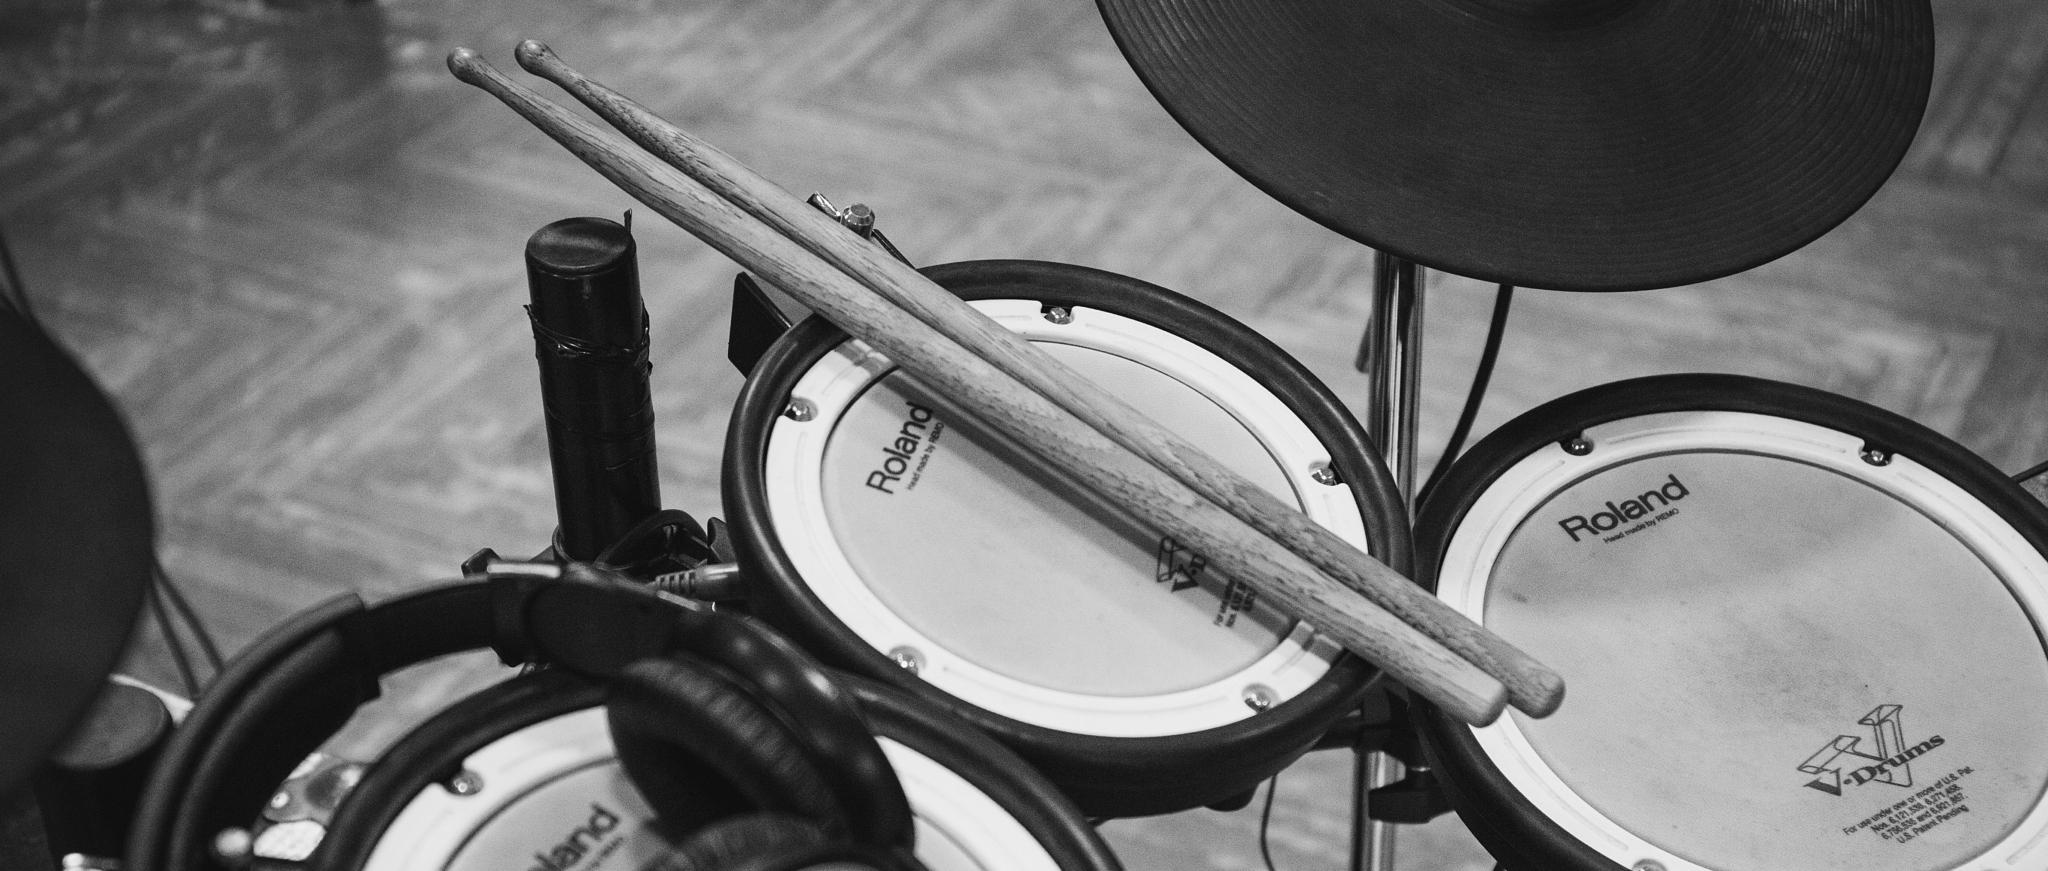
In the past, we’ve gone into great detail about programming drums and how you can make electronic drums sound more realistic. Things like varying velocity and timing, utilizing layering to build a fuller sound with electronic drum kits, and some clever techniques you can employ with automation. In this article, I want to address another important element of electronic drums: giving your sound some character, especially when considering the best e drums for beginners. In the digital world, there is a tendency to be a little lazy, as it’s easy to grab samples and program drums. My aim here is to provide you with some ideas on how to make your cold, digital drums sound fuller and more real, particularly when mixing electronic drums with acoustic elements. By thinking outside the box and approaching things from a more acoustic standpoint, you can begin to give your drums some serious character, even if you are just starting with electronic drum kits. Let’s jump into these four tips that I’ve got, and hopefully, we can get your drums sounding better than ever, whether you’re focused on how to mix electronic drums or looking to make acoustic drums sound electronic.
1. Constructing Drum Kits
The first topic I want to address is the idea of kit construction. When you think about electronic drums from an acoustic perspective, there is usually some semblance of continuity. Drum kits are meticulously crafted with consistent source materials to provide a cohesive sound when played. Of course, many drummers like to vary their kits, changing out the snare or cymbals for a different sound. However, this is usually done with great experience and understanding, which means that the choices they make help to maintain a level of continuity in sound.
Now let’s apply this way of thinking to our electronic drum kits. By being consistent with your sound choices in a piece of music and focusing on timbre, you are sure to create a stronger and more compelling electronic drum sound overall. Sometimes, this can be as simple as using drum sounds from the same sample pack. Much like a real drum kit, these sounds have been crafted to work well together. However, this isn’t always the case, and often, sample packs are just bundled together to provide quantity over quality.
Consistency is Key
Making use of your ears is always going to be the best approach when picking drum sounds. Ensure that your drum fills use consistently sounding tom drums so as not to break the illusion of their electronic nature. Make sure that your kick and snare (as the most fundamental parts of a kit) play well together and don’t represent different styles for the listener. Even choosing cymbals by their type and cadence can have a huge impact on electronic drums.
The other key element here is keeping a keen ear out for ambience. Many samples, unfortunately, tend to inhibit the sound of their original physical locations. This can be a significant problem when constructing a drum kit because this ambience is very difficult to remove. You don’t want 90% of your drum kit to sound dry and tight while the kick drum sounds like it was sampled in a stadium. Continuity is key here, and if you keep it in mind, you’ll be building much better rhythm arrangements in no time.
2. Phase
As a sound engineer, I’m almost always emphasizing the importance of phase relationships. It’s one of those things that many people struggle to recognize and, even more, pay little attention to. But good phase can make an astonishing difference to the power of your music.
When it comes to our previous point of constructing drum kits, phase is a key concept that you need to be aware of to build the best possible sound. If you’re layering kicks and snares together and their phase relationships don’t match up, you risk a weak mix when played back on other systems. In the realm of electronic drums, matching phase or eliminating problems isn’t exactly the easiest thing to accomplish. However, many handy tools and simple tips can help greatly.
Flip That Phase!
The first and simplest suggestion I have is to flip the phase once you’ve got your drum ,sounds ready. Hit play and use the phase flip switch on either your channel strip or a plugin to flip the phase of each element. This process helps you determine if it makes them sound better or worse. Think of it like being at the optician’s. They present you with option A and option B. Just as you use your vision to decide, use your hearing to determine what sounds best. Flip through all your elements, and whatever sounds best is generally correct.

If you’ve got a specific and audible phase problem, such as two kick drums not sitting well together, there are certain tools you can make use of. The first is the cheapest, and that’s your zoom tool. Get right in on the waveforms of the two problem sounds and have a look. You want to make sure that their peaks and troughs match as closely as possible. This might mean making minuscule shifts of just a few samples, but it can mean all the difference between a hollow sound and a punchy one.
If you’re not comfortable with zooming in and you just don’t trust your judgment, there is a plugin that can help here. Waves allows InPhase (https://www.waves.com/plugins/inphase) allows you to use sidechaining to calibrate and adjust two sound sources. You can make micro-adjustments, and its built-in tools will help you to get the best possible solution with the smallest amount of work. Best of all, once you’ve corrected the issue, it will be applied in real-time to your entire track. This means you don’t have to shift every sample by a tiny amount. Much quicker, right?
3. Artificial Room Miking
This tip is probably one of the best things I ever learned regarding spicing up electronic drums. It’s likely the missing piece of a puzzle. Sure, reverb sends can help to add depth and color to your drums, but they typically exist to add to your drums, not to become a distinct part of them. This is where creating a fake room mic, in mono or stereo, changes the idea of reverb and adds definition and power to your sound.
The Plugin Chain
The basic idea here is to use your existing drums to create an additional sound layer that you can treat as part of your drum sound. Within the analog world, room mics have always been the engineer’s cheat sheet for adding presence, ambience, and straight-up power to any mix. You can almost consider room miking with drums like you do parallel compression. To start, we’re going to route all of the drum elements to a new channel. If you’re looking for power and punch down the middle of your mix, consider going mono with this channel. If you’re looking for ambience and to enhance the stereo field, consider setting up the channel in stereo.
Now that we have everything routed, we’re going to first set up a fully wet delay plugin. This is going to be used to slightly delay the reverb sound and create some separation between the individual drums and the artificial room we’re creating. Some reverb plugins come with a predelay setting, so if you have this option, you won’t need the delay plugin. With this, we’re looking for a very short delay time. In fact, you can use a simple calculation to set your delay time to represent an actual distance.
With the delay set, you can add in your chosen reverb plugin and settings, and now you’ve got your room mic all set up. A common approach for drum room mics is to apply quite heavy FET and compression](https://www.masteringbox.com/learn/audio-compressors-vca-opto-fet-compression-circuit-types) and really slam the channel. We do this because it increases the ambient level and squashes the peaks, creating a full and powerful sound. Next time you’re working on an electronic drum mix, try giving this approach a go to add a sense of space and realism to the character of your drums.
4. Reamping Electronic Drums
If you don’t like the idea of creating a fake room mic, why not approach your drums with some reamping? By sending your drums out into an amp or a PA, you can make use of actual physical spaces. This will achieve an effect similar to what we were discussing previously. In fact, this approach is considerably better. Not only do you create a sense of space, but you will also capture genuine ambient elements from the room you use. You’ll also encounter unusual reflections and sonic interplay with the other objects in the space. The ways in which you can manipulate this concept are almost limitless, and some really unique sounds can be achieved, such as getting that 80s sound.

What’s even better about this approach is the fact that, if you have access to them, you can introduce the circuitry of high-quality microphones, preamplifiers, and other pieces of hardware to your otherwise entirely digital production. Reamping your drums and adding a bit of tube warmth to the ambience on the way back in can add so much color to a mix. Digital music can sometimes feel a little artificial and stale. Utilizing something like reamping through analog hardware can help gel things together.
Try using guitar amps to add some subtle distortion to your electronic drums. Use acoustic instruments with strings to create shimmer and unusual reflections in your sounds. Manipulate unique spaces to build a distinct soundscape. The possibilities really are endless!
TL;DR
Adding character to your electronic drums brings them to life. It adds color and makes them feel less digital. Consider continuity when you construct your drum kits to create a sense of cohesion. Unusually placed sounds can distract the listener. Pay attention to the phase as you build your kit. Don’t miss out on the power you definitely want. Set up an artificial room mic with some pre-delay to create a sense of space and ambience. This process is quick and can also add width and presence. Finally, reamp those drums! Utilize real hardware to infuse your music with unique flavor and real-world embellishments. The possibilities are truly endless.
About the Author

Tim Dunphy
Audio Engineer and Specialized Content WriterOver 10 years experience working in the audio business. Everything from coiling up XLRs to mastering albums. I'm a self-made man and I keep my assets in Bitcoin. What more is there to know!?
Leave a comment
Log in to comment