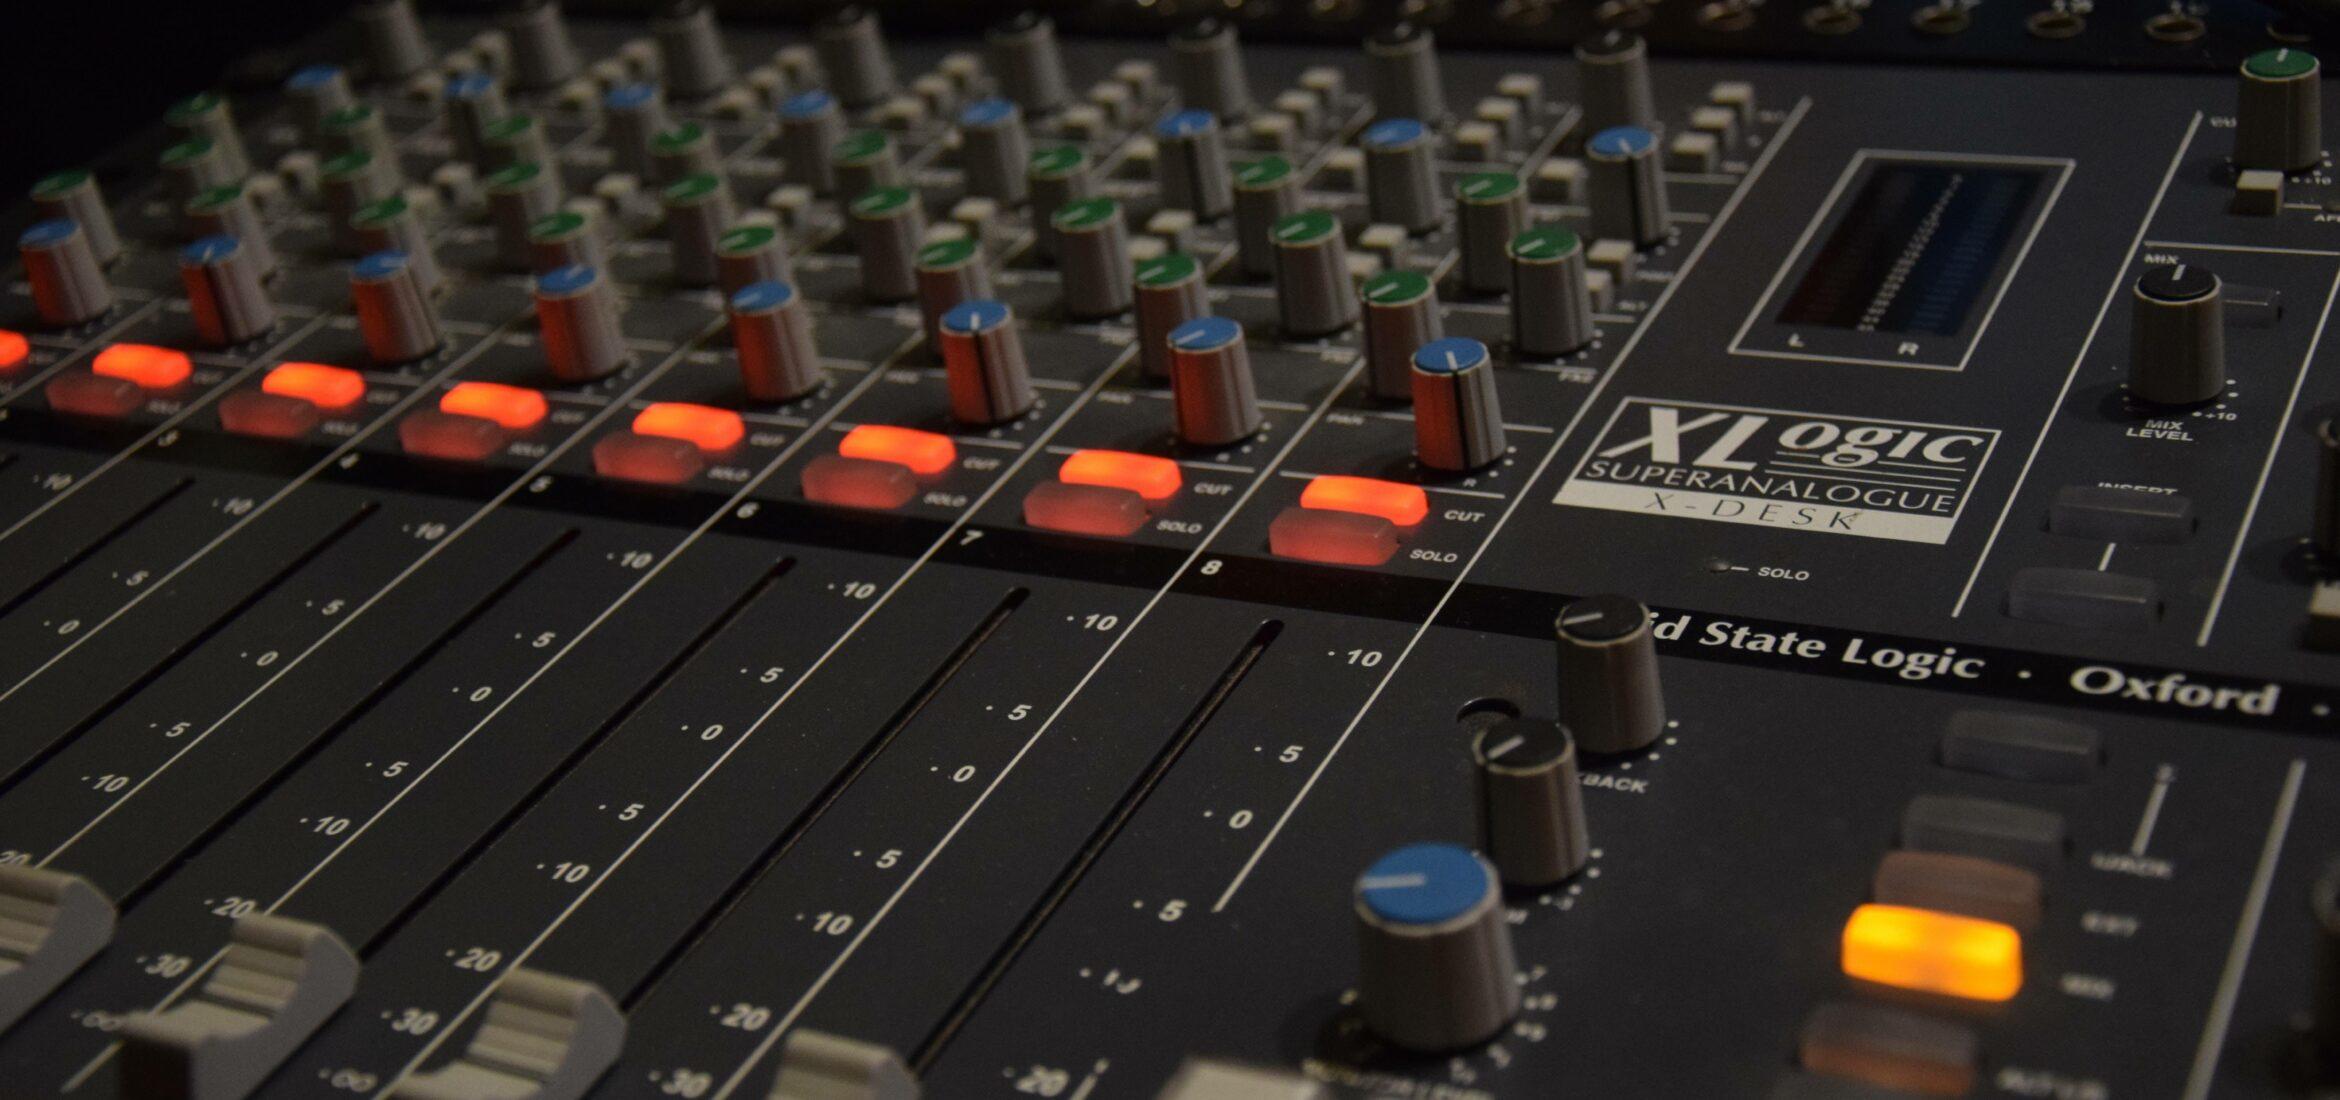
In this article, we discuss the use of compression and dynamics control in your mixes. Using compression properly you can control transients and preserve the presence of dense mixes. However, over use is an easy trap to fall in, and often destroys the nuances of the source.
So, What Is Compression?
A compressor squeezes or compresses your audio. The general idea is to control the difference in energy from peak to peak. Audio compressors work by lowering loud volume spikes and calming unwanted jumps in volume due to performance. After controlling peaks, makeup gain is used to enhance the perception of quieter passages. When used properly, the end result is an evenness in the dynamic range of the track. Additionally, with proper use of compression, it can be easier to achieve cohesion between sources. This makes final volume decisions less of a struggle.
Compressors can be used to keep consistency in the bass and kick drum tracks. This works to give the song a solid foundation for other elements to sit on. Compressors also smooth high transient sources such as horns, percussion, and cymbals. Taming large jumps in performance, and keeping main vocals on top of a busy mix, are common compressor duties as well.

Compressor Controls And Usage
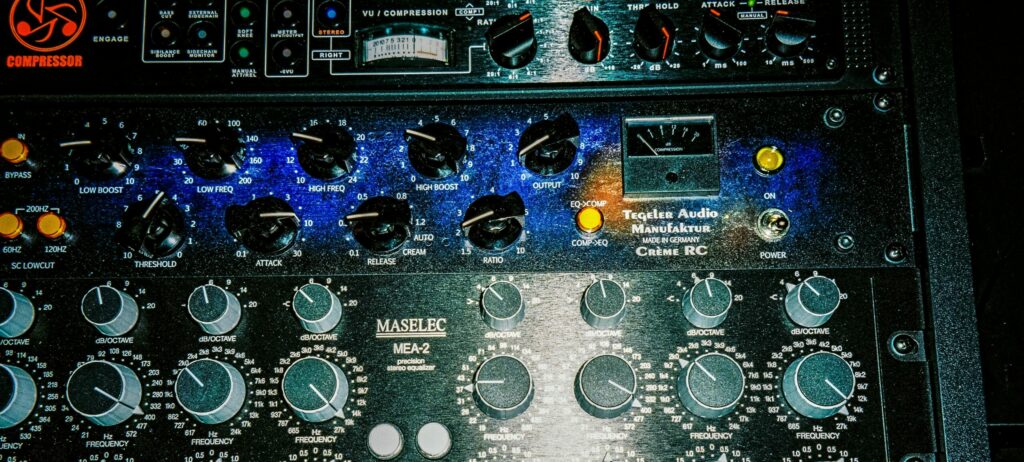
All compressors have similar controls. Some have abbreviated controls, while others allow fine tuning of every parameter. We will look at the most typical settings found on hardware and plugin compressors.
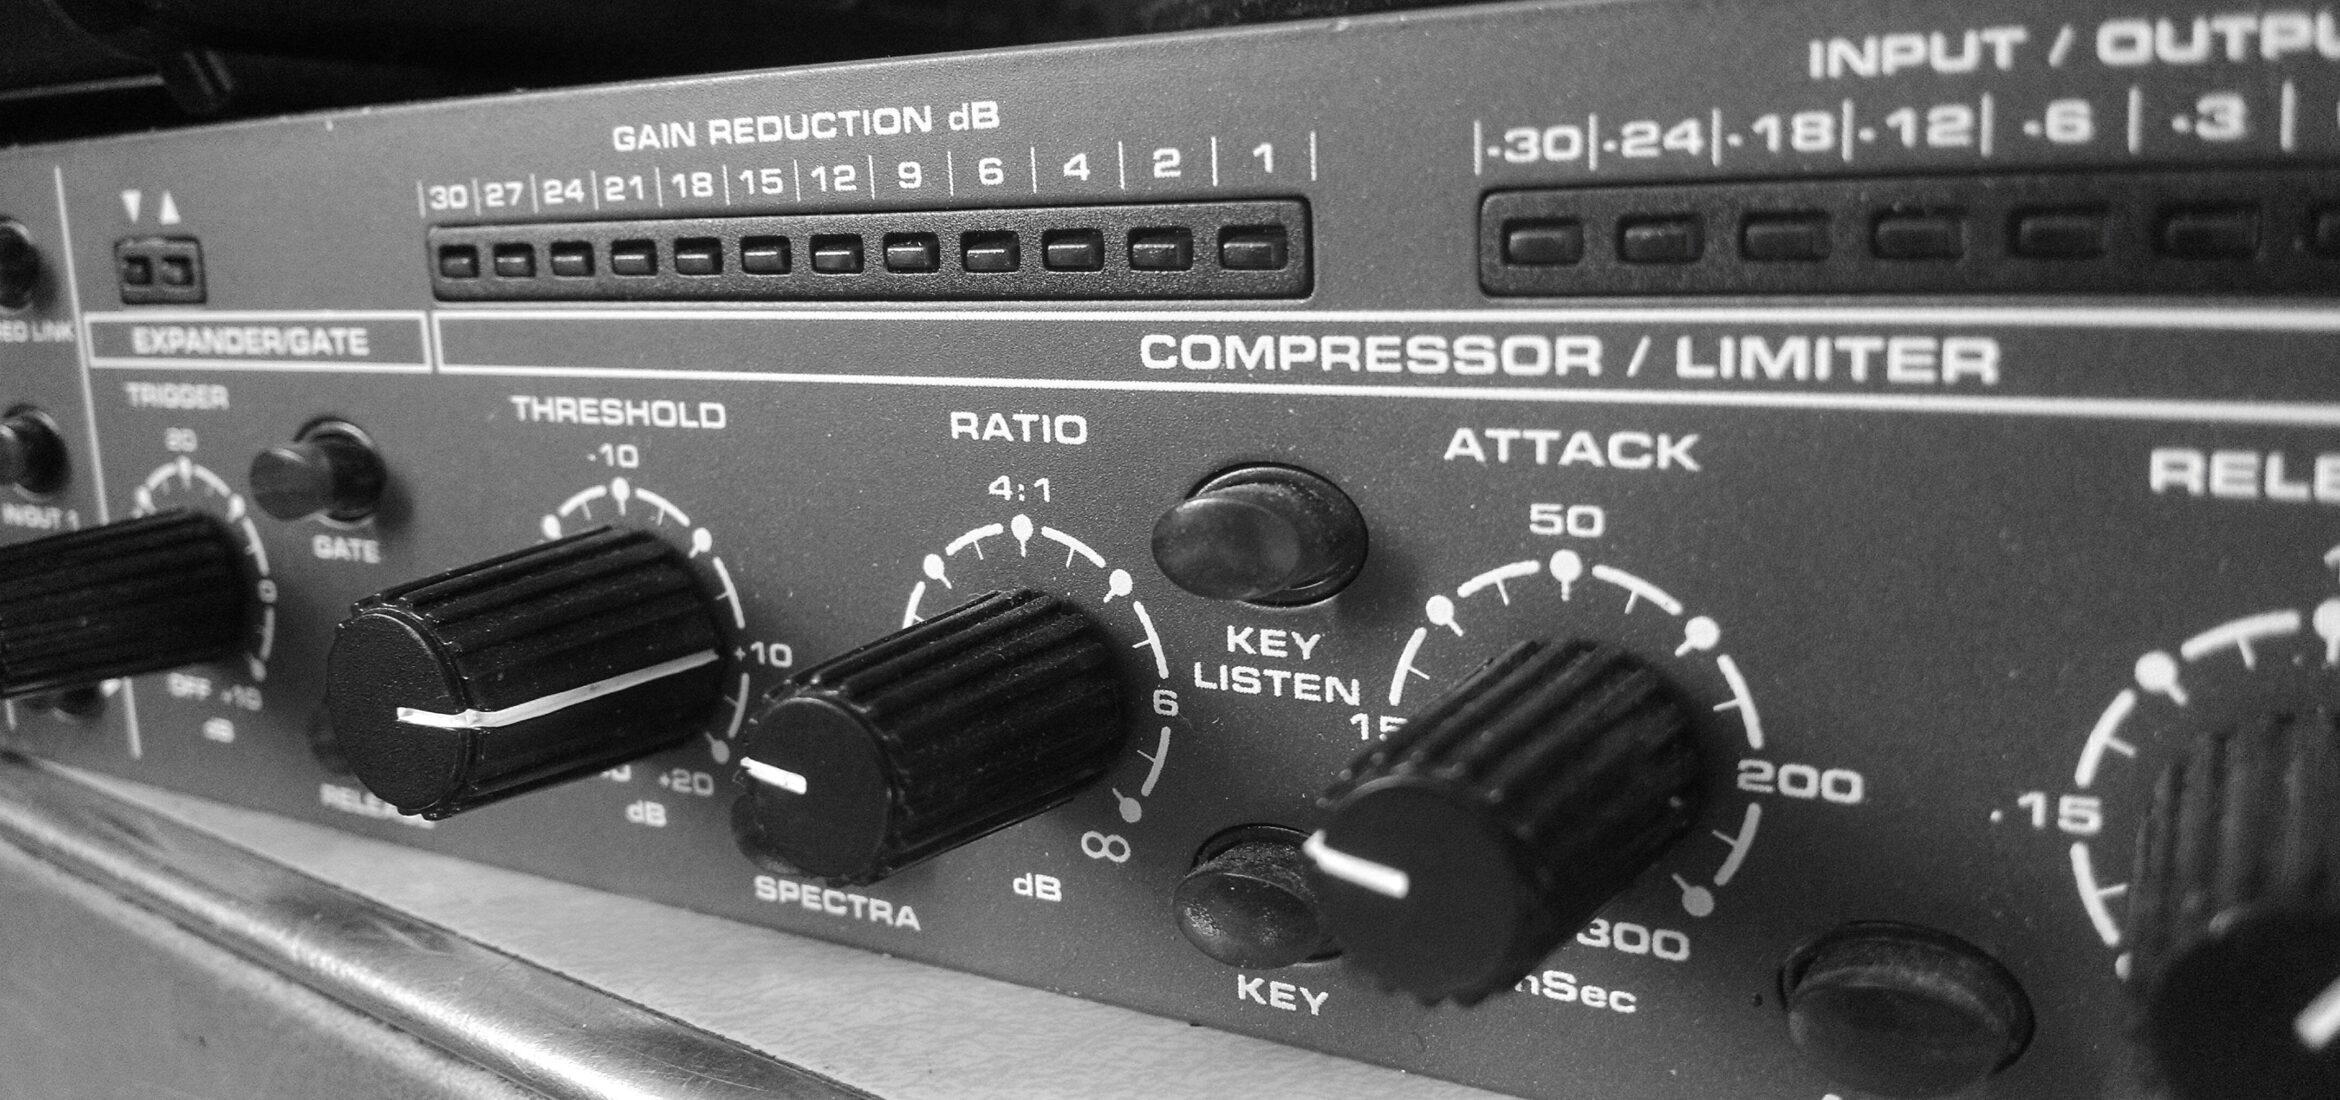
Threshold
Setting the threshold is the first step and tells your compressor when to begin doing its work. The threshold setting relates to audio volume traveling through the compressor. Only the audio above the threshold is affected. Setting the threshold to say, -8 dB, tells the compressor to only affect audio extending above -8 dB. Adjust the threshold while watching the gain reduction meter for visual reference. The needle will move as audio exceeds the threshold setting.
Ratio
The ratio setting defines the amount of compression applied to audio exceeding the threshold. A typical gentle compression setting is a 2:1 ratio. This means, every 2 dB of audio past the threshold, is squeezed to 1 dB of output. Furthermore, in this instance, 8 dB past the threshold is held to an output of 4 dB. Moderate compression ratios are 3:1 up to 5:1. Getting into 6:1 and higher ratios indicate heavy compression and create very audible effects.
Attack
The attack setting tells your compressor how fast to squeeze when audio exceeds the threshold. Shorter attack settings cause almost instantaneous grabbing of audio peaks. Use short attack times to tame spiky sources like slapped bass. Using long attack settings allow initial transients to jump out, then be grabbed by the compressor a short time later. Take the context into account, and adjust to taste and musical style.
Release
Use the release in conjunction with attack settings to give your compression musicality. Release works conversely with attack and tells the compressor when to let go. Once we have passed the threshold and attack settings, the compressor is squeezing the audio. The release setting tells it how long to hold the squeeze. Adjust the release so that the peaks fall musically before the start of the next transient.
Getting Proper Levels Out Of Your Compressor
The common conception is that compressors make signals louder. In actuality it is attenuating the peaks of the signal, lowering overall volume. This is where makeup gain comes into play. Some compressors have multiple meters, offering visual representations of input, gain reduction, and final output levels. Others have only one meter, but allow you to switch its function to show the various stages of processing. Either switch the metering function to show output or watch the dedicated output meter while applying make-up gain. Adjust the amount of output gain to make up for loss in volume, and achieve the desired output level.
Compression Effects
For punching effects, a long attack is typically chosen. This has the compressor grabbing the transient a bit late. You can imagine, a “punch” jumping out slightly after the initial peak, and fading to the next transient. Adjust the release to hold the energy and match the feel of the track. Avoid extremely short attacks paired with short releases as these can cause unnatural waverings in volume. Again, the role of a compressor is to even and balance out signals. Too much or improper use can cause more harm than good by sounding overly processed.
Alternatively, for an increase in sustain effect, we want to compress the initial attack quickly. Then raise the remaining trail of audio using makeup gain. Since the total volume of peaks then feels stretched and held, this creates a perceived lengthening of each transient. This approach translates to a feeling of increased sustain.
Threshold, ratio, attack, and release, all play a role in the final feel of compression effects. It’s important to be careful at each stage to maintain a natural sound when making setting choices.
Final Thoughts
After gaining an understanding of how compressors work, it is natural to begin reaching for them all the time. As a result, many overuse compression, or have a mindset that everything has to be compressed. Others get too aggressive with compressors when they are legitimately needed. As with all studio equipment, it is important to keep in mind the needs of the particular source and surrounding material. Use them when needed and as a tool to control untamed audio. Compressors are not a “fix it all”.
Comments
como ecualiza
Leave a comment
Log in to comment