Back in January, I wrote an article covering acoustic room treatment. Today, I’d like to offer you a part two to that article that covers studio soundproofing. These topics can often become confused, so let me quickly define them for you so you know what you need. Acoustic room treatment is the act of using diffusion and diffraction to create a neutral monitoring space with a flat frequency spectrum. Studio soundproofing is the act of stopping sound from leaking in and/or out of a studio space.
I’d highly recommend that if you haven’t checked it out already, you read the article on acoustic treatment. These two topics go hand in hand, and having a solid understanding of both will really help when you’re trying to implement either. Now, let’s jump into today’s topic of studio soundproofing!
Noise Floor & SPL Readings
When it comes to soundproofing your studio space, everything is relative. Without some standard measurements as a base to work from, you have no way to determine if what you have done is effective. As such, we must begin by taking some SPL readings in both the studio space and the areas around it. If you’re lucky enough to have a studio that’s in the middle of nowhere, you won’t be too worried about sound leaking out. However, you will still have to deal with some degree of sound leaking in. This is why it is important to take measurements both inside and outside of the studio space.

The best way to do this is to load up a song you love and know well and crank your audio interface to the loudest level you’re ever likely to be working at. You need to make this sound obnoxiously loud so that there is no risk of underdoing the soundproofing. Equally, flicking your system into mono means an equal distribution of sound throughout the room, which is handy for the purpose of taking measurements. Grab your trusty SPL meter and take a reading of the level in your studio space. Move around the room and try to find the loudest position. Your listening position is likely to be a pretty good place to get a useful reading. Once that’s done, mute the desk and stay as still as you possibly can. Take a reading of the ambient noise in the room. This will be your noise floor reading, which tells us how much ambient noise is already in the space.
Machine Rooms
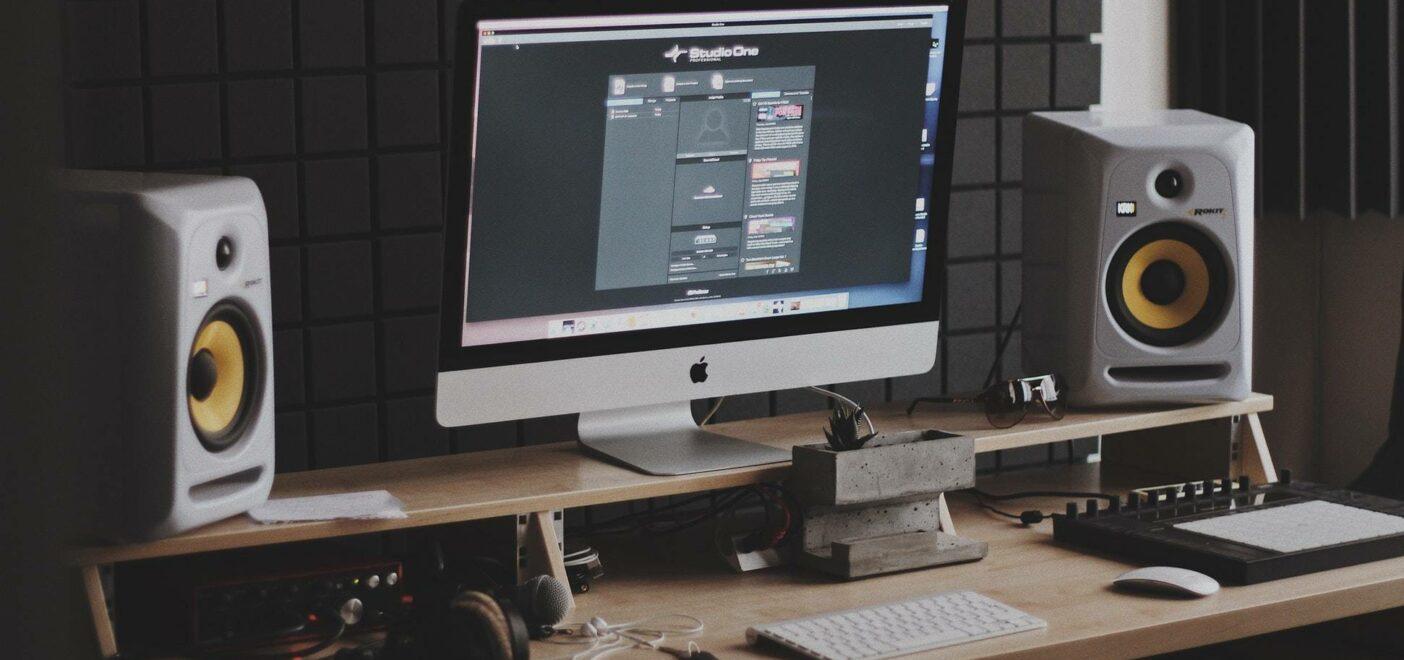
A quick side note on noise floor and machine rooms. The ideal setting for any studio control room is a noise floor of 20dB. Ideally, this should never exceed 25dB. The reason for this is that too much ambient noise affects our ability to hear the subtleties of the audio we are working on. Imagine trying to mix a track while somebody talks to you? It’d be impossible due to all the extra noise. If you’ve taken your noise floor reading and it’s too high, it’s likely that machine noise is the root of your problem. Noisy fans in computers and A/C units are common culprits. Building a dedicated machine room or machine isolation cabinet is your best bet for reducing the noise floor. Many recording studios house the machine you record onto in a separate room from the control room. This is to completely remove that unwanted ambient noise. After all, you only need the screen to see your DAW.
Outside Readings
Now that we’ve got our control room readings, it’s time to crank the music back up and go outside the room. Take readings from as many different sides of the studio as you can. This includes the floor above and below if you’re in a multi-storey building. If it’s a home studio, politely ask your neighbors if you can take some readings from inside their house/apartment. This shows you’re being considerate while allowing you to properly protect against the excess noise that they might make. With all of these measurements taken, you should have established which areas of the room leak the most sound and how much reduction you’ll need to make everybody happy.
As a good rule, you want the measurements you take outside of the studio space to be below 55dBA. This would be sufficiently quiet enough to negate any complaints you may receive. However, you may find that only soundproofing down to 55dBA does not create sufficient studio soundproofing against noises coming into your studio space. That is where it can be a little trickier and generally more costly. If your noise floor readings were sufficiently low already, then you won’t have as much of a problem dealing with sound coming in. However, if your studio is in a busy area and your noise floor is already over 25dB, then you’ll need to do a lot of work.
Studio Soundproofing Practices
Now that you’ve taken some measurements and you know how much reduction is needed, it’s time to implement soundproofing techniques. There are a variety of ways that you can go about this. My suggestion is to try and make use of elements from all of them. The more variety in your approach, the more effective it will be in a wide range of circumstances.
Mass & STC Numbers
The first and simplest action you can take to improve soundproofing is to increase mass. Objects with a higher density will do a better job of stopping sound from passing through them. If you’ve got a particular wall in your studio that is leaking more sound than the others, consider building a second wall in front of it made from a much denser material. But how do I find out how dense a material is, you might ask? This is where STC numbers come in handy.
Typical studio soundproofing materials will have a sound transmission class rating, which roughly translates to the number of decibels of reduction they will provide. For example, the standard house brick that has been rendered on both sides will yield an STC rating of roughly 45. This means that it will provide approximately 45dB of reduction. Obviously, these figures are subject to the specifics of your actual design and will vary when subjected to different frequency ranges. However, they provide you with a rough idea of the reduction you can expect. This means that if you’re reading 80dBA outside your studio with the speakers turned up loud, building a rendered block construct around the room should lower the external level to an acceptable 35dBA.
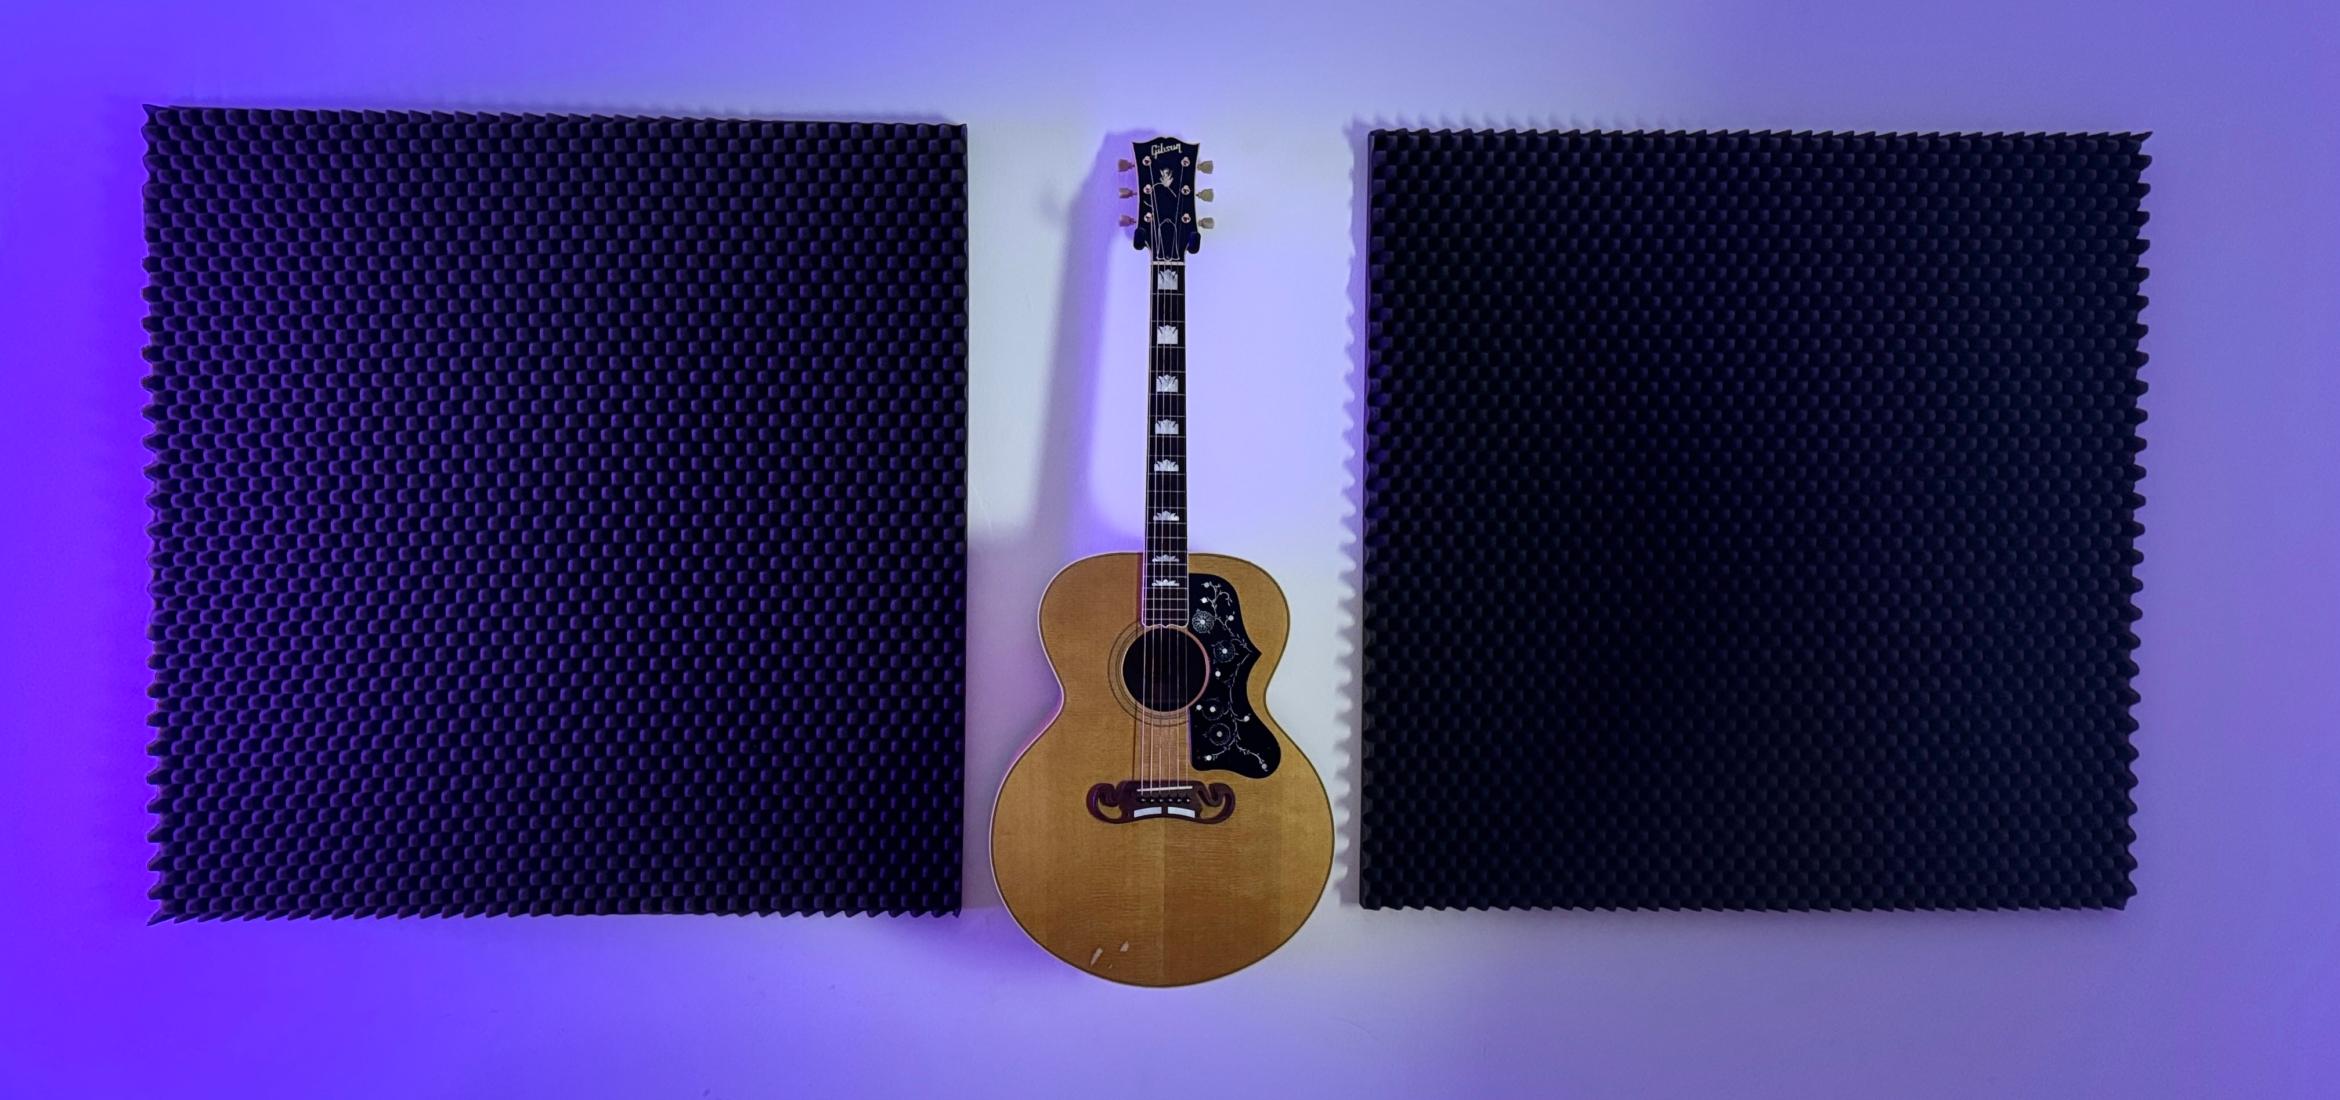
Dampening & Absorption
Dampening is another great way to reduce unwanted sound leakage. This is most commonly done through materials that absorb sound energy and convert it to heat energy. This dissipates the sound in a safe and simple way. It’s also one of the easiest techniques to apply in a space where building a whole new wall is totally unrealistic. Materials such as Green Glue can be used to absorb and dissipate this sound energy. By simply covering a sheet of plasterboard with Green Glue and mounting it to your walls, you create a layer of dampening while also adding some mass. Given that most plasterboard is only 1/2″ thick, this means you’re losing only 1″ of your room’s footprint. Green Glue can add around 10 STC to the materials you mount it with. For what this can offer in sound terms of studio soundproofing, it’s probably the best option for most of you.
Decoupling & Rooms Inside Rooms
Decoupling probably represents the most expensive but most effective method for studio soundproofing. This approach involves eliminating sound transmission between materials by disjointing everything from its surroundings. This creates cavities of air that trap sound and utilizes materials that effectively dissipate vibrations. You can enhance this practice in two key ways.

Firstly, build your studio with a floating floor. Use rubber feet to support a second-floor structure a few inches above the actual floor of the building. This design eliminates transmissions into the surrounding rooms because sound energy cannot travel through from the speakers directly into the floor or walls. Secondly, create air cavities in the wall structures of your studio space. Stagger the studs, install double layers of plasterboard, and leave a cavity filled with fiberglass. This method employs the same separation techniques that a floating floor offers while also incorporating elements of mass and absorption.
Cinema screens use this technique to ensure that no leakage occurs between each screening room. There are usually three double layers of plasterboard built with staggered studs and two fiberglass-filled cavities. This provides in excess of 80dB of reduction! If it works for a cinema, it’ll surely work for your home studio setup.
Pre-Built Solutions
Now for those of you who aren’t very DIY inclined, there are some prefabricated options on the market. Many companies make what are known as sound isolation enclosures that that are effectively a prebuilt room that you can place in an existing room. This can be something as simple as a small vocal booth all the way up to a room big enough for an entire band. Custom built designs fit for purpose mean that they can offer incredible levels of studio soundproofing through a combination of all of the practices that I have mentioned. However, they are normally far more costly than the DIY option. It’s up to you whether you prefer to spend money or time.
TL;DR
Studio soundproofing plays a crucial role, just like acoustic treatment. You should approach and treat the two as separate entities. If you plan to mix or master, you must hear the entire track clearly and without interruptions. Start by taking accurate readings of the noise levels both inside and outside your studio space. These readings will inform you about the amount of soundproofing necessary to create a suitable studio environment. Consider using machine rooms to effectively reduce the noise floor of your studio. If an old PC causes significant noise issues, place it in another room. Utilize mass, absorption, dampening, and decoupling to maximize soundproofing and build the best studio environment possible. You can’t really overdo soundproofing.
About the Author

Tim Dunphy
Audio Engineer and Specialized Content WriterOver 10 years experience working in the audio business. Everything from coiling up XLRs to mastering albums. I'm a self-made man and I keep my assets in Bitcoin. What more is there to know!?
Leave a comment
Log in to comment