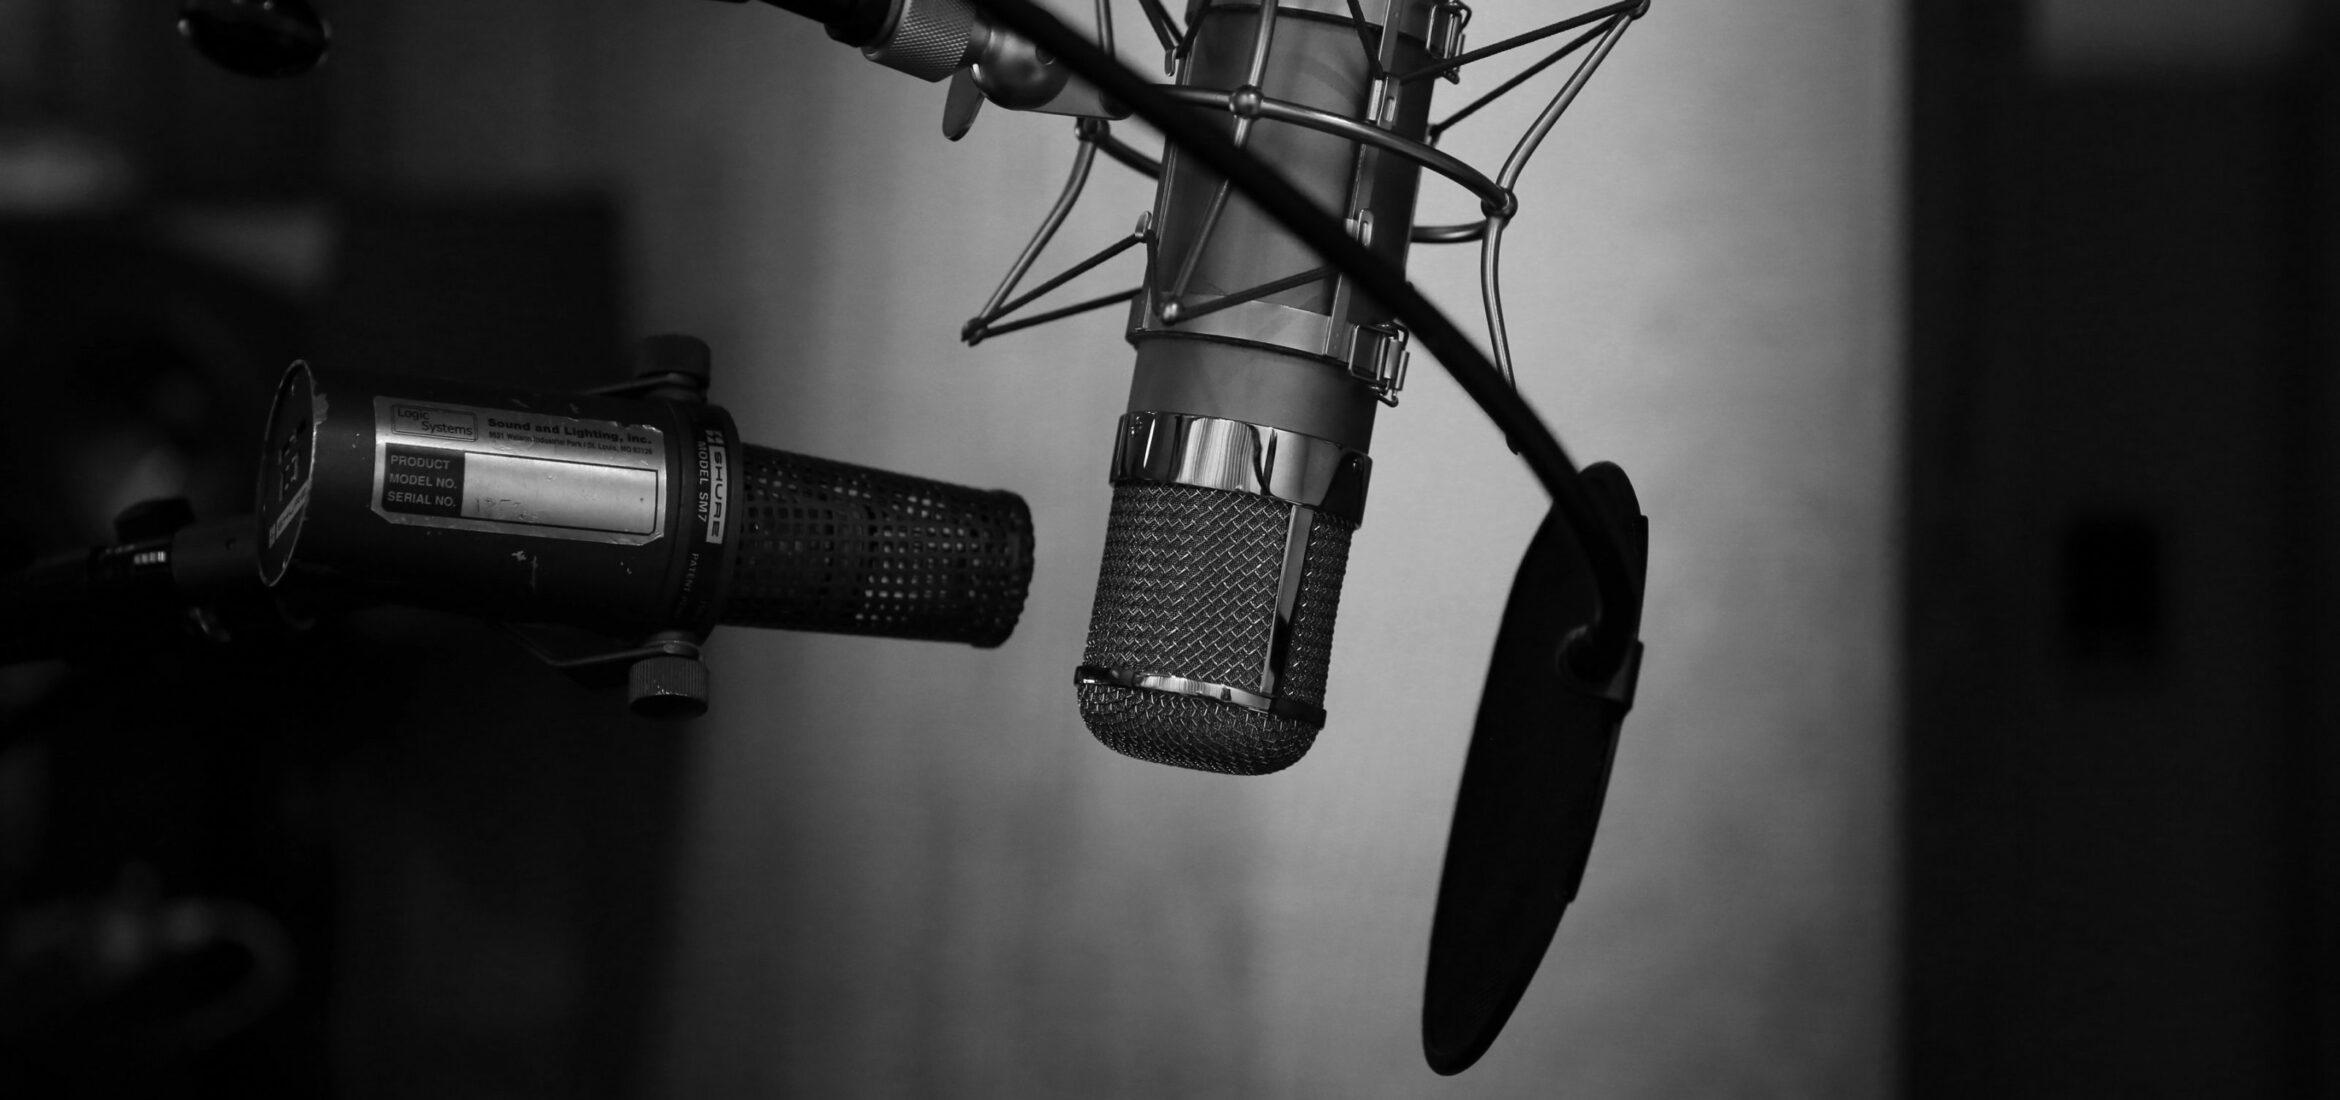
Not long ago, we discussed how to achieve greater depth in your mix. To summarize, depth is all about space, or at least our perception of space. As we know, our eyes allow our brains to perceive three-dimensional images by taking the left and right sources and combining them. Likewise, our ears hear sound in stereo. Our left and right ears take in auditory stimuli, and then our brains “locate” from which direction the sound is coming. Recordings can mimic this natural phenomenon by incorporating stereo microphone techniques.
While stereo recording can become fairly nuanced and complicated, starting out isn’t too difficult. There are a few things you’ll need to know to get started. After that, there are several different types of stereo microphone techniques you can try out to understand how each one works and sounds. Here, we’ll go over what you’ll need to know and some positions to try for your next recording.
The Basics of Stereo Microphone Techniques
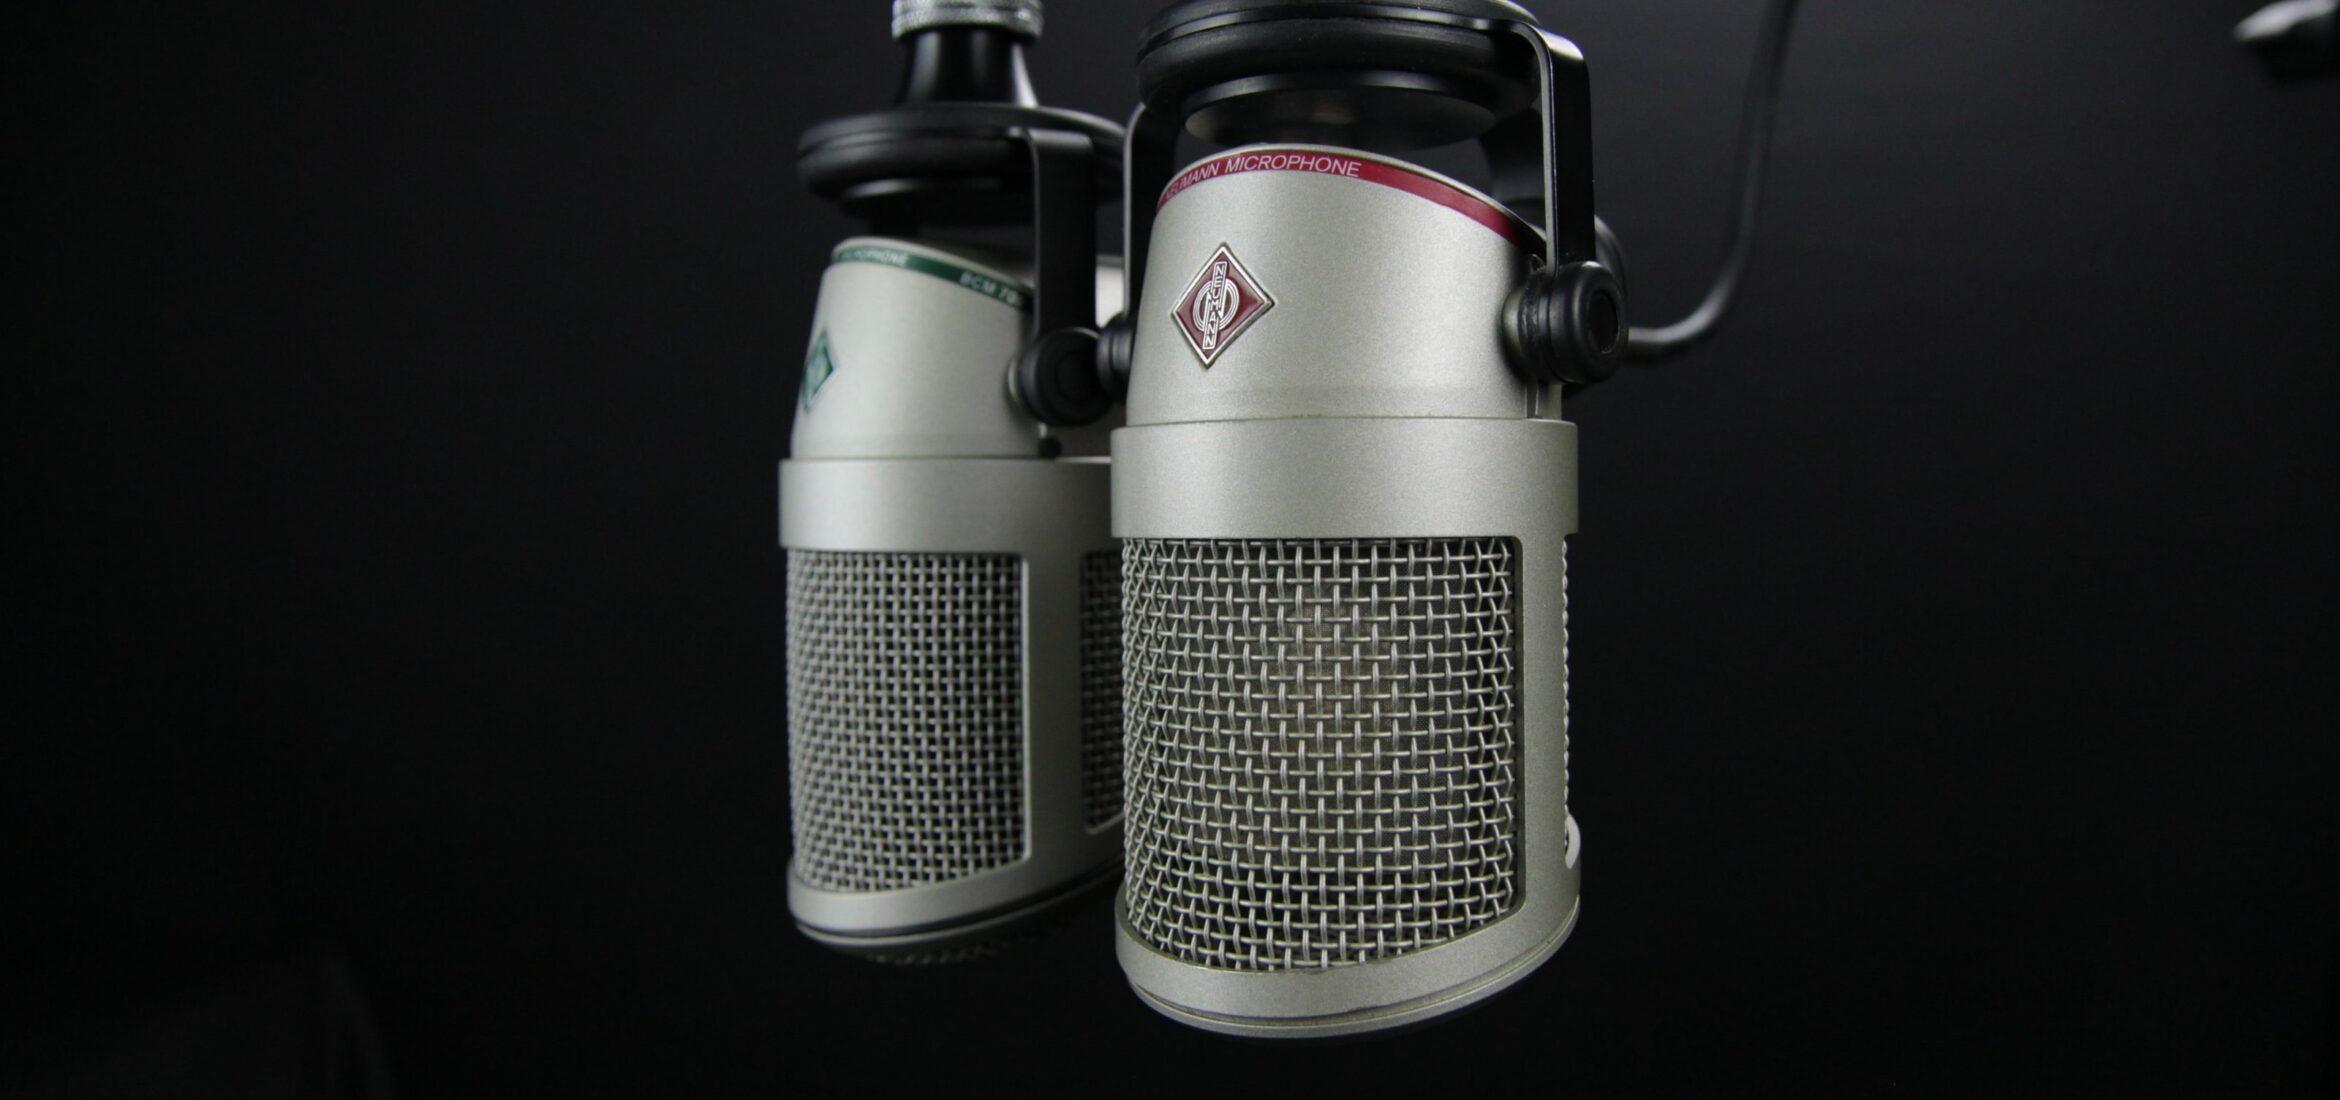
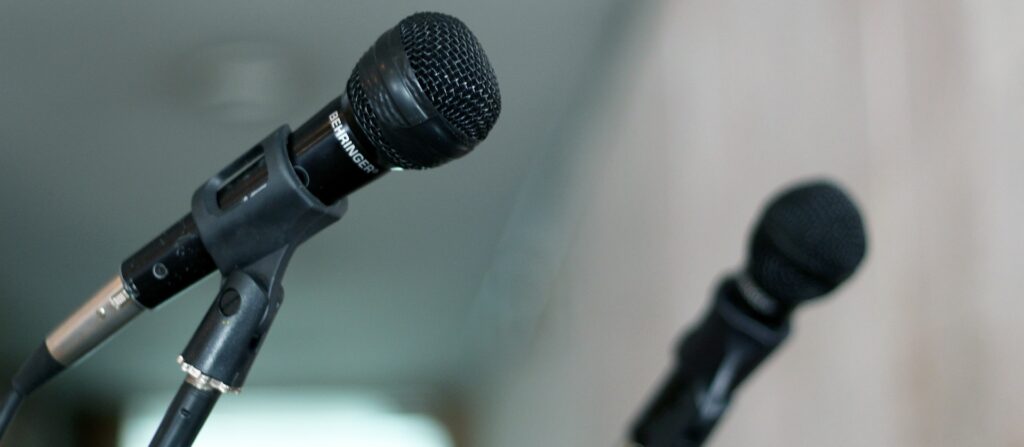
As we mentioned earlier, we hear sounds in stereo thanks to our left and right ears. The only way to mimic the stereo sound, then, is to have both a left and right source. In other words, the audio must be recorded by two microphones. As you might imagine, recording with two microphones instead of one opens up a whole host of possibilities. Unlike our ears, which are limited to their fixation on our heads, these mics are free to roam wherever you choose to place them. This microphone placement yields varying results depending on their angle and distance in relation to the sound source and to each other.
A Coherent Refresher on Phase
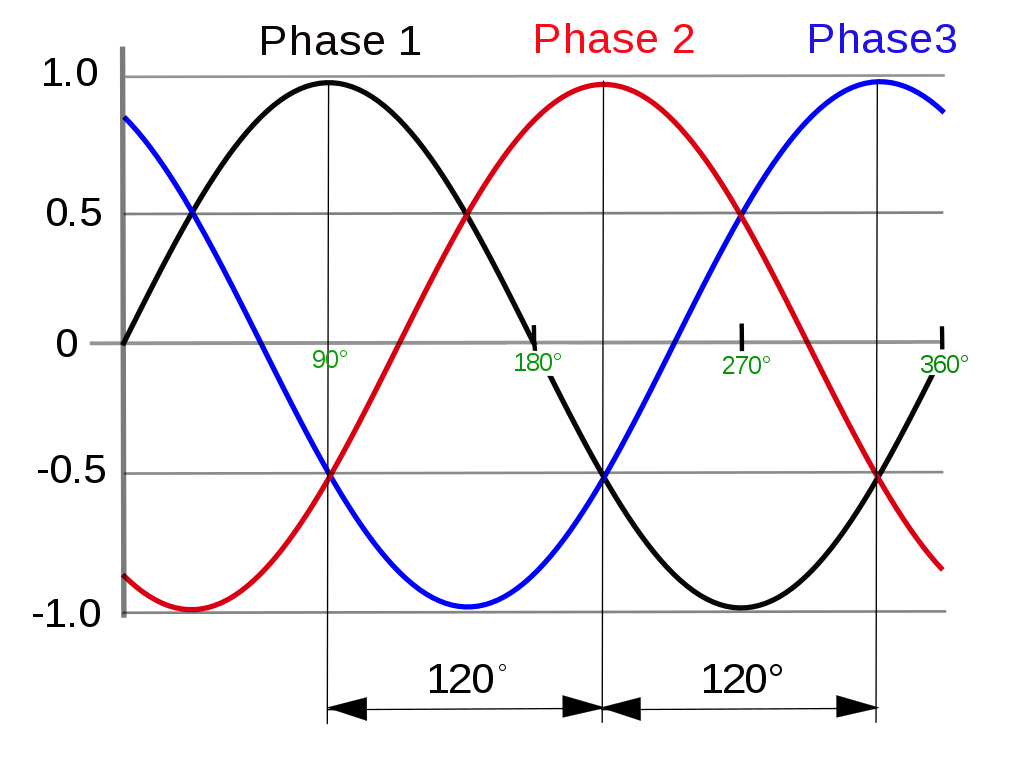
The biggest issue that arises from having two microphones record one source lies with phase. We’ve gone over phase a little bit before in our breakdown of linear phase EQ, but it takes some effort to fully grasp the subject. To simplify, phase refers to the position of two waveforms in relation to each other. When two waveforms have the same frequency, they are considered phase coherent. If you were to overlap these two waveforms perfectly in time so that the combined image looked the same as either one separately, they are in phase. If one of them is slightly off track compared to the other, they are out of phase.
Whether two signals are in or out of phase will result in different outcomes: constructive or destructive interference. Constructive interference occurs when the waveforms are lined up and their amplitudes (peaks) reach a maximum height at the same time. This results in a louder combined sound. Conversely, destructive interference occurs when the waveforms are not lined up. When this happens, some of the combined sound is reduced as peaks and valleys overlap and cancel each other out.
Ways to Fix Phase Issues
Of course, phase coherence can be maximized using plugins and other techniques. In our discussion of mixing drums, we covered the importance of phase and ways to adjust it accordingly. The simplest way is to try reversing the polarities of one or more signals. This basically inverts the waveforms so that peaks become valleys and valleys become peaks. This isn’t a catch-all fix for phase issues, but it can make a difference and reveal noticeable phase problems.
Another way to address phase issues is with plugins. One of the best (and the one mentioned in the aforementioned drum mixing article) is the Waves InPhase plugin. This plugin allows you to manually shift waveforms to better align and become phase coherent. Of course, these examples outline ways to correct phase issues after the fact. Mixing always plays an important role, but this time we’re more concerned with how to maximize phase coherence during the recording process.
Stereo Microphone Techniques: 5 Positions to Try
Oftentimes, microphones need to be moved around to find the sweet spot for phase coherence. Each position below aims to maximize phase coherence. Fair warning: there is some math involved here, but fortunately, the physics experts have done the experimental work for us already. Each of these stereo microphone techniques works best for different styles and amounts of stereo width, but they’re all effective.
1. X-Y Position
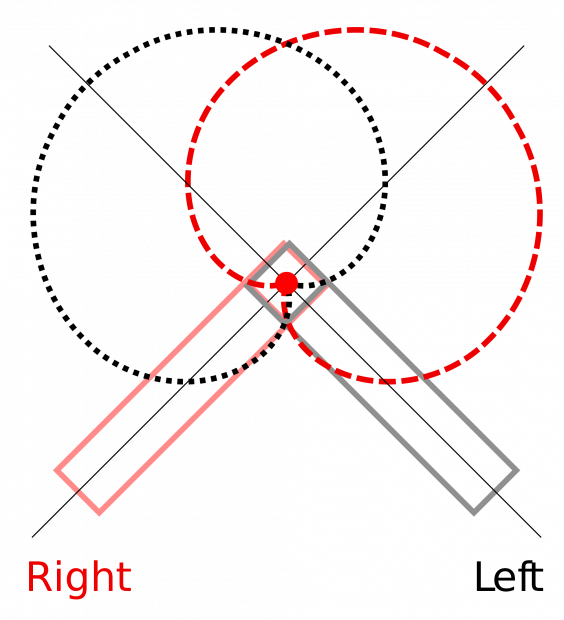
With the X-Y configuration, each mic is very close to one another, nearly touching. Sometimes one mic might float just above the other. Facing each other, they should form a right angle with 90 degrees between them. Because the mics are so close to one another and so carefully angled, this position should result in good phase coherence and a decent stereo spread. Different microphone types can be used for the X-Y position, but the most common are small-diaphragm cardioid condenser mics.
The X-Y position is also highly coincident, meaning it’s the highly mono-compatible. In other words, in mono-only situations where stereo output is impossible, this stereo mic configuration offers the best sound and won’t jump around further left or right. This is due to the phase coherence and the proximity effect of the mics.
2. ORTF Position
This pattern is fairly similar to X-Y. Both mics are again placed very close to each other. However, ORTF adjusts the X-Y configuration so that the butt ends of the mics cross one another, rather than facing at the heads. Now, each mic is facing opposite directions with an obtuse angle of about 110 degrees between them. Like X-Y, ORTF results in good phase coherence but provides even more of a stereo spread. This position also still captures center information since the mics are still close to each other.
3. Spaced Pair (A-B) Position
For the widest stereo spread, you can try the spaced pair configuration. This time, the two mics are placed further apart from one another and in parallel. How far apart they are placed really depends on how wide of a stereo spread you want. The key here is in the centering, or what sits in the middle of the mics. When it comes to recording a guitar cabinet or speaker, the speaker sits in the middle, of course. For drum recording, a good rule of thumb is to consider the kick drum as the center of the kit. In this case, both mics should be equidistant to the kick drum. Some engineers prefer to center the snare drum instead.
In addition to just centering, the other important component to a good spaced pair is the ratio of separation. This refers to the distance between mics over the equidistant length between a mic and the source. For a medium spaced pair configuration, a 3:1 ratio works well. This means the mics are three times as far from each other as each is from the source. For a really wide stereo spread, you could increase the ratio, though you can enter experimental territory if you go too far and risk yielding some bad recordings. Also, keep in mind that the spaced pair position doesn’t always result in great phase coherence due to the further spacing of microphones.
4. Decca Tree Position

This configuration takes the spaced pair (A-B) setup one step further, adding a central mic to the mix. Like the spaced pair position, the left and right mics should still sit at equidistant lengths from the source (and third mic). The ratio here can differ, however. Typically, the Decca Tree works with a 2:1 or 4:3 ratio, so that the distance between the left and right mics is about twice as long as the distance from each mic to the central mic/sound source.
Since the Decca Tree was originally meant for recording orchestras and ensembles, height plays a role in this configuration as well. Each mic should be about 10 feet above the source, with the central mic directly above it. Omnidirectional condenser mics usually work best here. The Neumann M-50 has become the staple for this stereo configuration.
5. Mid-Side Stereo Position
Of all the stereo microphone techniques mentioned thus far, the mid-side stereo position might be the black sheep. It also results in the best phase coherence. Instead of a left-right setup, this configuration has one uni-directional mic with a cardioid polar pattern on top of a bi-directional mic with a figure-8 polar pattern. The former mic captures the center of the sound source while the latter mic captures the stereo spread. The width of the stereo spread can then be adjusted using the volume faders of the mics relative to one another. So the louder the central mic, the narrower the stereo spread, and vice versa.

Conclusion
All five of these stereo microphone techniques are tried and true and work best in different recording scenarios. You’ll want to try different configurations depending on how wide you want your stereo width and how phase coherent you want the signals to be. And as always, feel free to experiment with different ratios, microphones, and polar patterns. These stereo microphone techniques are guidelines, not strict rules.
About the Author

Ethan Keeley
Writer, Voice Talent, Musician, and Audio EditorEthan Keeley is a musician, voiceover talent, and writer from Rochester, New York. When he's not on tour with his band Unwill he's working on new songs and stories.
Leave a comment
Log in to comment