Welcome to an in-depth exploration of frequency masking. Whether you’re a complete beginner or an experienced audio engineer, understanding how overlapping frequencies can obscure important sounds is crucial for creating clear, balanced mixes. Frequency masking occurs naturally whenever multiple sounds occupy the same frequency range, but effective mixing techniques help minimize its negative impact. In this article, we’ll discuss why frequency masking happens, how to recognize it, and the many methods you can use to fix or prevent it. We’ll start by clarifying the core concepts in simpler terms, then build toward more advanced strategies that even seasoned producers can benefit from.
Frequency masking often shows up as a lack of clarity or definition—common complaints such as “muddy mixes” or “buried vocals” can usually be traced back to two or more elements battling over the same sonic real estate. Our ears can only process so much overlapping information, especially when one sound is louder than another. Once you know how to diagnose masking issues, you can apply EQ, panning, compression, and other creative tricks to carve out space for each instrument in your track. By the end, you should feel confident about approaching masking issues in any genre, from pop to EDM, metal, hip-hop, or anything in between.
Table of Contents
- What is Frequency Masking?
- Identifying Frequency Masking
- Techniques to Fix Frequency Masking
- Advanced Frequency Masking Strategies
- Practical Application and Workflow
- Conclusion
What is Frequency Masking?
Frequency masking is rooted in psychoacoustics—the study of how we perceive sound. When two (or more) sounds share a similar frequency range and happen at the same time, our brain struggles to separate them. One of those sounds, usually the louder or more dominant one, can mask the other, making the quieter one harder to hear. This is why, for instance, certain bass notes might vanish behind a loud kick drum, or why a vocal line suddenly fades when busy guitars or synths come in.
Why It Matters
A well-produced track ensures that key elements—especially lead vocals, melodic lines, and important rhythmic hits—stand out in the mix. Overlapping instruments muddy this clarity, reducing the overall punch and detail. Think of a live conversation: if multiple people speak at once, they overlap and you struggle to understand any individual. Similarly, frequency masking can leave listeners straining to identify distinct musical parts.
Common Overlaps in Music Production
- Kick vs. Bass: Both occupy similar low-frequency ranges, typically between 50 Hz and 150 Hz. If they overlap too much, the low end becomes boomy and undefined.
- Vocals vs. Midrange Instruments: Guitars, keyboards, and other midrange sources sit in the same frequency zone as the human voice, especially around 1 kHz to 5 kHz. Conflicts can bury the vocal.
- Multiple Synth Layers: Dense electronic mixes often feature stacked synths and pads. While layering can sound rich, it may also become congested if too many sounds are spread across the same range.
- Drums vs. High-Frequency Elements: Cymbals and hi-hats sometimes mask important “s” or “t” sounds in a vocal, making the singer’s diction unclear.
Psychoacoustic Factors
Our ears are less sensitive to low frequencies, so they tend to blend together more readily. On the flip side, highs are more directional and separated in stereo, but you can still get harsh overlap when cymbals clash with bright vocals. Understanding these tendencies helps you figure out where masking might be happening in your mix and why certain instruments are drowning each other out.
Identifying Frequency Masking
Learning to spot frequency masking is the first step toward a cleaner, punchier mix. While your ears remain your primary tool, modern analysis plugins and some listening tricks can make detection easier and more systematic.
Critical Listening
If you hear an important element vanish whenever another instrument plays, that’s a strong sign of frequency masking.
- Ask Qualitative Questions: Does the low end feel blurry? Do vocals lose clarity when a certain instrument enters? Is the snare disappearing under big power chords?
- Change Listening Conditions: Check your mix on different speaker setups or headphones and at varying volumes. Sometimes masking emerges clearly in smaller systems or at soft volume levels.
- A/B Solo: Solo two clashing instruments to confirm if they are overlapping excessively.
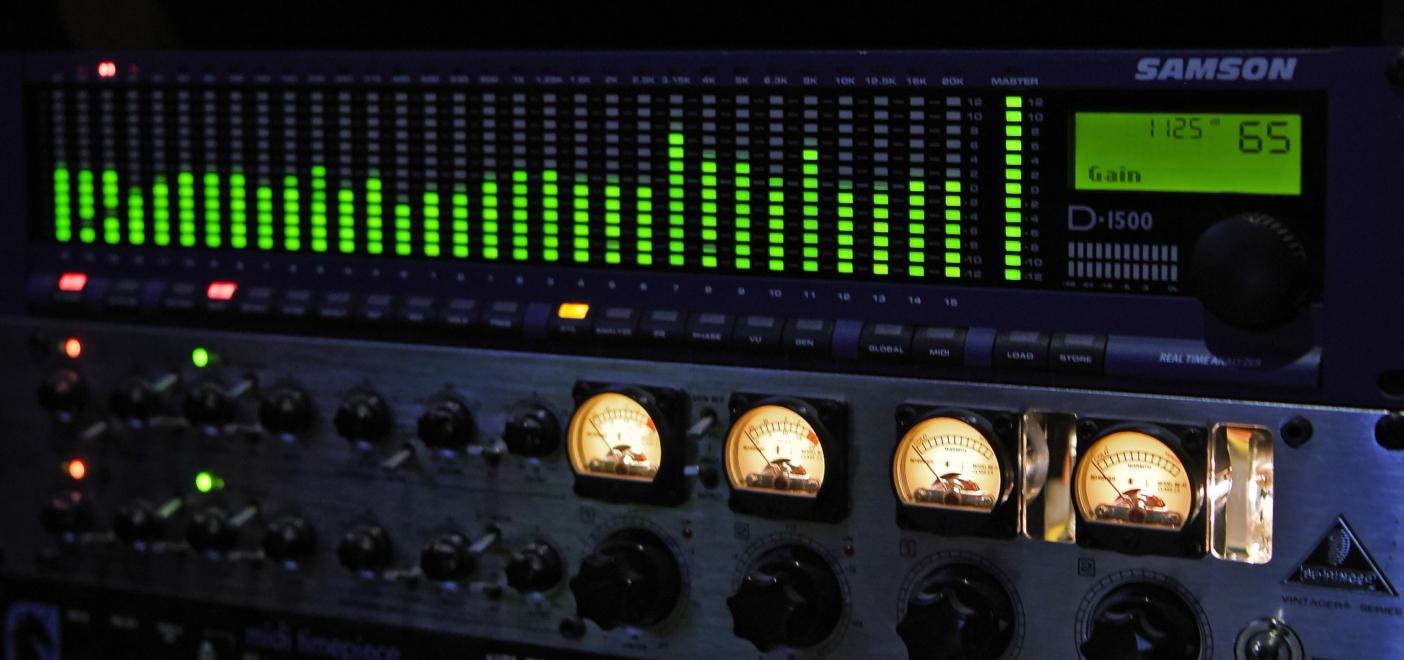
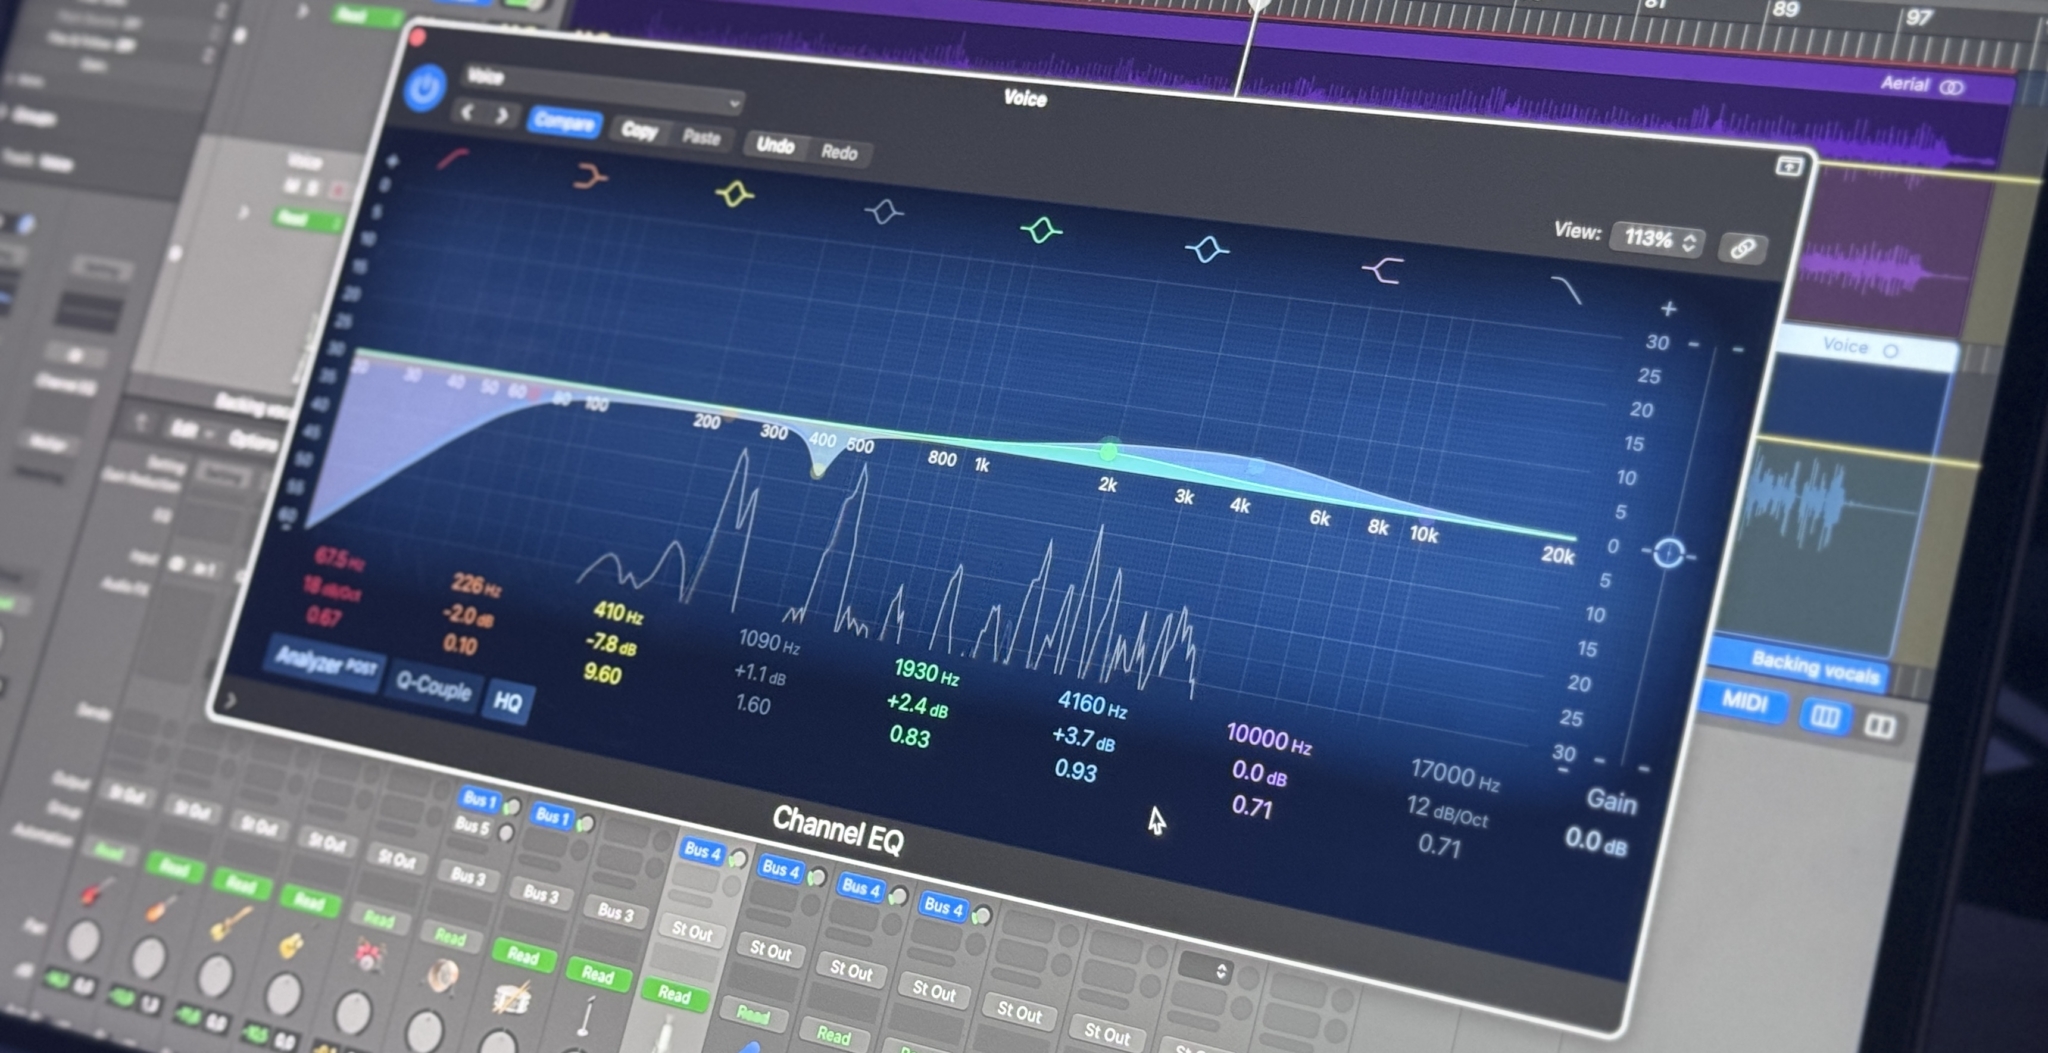
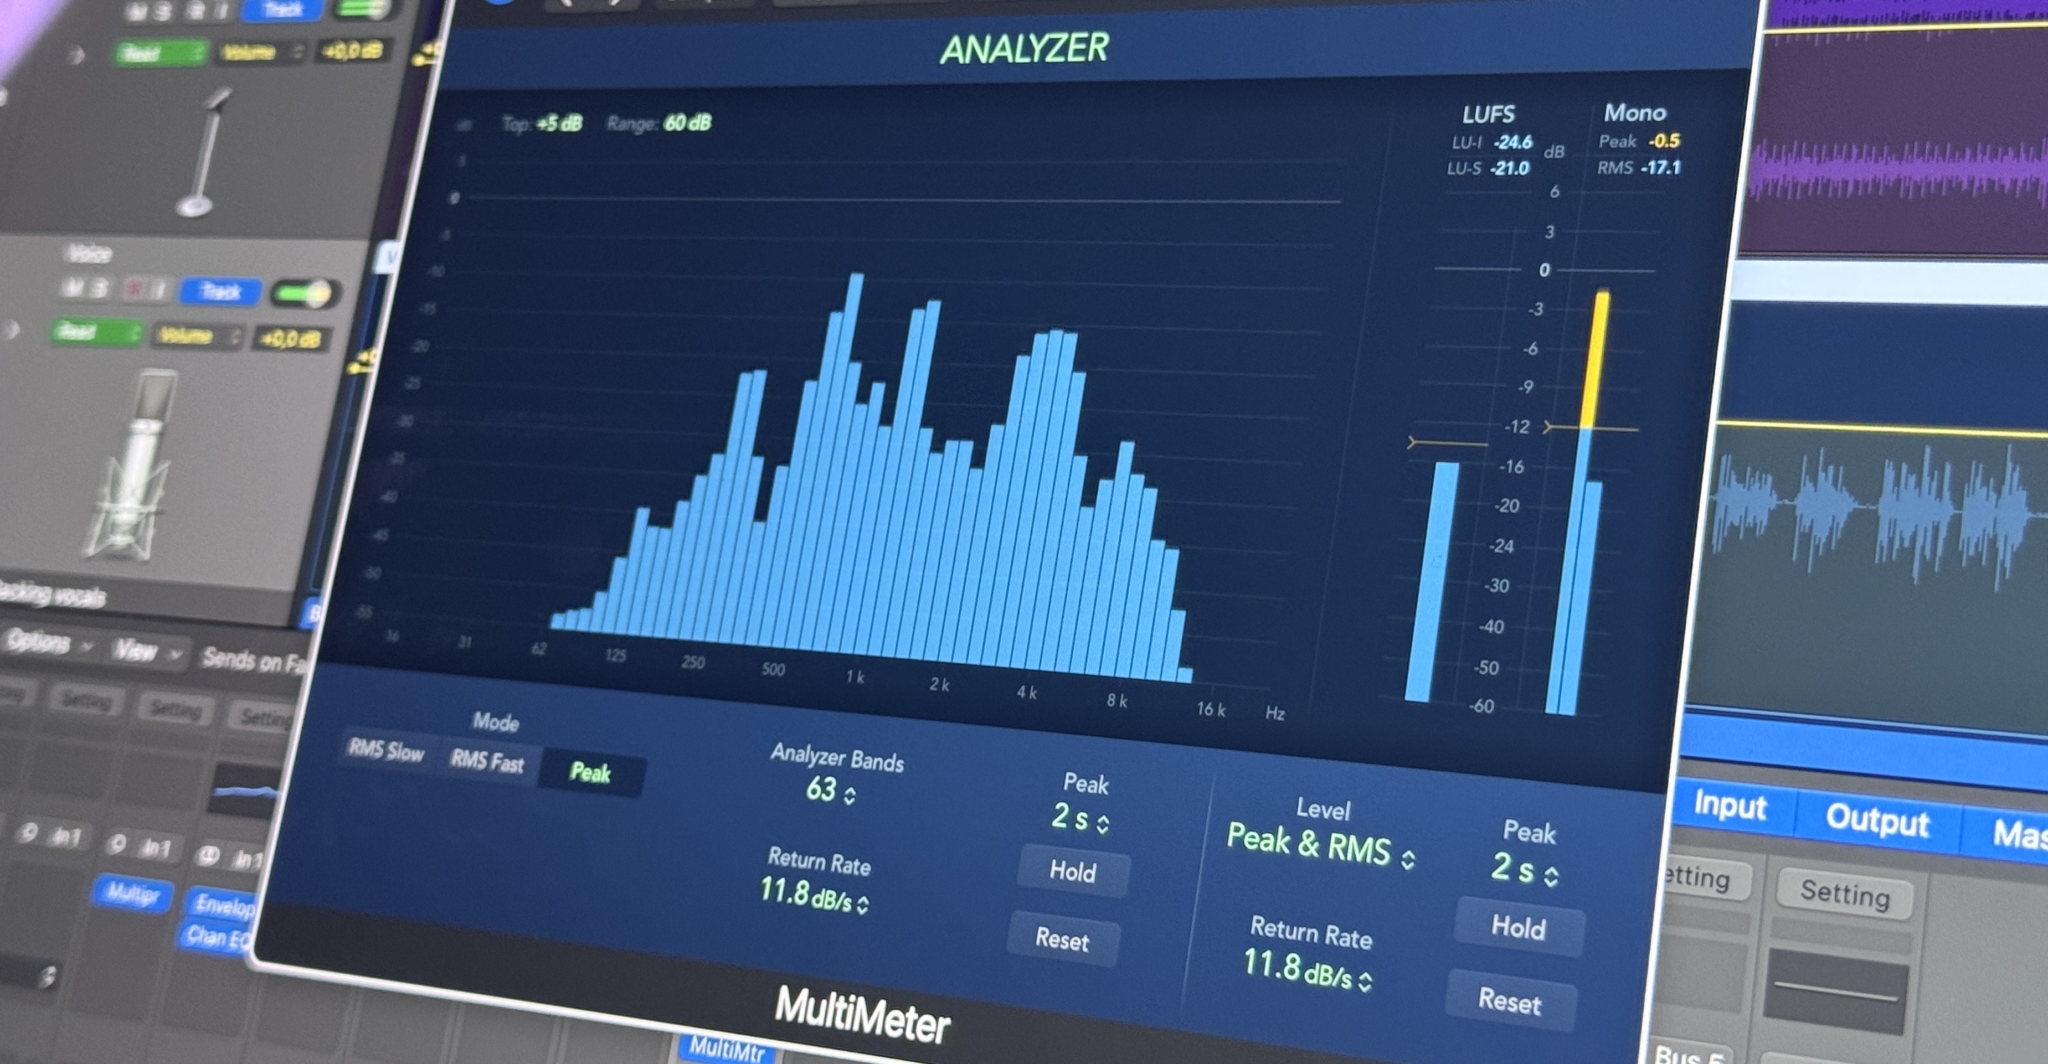
Use of Spectrum Analyzers
Today’s EQ plugins often display real-time frequency content, allowing you to visualize overlapping peaks. If your bass guitar and kick drum show big spikes in the same area simultaneously, it’s a strong clue you’ve got a masking issue. Some sophisticated plugins highlight potential conflicts between tracks.
Checking in Mono
Summing everything to mono eliminates the spatial separation of stereo. If a previously decent stereo mix collapses into a cluttered mess in mono, it reveals heavy reliance on panning to separate instruments that actually share the same range. A quick mono check ensures your separation is robust, not just a stereo illusion.
Solo and Mute Techniques
- Solo Pairs: Listen to two or three instruments at a time. If clarity returns when one is muted, you’ve isolated a frequency clash.
- Mute Key Offenders: Temporarily remove an instrument suspected of masking another. If you suddenly hear new detail in the overall mix, that offender likely needs rebalancing.
Low-Band or Band-Pass Monitoring
Use a low-pass or band-pass filter on your master output to isolate specific frequencies. For example, filter everything above 200 Hz to focus on the bass and kick region. If it sounds muddy in that narrow band, you’ve found a masking hotspot.
Techniques to Fix Frequency Masking
Once you confirm that frequency masking is negatively affecting your mix, you can deploy a variety of tools and strategies. Below are common fixes, starting with simpler EQ methods and progressing to more creative solutions.
Subtractive EQ
Subtractive EQ is the bread-and-butter approach to clearing up overlapping frequencies. Instead of boosting what you want to hear, you cut what’s not needed.
- Identify the Priority: Decide which instrument “deserves” that frequency range. For instance, you might prioritize a lead vocal over a rhythm guitar in the 2 kHz zone.
- Carve Out Space: Apply a narrow EQ cut on the non-priority track. For example, if you want vocals to be clear at 2 kHz, you could remove a few decibels at 2 kHz from the guitar track.
- Use Narrow Bands: Targeted cuts tend to retain more of the track’s essential character while still clearing the frequency overlap.
- A/B Testing: Always compare before/after changes. You want to confirm that clarity is improved without destroying the musicality of the masked track.
Dynamic EQ
Dynamic EQ combines EQ and compression. You set a threshold so the EQ cut engages only when the problematic frequency crosses a certain level. It’s ideal for instruments that overlap occasionally, allowing them to breathe when not clashing.
- Vocals vs. Piano: If the piano only masks the vocal during chords with strong midrange energy, dynamic EQ can target just those moments.
- Kick vs. Bass: A dynamic low-frequency cut on the bass when the kick hits keeps your low end tight without permanently thinning out the bass.
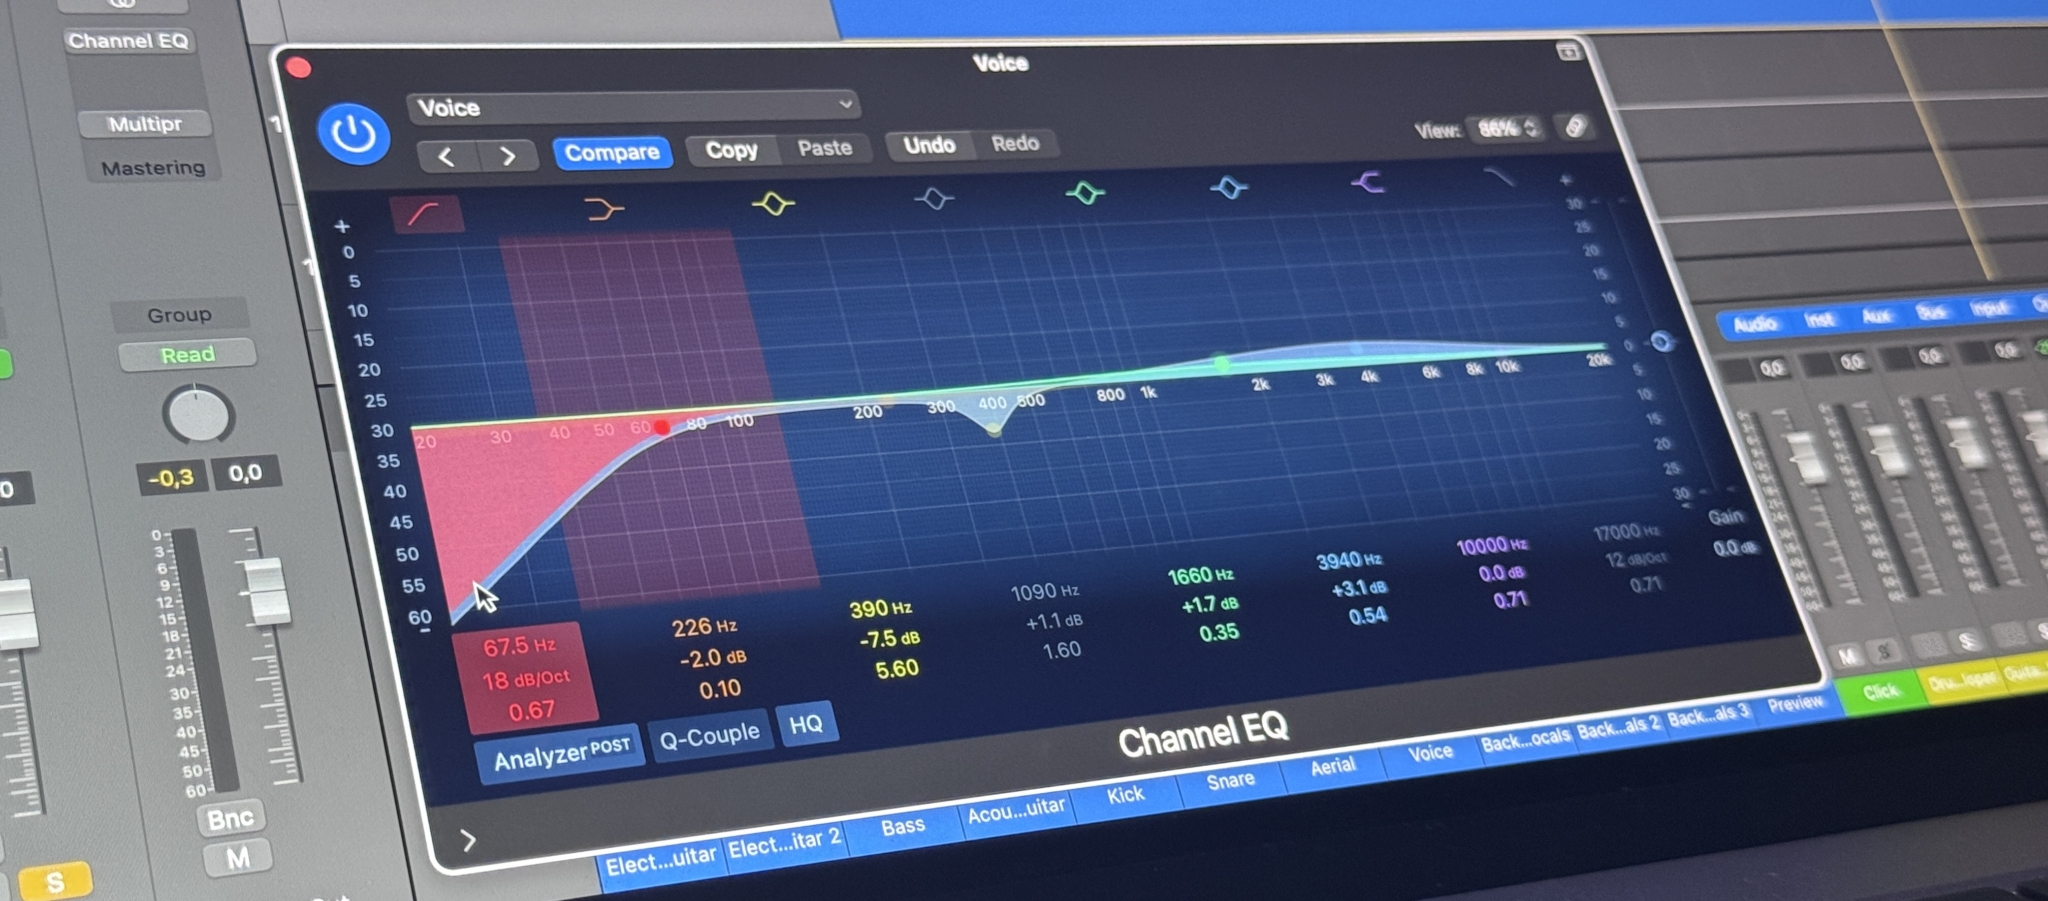
High-Pass and Low-Pass Filtering
Many tracks carry unnecessary low or high-frequency content. Rolling off extraneous lows on instruments that don’t need them (like guitars, pianos, or vocals) can instantly clarify the mix by freeing up the deep bass for kick and bass guitar. Similarly, low-passing overly bright tracks can prevent them from masking higher-frequency elements like vocal sibilance or cymbal air.
- High-Pass Filters (HPF): Commonly placed around 80–150 Hz on midrange instruments to remove rumble.
- Low-Pass Filters (LPF): Used when a track has fizz or harsh high-end that conflicts with more critical high-frequency parts (e.g., vocals, percussion details).
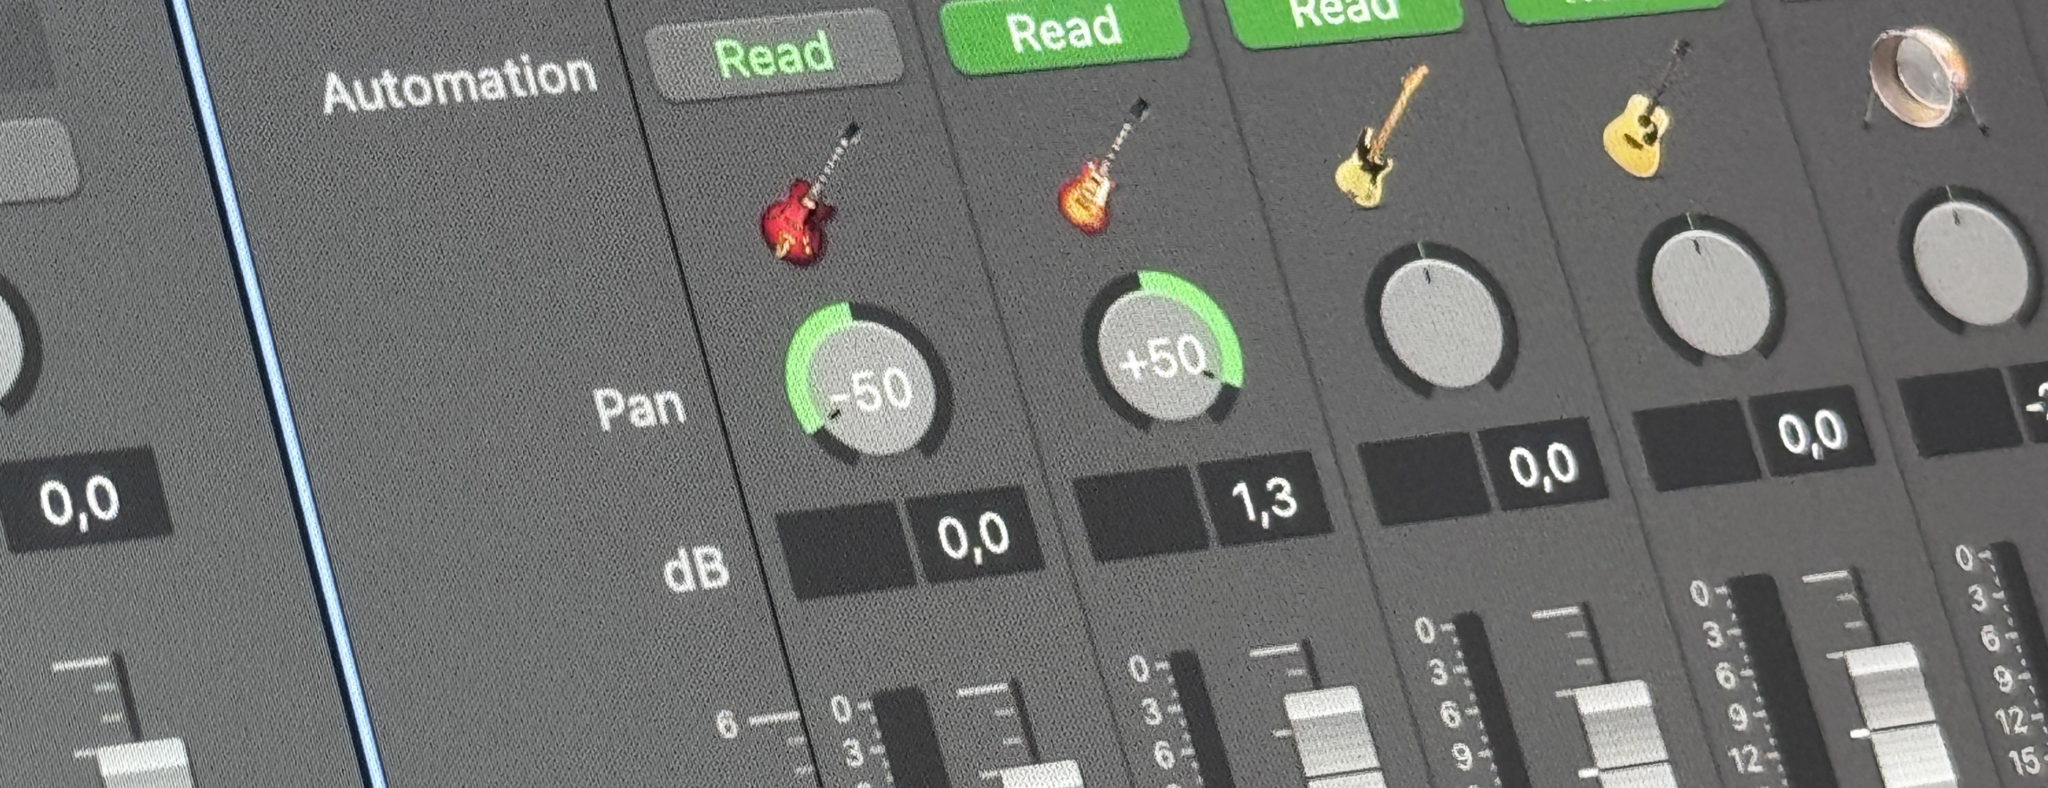
Panning and Stereo Separation
Panning is a simple yet powerful way to give overlapping instruments their own space in the stereo field.
- Hard Panning: Two guitars with similar frequency content can be panned left and right, allowing each to be heard more clearly.
- Mid/Side EQ: For more nuanced control, use an EQ that can process the center (mid) and the sides separately. You might reduce certain frequencies in the center while keeping them on the sides, allowing a lead vocal to shine in the middle.
Sidechain Compression
Sidechain compression dynamically reduces the volume of one track when another track triggers the compressor. This is especially common in managing kick and bass overlap.
- Kick as the Trigger: Every time the kick hits, the bass ducks slightly. The kick transient cuts through cleanly, and then the bass recovers.
- Beyond the Low End: A vocal can sidechain a busy keyboard track, so the keyboard softly recedes during singing but returns when the singer pauses.
Harmonic Enhancement and Saturation
Sometimes the best way to help a masked part stand out is by adding harmonic content. Saturation plugins add subtle distortion or overtones that can shift the instrument’s spectral energy to less crowded areas.
- Bass with Overdrive: Adding midrange harmonics helps the bass remain audible even on small speakers and can also separate it from a massive kick.
- Vocal Saturation: A slight tube or tape saturation can add presence to vocals, ensuring they cut through a dense mix.
Arranging and Instrument Choice
Fixes for masking aren’t strictly technical—sometimes the solution comes from composition and arrangement.
- Different Octaves: If a piano and guitar are stepping on each other in the midrange, try moving one instrument’s part an octave higher.
- Sparse Arrangements: “Less is more.” Too many instruments playing at once is a common cause of masking. Drop or thin out parts when a key instrument needs focus.
- Timbral Contrast: Pick sounds that naturally complement rather than conflict. A bright, thin synth can pair nicely with a darker, fuller pad.
Advanced Frequency Masking Strategies
Once you’ve explored basic EQ moves, panning, and standard sidechaining, you might need more precise methods for stubborn masking issues. Advanced strategies ensure you can tackle even the busiest mixes without sacrificing clarity or musicality.
Dynamic EQ Automation
Dynamic EQ is already powerful, but you can go further by automating the EQ parameters over time or using sidechain triggers to carve specific frequencies only when certain instruments overlap.
- Multitrack Coordination: A vocal track can trigger EQ cuts on multiple guitar layers. You might create automation so the guitar’s midrange dips more during the chorus if the vocal needs extra presence.
- Instant Mask Correction: If a specific piano chord always muddies the vocal, you can automate a narrow dip in that chord’s frequency just during those bars.
Multiband Sidechain Compression
Multiband sidechain compression targets a specific frequency range, leaving other parts of the signal untouched. For example:
- Kick vs. Bass (Sub Band): Only the bass’s sub region (say 50–90 Hz) gets ducked by the kick, so the bass keeps its upper harmonics and presence intact.
- Vocal vs. Guitars (Midrange Band): The guitar tracks reduce volume in the 1–4 kHz band when the singer hits certain notes, without losing their low or high end.
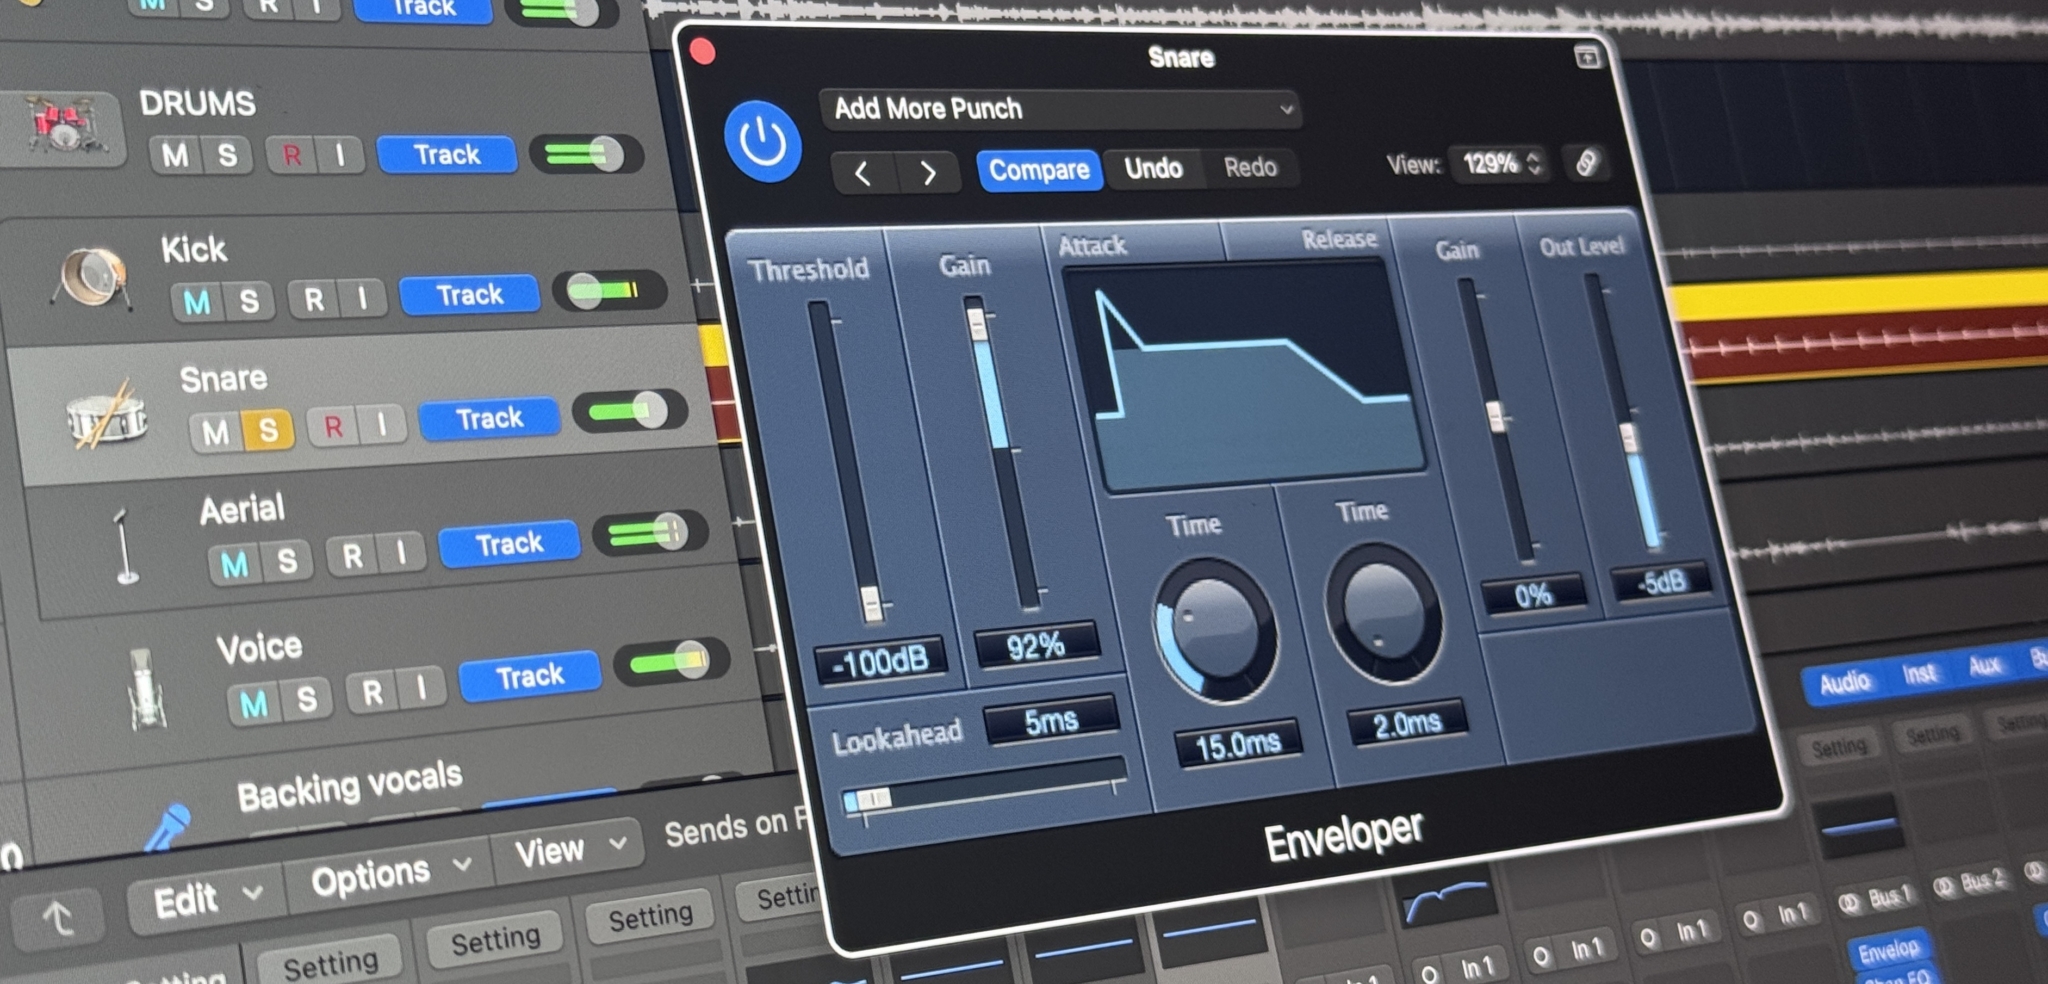
Transient Shaping
A transient shaper lets you boost or reduce the attack or sustain of a sound. Sharp, punchy attacks can help drums and other percussive elements poke through a busy mix.
- Shorter Sustain: If a pad or guitar rings out too long and masks subsequent sounds, trimming the sustain keeps it from flooding the frequency space.
- Emphasizing Attacks: Adding punch to a snare transient can help it slice through even when layered with big synthesizers or multiple guitars.
Parallel Processing
Parallel processing mixes a heavily processed signal with the dry original, allowing you to achieve a specific effect without over-processing the entire track.
- Parallel Compression: A crushed, dense version of a drum track blended under the uncompressed drums can keep the hits consistently audible.
- Parallel Saturation: Adding distorted harmonic layers to a bass or vocal, then blending them in subtly, can give the track more presence without changing the core tone.
- Parallel EQ: Some engineers create a duplicate of the track and apply dramatic EQ to emphasize certain frequencies, mixing it beneath the clean original.
Practical Application and Workflow
Effective masking solutions come from a holistic, step-by-step approach. While each track is unique, a common workflow might involve the following sequence:
1. Rough Mix and Organization
Begin with a simple level mix, panning, and basic organization (label tracks, group buses). Spend some time listening and note where masking might occur—kick vs. bass, vocal vs. guitars, etc.
2. Broad EQ and Filters
Apply high-pass filters to remove unnecessary low-end from non-bass elements. For each problematic overlap, do minimal subtractive EQ to carve space for the more critical track.
3. Check Stereo Placement
Use panning to space out instruments that share similar frequency content. If the mix collapses in mono, reevaluate and refine EQ or levels until essential elements remain clear.
4. Dynamic Treatments
Sidechain compression to reduce clashes (kick/bass, vocal/backgrounds). Dynamic EQ where instruments only conflict part of the time.
5. Detailed Automation
Automate volume, EQ, or effects so that each section of the song remains balanced. Adjust for spots where masking creeps in after initial corrections.
6. Advanced Tools
You can refine the sound further with:
- Multiband sidechain if broadband ducking is too noticeable
- Transient shaping for percussive elements
- Parallel chains for adding clarity without over-processing the dry signal
7. Final Polish
Re-check the entire mix, focusing on frequency buildups and verifying that the primary elements remain clear. Reference again to professional mixes if needed.
Conclusion
Frequency masking is one of the most pervasive challenges in music production. It arises whenever multiple sounds occupy overlapping ranges, causing one (or more) of them to fade into the background. Fortunately, a range of techniques—from simple EQ cuts and panning to advanced multiband sidechaining—can restore definition and clarity. The key is to approach each potential clash with both your ears and a strategic mindset, determining which instruments are most important for each frequency zone and using the right tool for the job.
Remember that arrangement decisions also play a huge role. A mix with fewer simultaneously clashing parts is naturally clearer, so don’t be afraid to thin out a busy chorus or place certain lines in different octaves. Technology offers an impressive arsenal of precision EQs, dynamic processors, and specialized plugins, but ultimately, critical listening remains your most reliable guide. Listening in mono, checking different frequency bands, and comparing to reference mixes all sharpen your instincts for spotting and resolving overlap.
Mastering the art of unmasking frequencies will let your tracks breathe, ensuring each element contributes to a cohesive and impactful musical landscape. By combining careful arrangement, targeted EQ, judicious compression, and creative processing, you can make every instrument shine without stepping on the others. The result is a professional-sounding production where everything has its space, and listeners can appreciate the full spectrum of your creative vision.
Sobre o Autor

Dídac
CEO & Fundador do MasteringBOXO Dídac é engenheiro de áudio, produtor musical e engenheiro de software profissional. É o fundador do MasteringBOX e autor de muitos dos artigos do blog.
Deixa um comentário
Entra para comentar