Welcome to the world of acoustic drum kit, where wood shells and shimmering cymbals collide to create rhythm and energy. This guide aims to give you a detailed understanding of each component, while also showing how those parts work together. Whether you’re just starting or already drumming your heart out, this article offers a balanced approach.
Playing drums is a physical activity. It involves careful coordination and an ear for balance. As you improve, you’ll discover how each part of your acoustic kit shapes your personal sound. You can tweak shell materials, drumheads, and hardware, or experiment with positioning. In addition, you can learn how certain tuning methods bring out a different character.
Acoustic drums have an organic essence. They’re alive with resonance and potential overtones. The more you understand how the parts work, the better you’ll sound when you play. Let’s begin by looking at the main parts of a kit. Then we’ll dig deeper into the magic of sizes, materials, and more.
Table of Contents
- Factors to Consider when Buying a Drum Kit
- The Parts of an Acoustic Drum Kit
- Shell Materials, Heads, and Tuning
- Setting Up Your Acoustic Drum Kit
- Maintenance
- Choosing an Acoustic Drum Kit by Skill Level & Recommendations
- Conclusion
Factors to Consider when Buying a Drum Kit
Selecting the right acoustic drum kit requires balancing several technical factors to find a set that matches your sound and playing needs. Key considerations include shell material and construction, drum sizes and configurations, hardware quality, cymbal selection, tuning flexibility, and your intended musical style and performance environment. The drum shell material (e.g., maple or birch) and construction (ply count, bearing edges) directly shape your kit’s tone and resonance. Similarly, drum sizes and configurations influence both sound and ergonomics – larger drums yield deeper, more resonant tones, while smaller drums offer punchier, higher-pitched sounds.
Choosing between a compact 4-piece or a sprawling 7-piece setup should align with your musical style and space requirements. Don’t overlook hardware quality and stability: sturdy, double-braced stands and reliable mounts keep your kit solid through intense playing. Cymbal selection is another crucial element – high-quality cymbals matched to your style (bright, cutting cymbals for rock or dark, warm cymbals for jazz) will complement the drums and define the kit’s overall sound.
Tuning flexibility matters too: well-constructed drums with precise bearing edges can accommodate a variety of drumhead types and tensions, giving you a wide sonic range for different genres. Lastly, consider the intended performance context – a drummer playing heavy metal in large venues might opt for louder shells and bigger sizes, while a jazz drummer in intimate clubs might favor smaller drums and warmer tones.
Your Skills Matter
When selecting an acoustic drum kit, both your skill level and practical needs guide the decision. Beginner drummers typically opt for an all-in-one setup featuring cost-friendly shells (such as poplar or basswood), basic hardware, and entry-level cymbals to develop fundamental techniques without excessive expense. Intermediate drummers tend to focus on higher-grade shells (maple or birch) with improved hardware, bearing edges, and potentially personalized cymbal choices, aiming for enhanced tonal clarity and adaptability in rehearsal or recording situations.
For advanced players, customization and premium components become paramount. This often involves specialized shell materials (including exotic or mahogany blends), meticulously refined bearing edges, and polished finishes that withstand rigorous touring. Investment in premium cymbals, specifically chosen for distinctive tonal qualities, is common at this stage, as is expanding the snare drum collection to suit varied musical styles.
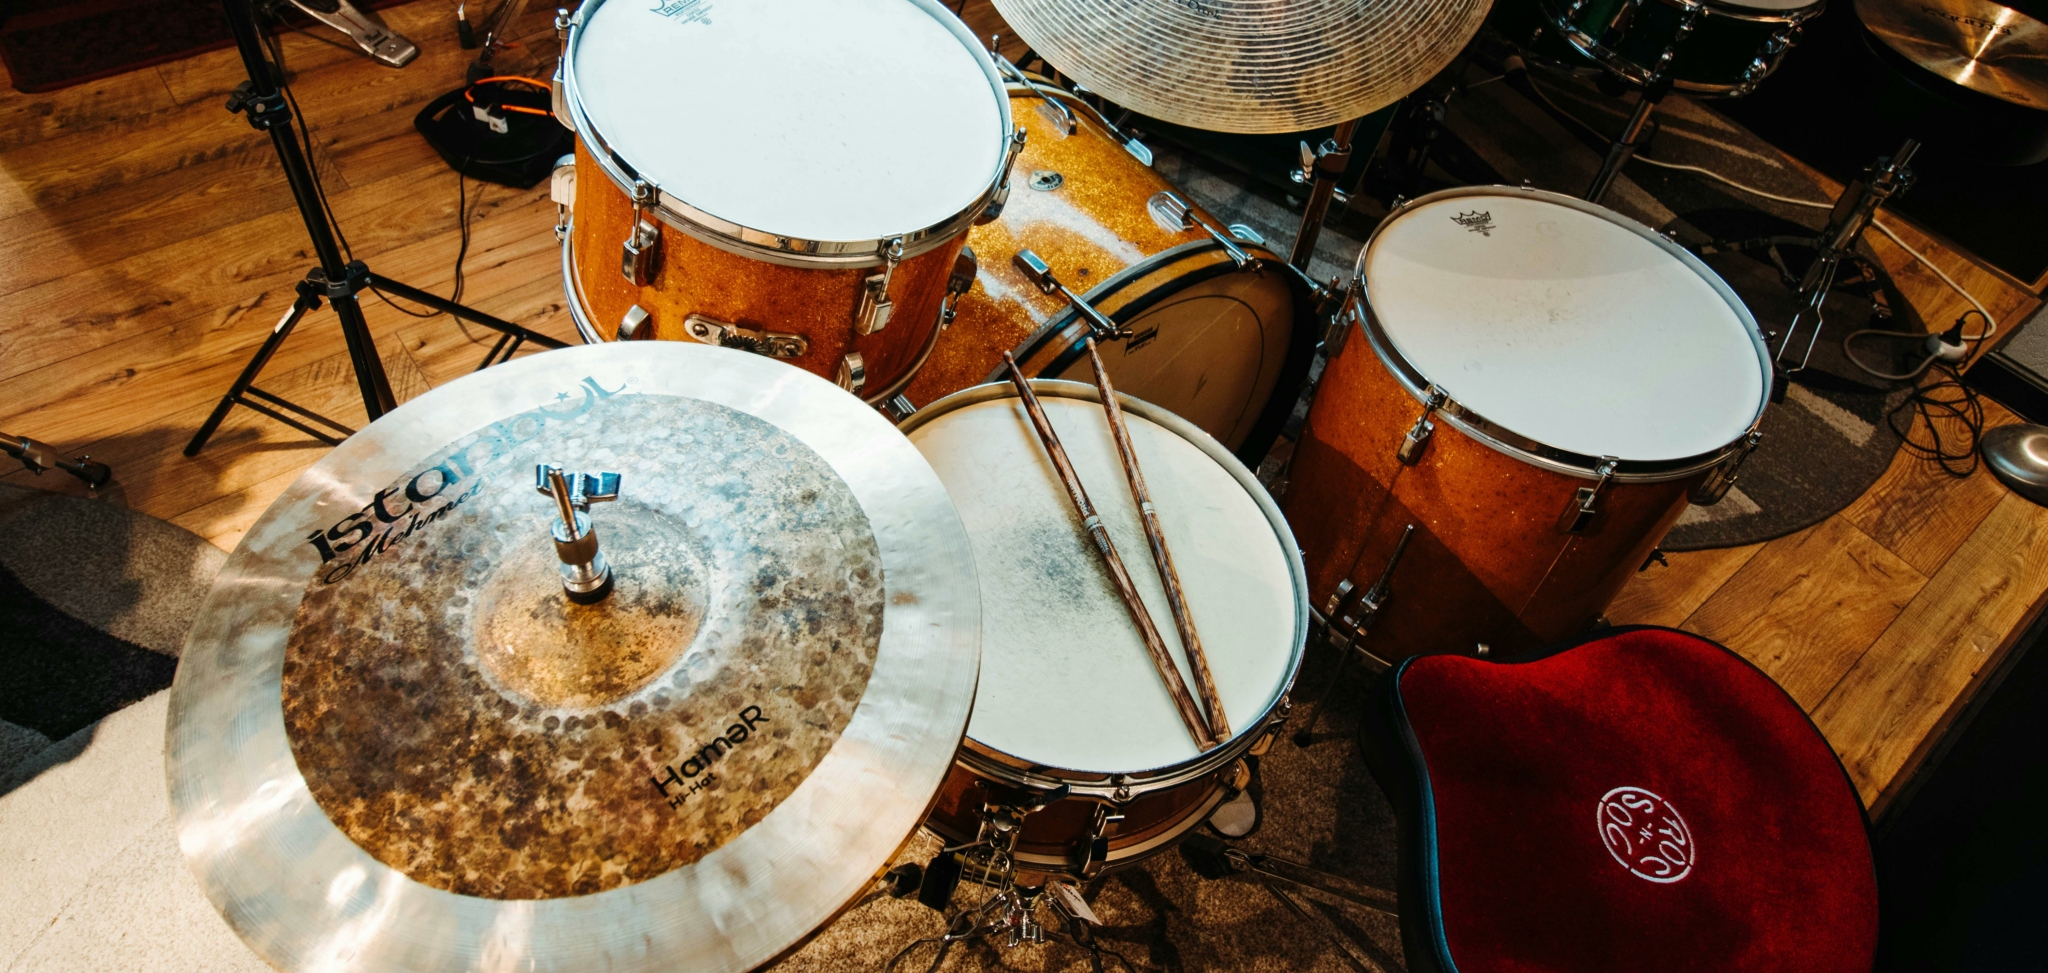
The Parts of an Acoustic Drum Kit
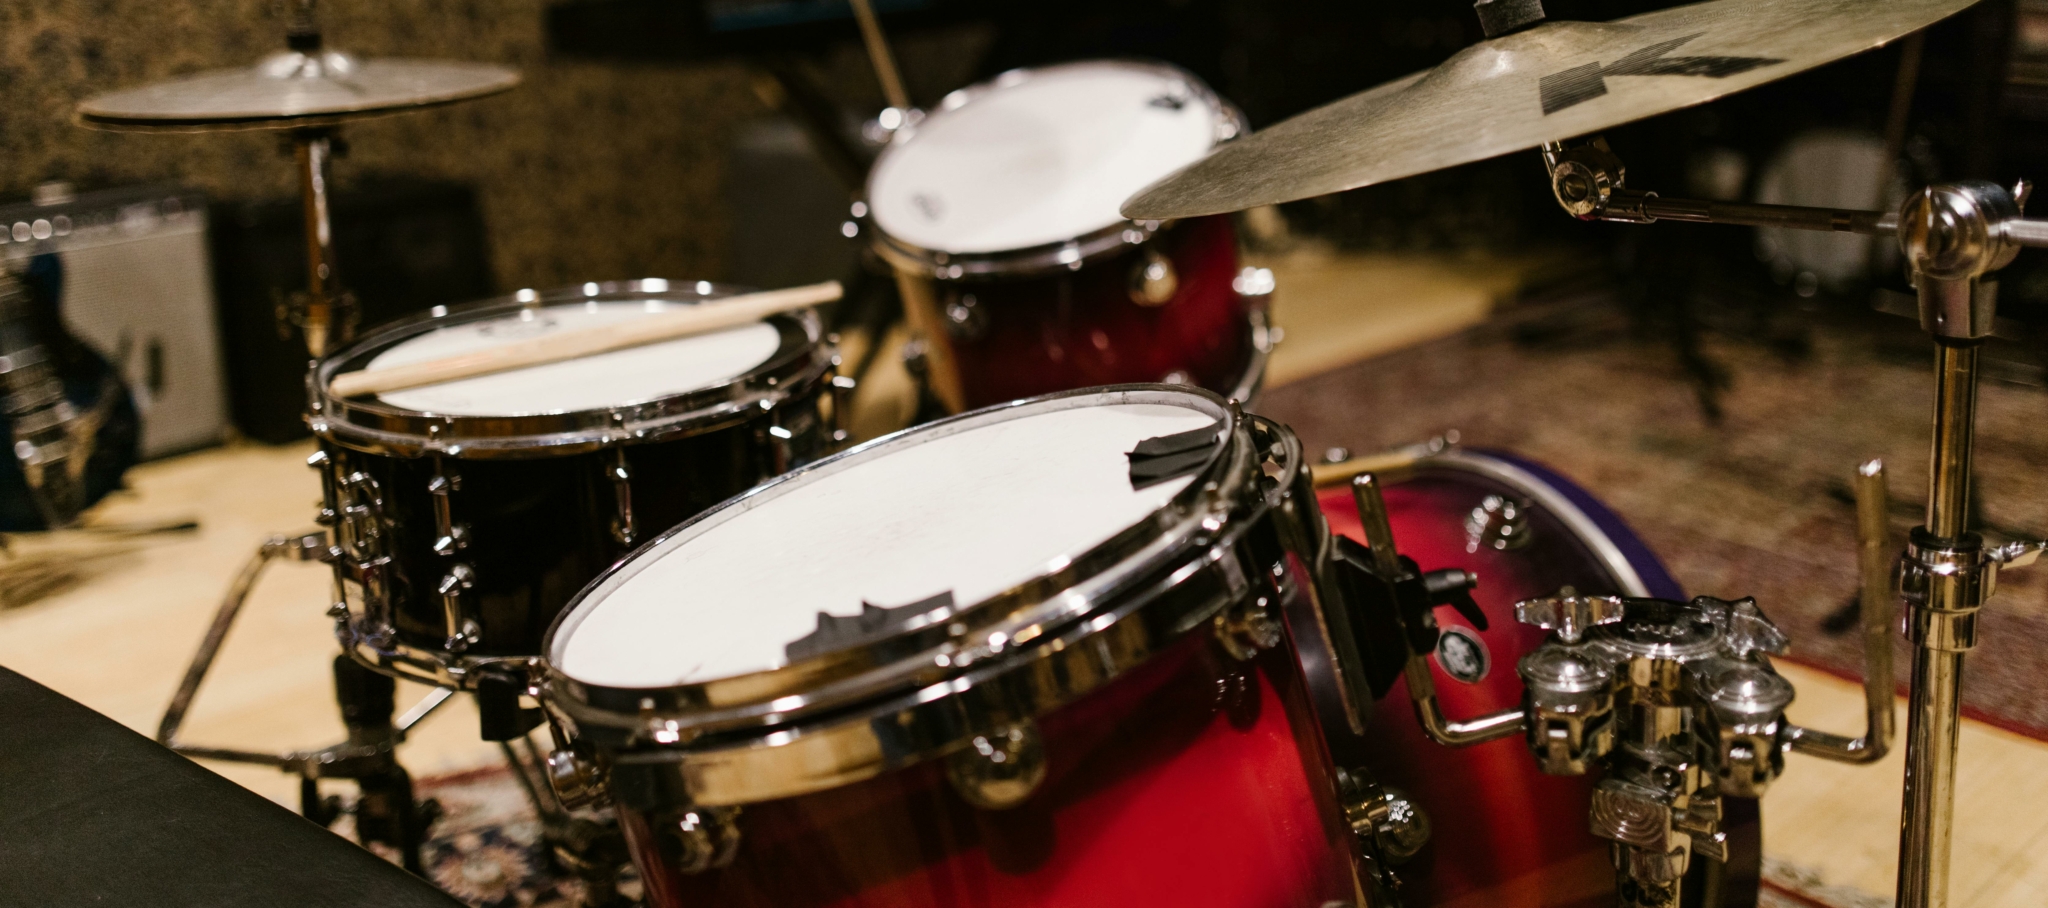
An acoustic drum kit consists of multiple drums, metal stands, pedals, and cymbals. The typical setup includes a snare drum, a bass drum (also called the kick), toms, and cymbals like hi-hats, a crash, and a ride. Each piece has a unique role in shaping the overall tone and groove.
A standard configuration often has five drums. The bass drum rests on the floor. It’s played with a foot pedal. The snare drum sits in front of you, near your knees, and provides a signature crack. Toms fill out the mid and low melodic tones. Cymbals accent specific rhythmic points or form the steady pulse.
Some kits come with additional components, like extra toms or effect cymbals. But most acoustic drum sets follow a basic pattern. Cymbals sit on stands around the drums. The hi-hat has its own pedal. Each stand has adjustable angles and height.
Hardware is equally important. It keeps everything stable. Good hardware ensures you won’t chase your drums as you play. Setting up hardware for comfort is vital. When everything is dialed in, drumming becomes natural and fun. Below, we’ll break down each drum and cymbal. We’ll describe how they sound, why they matter, and how they might change based on size or material. This section is a roadmap to help you recognize the main voices in your acoustic kit.
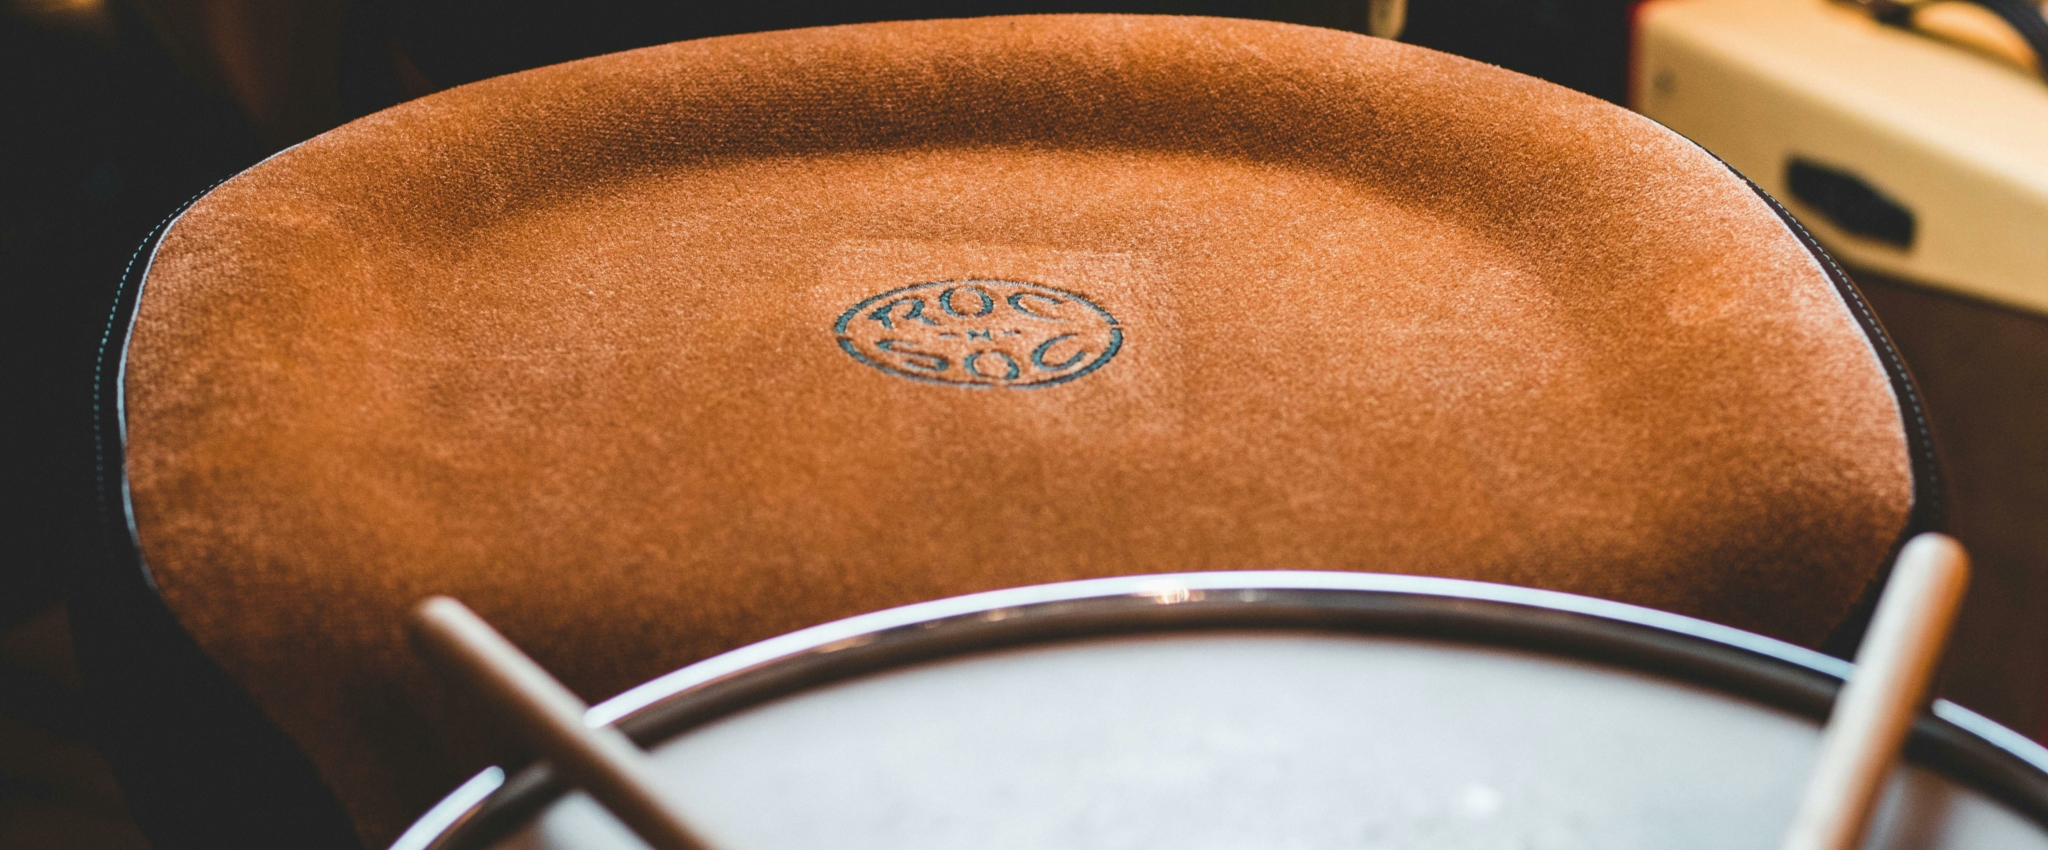
Snare Drum
The snare drum is the cornerstone of most drumbeats. It sits between your legs and produces a sharp crack or pop. That crack is central in many music genres. It often falls on the second and fourth beats of a measure, giving music its backbeat.
The snare features metal wires, called snare wires, across the bottom head. When you hit the top head, the wires vibrate, creating a bright, buzzing snap. You can tighten or loosen these wires using a device called the throw-off. Tighter wires yield a crisp, dry sound. Looser wires offer more sizzle.
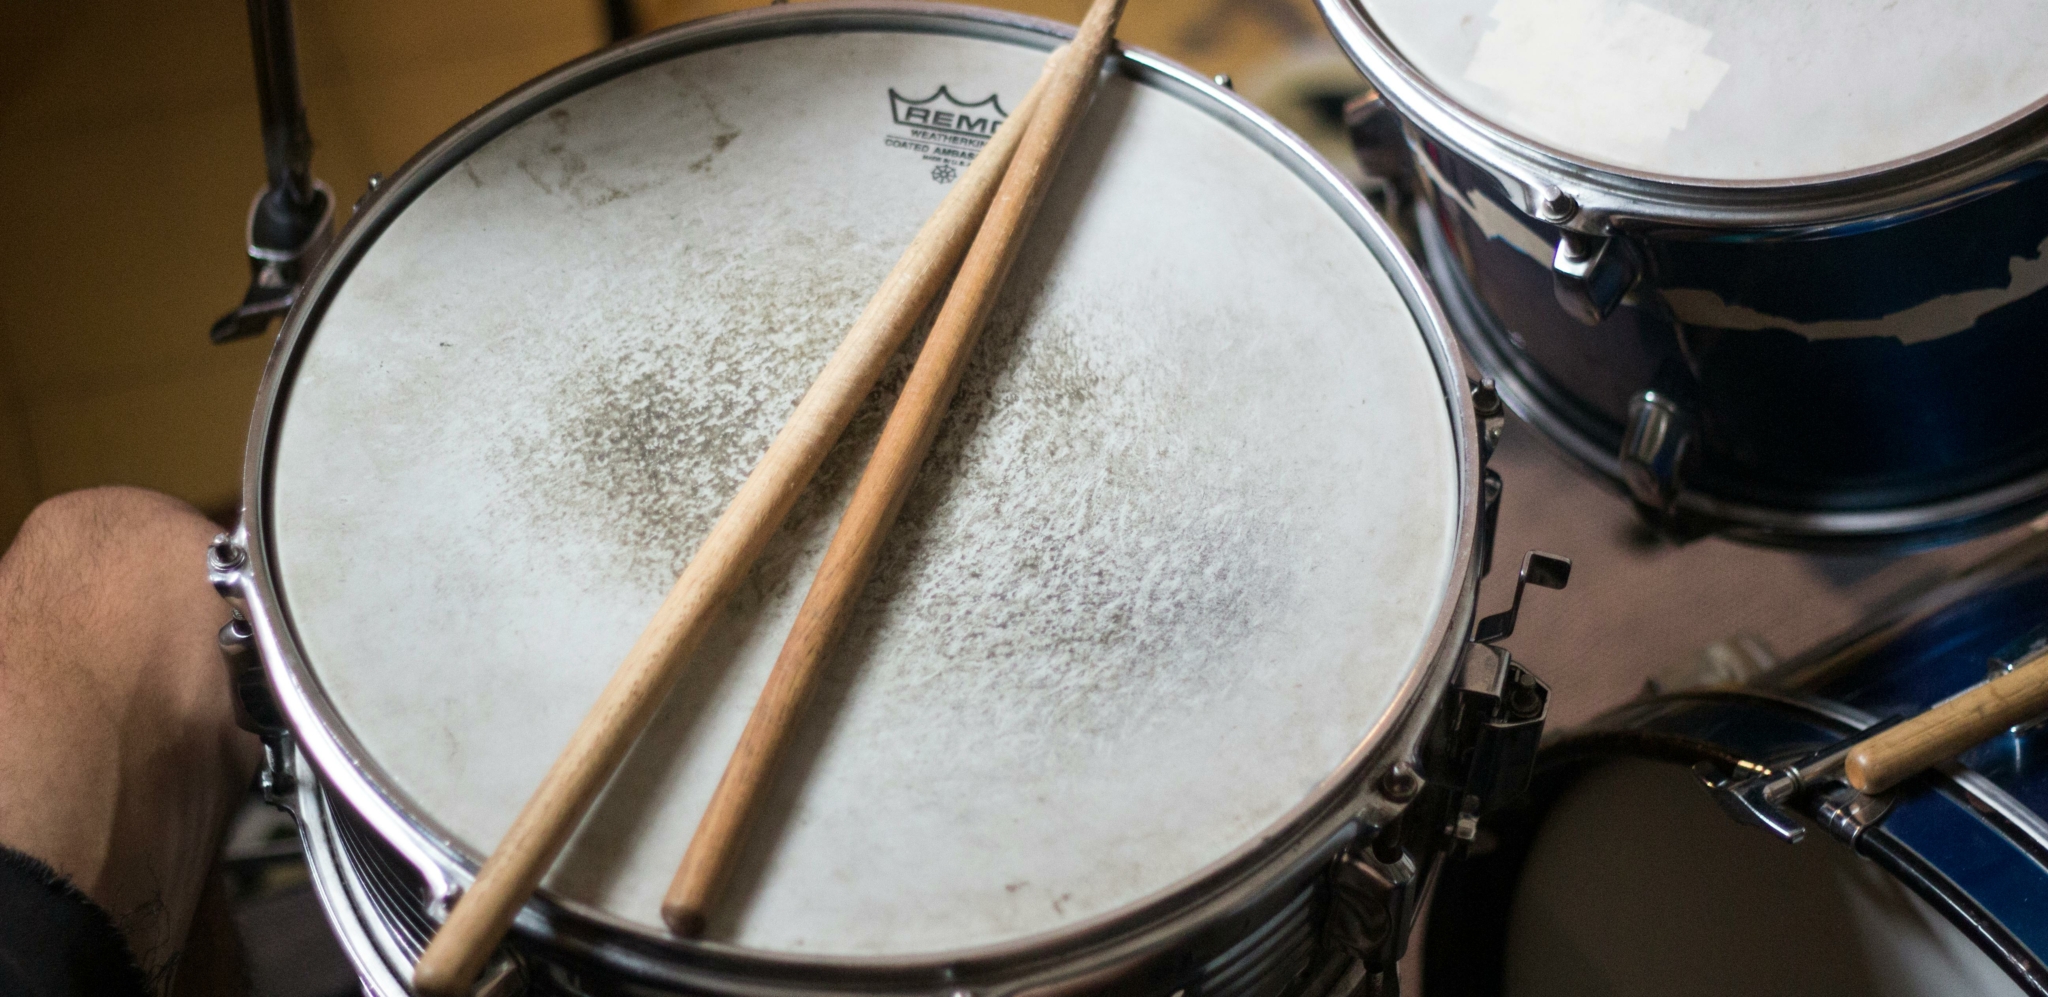
Snare drums are usually around 14 inches in diameter, with depths ranging from about 5 to 6.5 inches. A deeper drum can sound fatter and warmer. A shallower drum, such as a piccolo snare, can deliver a higher-pitched sound. Woods like maple or birch make warm, balanced snare tones. Metal snares, such as steel or brass, are generally louder and brighter.
Steel snares cut through loud music. Brass snares have warmth but still project power. Wood snares often feel rounded and subtle in their tone. The snare sets the emotional character of your beats. Changing its size or material can heavily influence your overall kit sound.
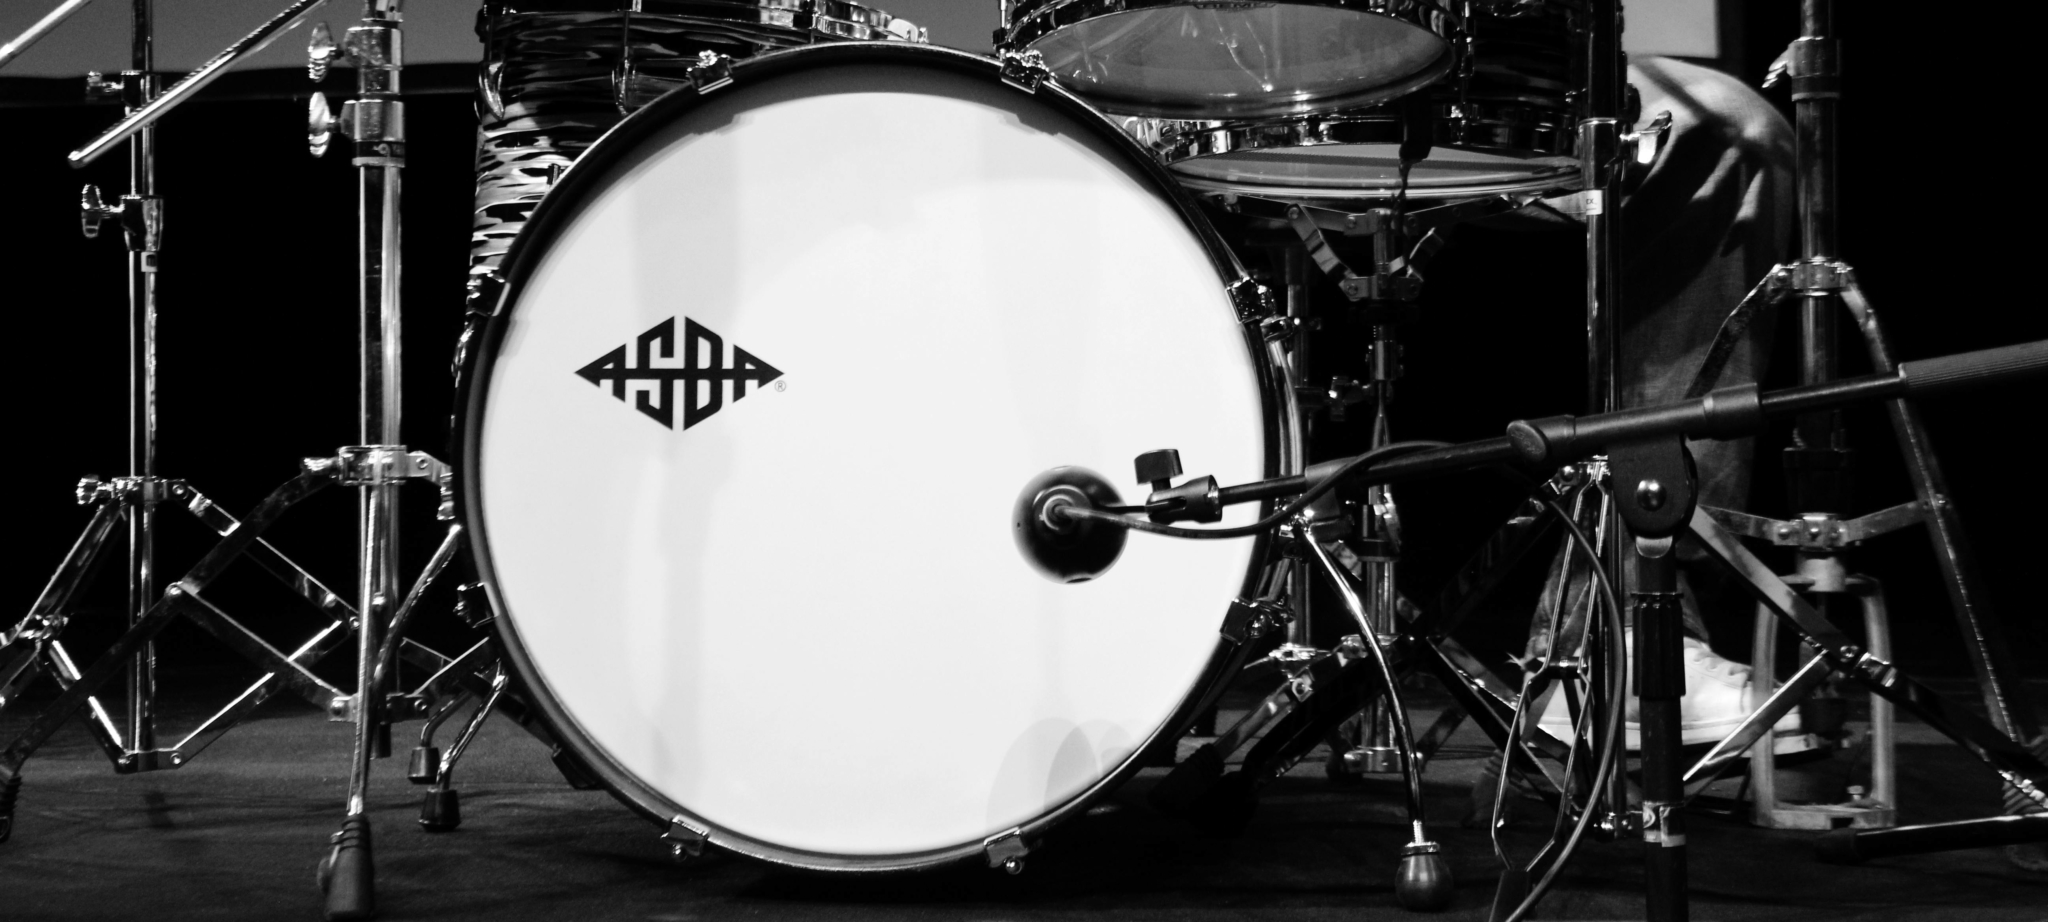
Bass Drum
The bass drum, or kick drum, generates the low-end thump. You strike it with a foot pedal. The common diameters are 20 or 22 inches. Some drummers use 16-inch bass drums for jazzy punch or 24-inch monsters for huge rock presence. Its sound is more felt than heard in many cases.
Inside the bass drum, some people place a pillow or foam. This muffles unwanted ringing and keeps the tone tight. Many bass drums also feature a small port hole in the front head. This hole lets air escape and makes the drum easier to mic. The pedal beater material affects the impact sound. Felt produces a warm tone. Plastic or wood beaters can create sharper attack.
Bass drum spurs, which are small legs on each side, prevent the drum from rolling or sliding away. Positioning the pedal and adjusting pedal spring tension are personal preferences. Rock players often like a punchy, muffled bass drum. Jazz drummers might prefer more open resonance. Each approach is valid. It all depends on the music and the drummer’s taste.
Toms
Toms provide melodic and rhythmic variety. They can be rack-mounted above the bass drum (rack toms) or placed on legs near the floor (floor tom). Rack toms are typically smaller, from 10 inches in diameter up to around 13 inches. Floor toms are usually 14 to 16 inches, delivering deeper tones.
The diameter of each tom correlates to pitch. Smaller diameters give higher pitches. Larger diameters yield lower, more resonant tones. Shell depth also matters. Deep shells have more volume and sustain. Shallow shells tend to be punchy with quicker decay.

A standard five-piece kit often has two rack toms and one floor tom. That arrangement suits many genres, from rock to pop. However, you can add or remove toms to suit your preference. A jazz setup might use just one rack tom and one floor tom. A metal kit might have several toms to execute elaborate fills.
Tuning toms in a descending sequence is typical. Start with the smallest tom pitched higher, down to the floor tom with the lowest pitch. This arrangement makes for a smooth, rolling fill across the toms. Toms fill space in a musical pattern, adding drama and color.
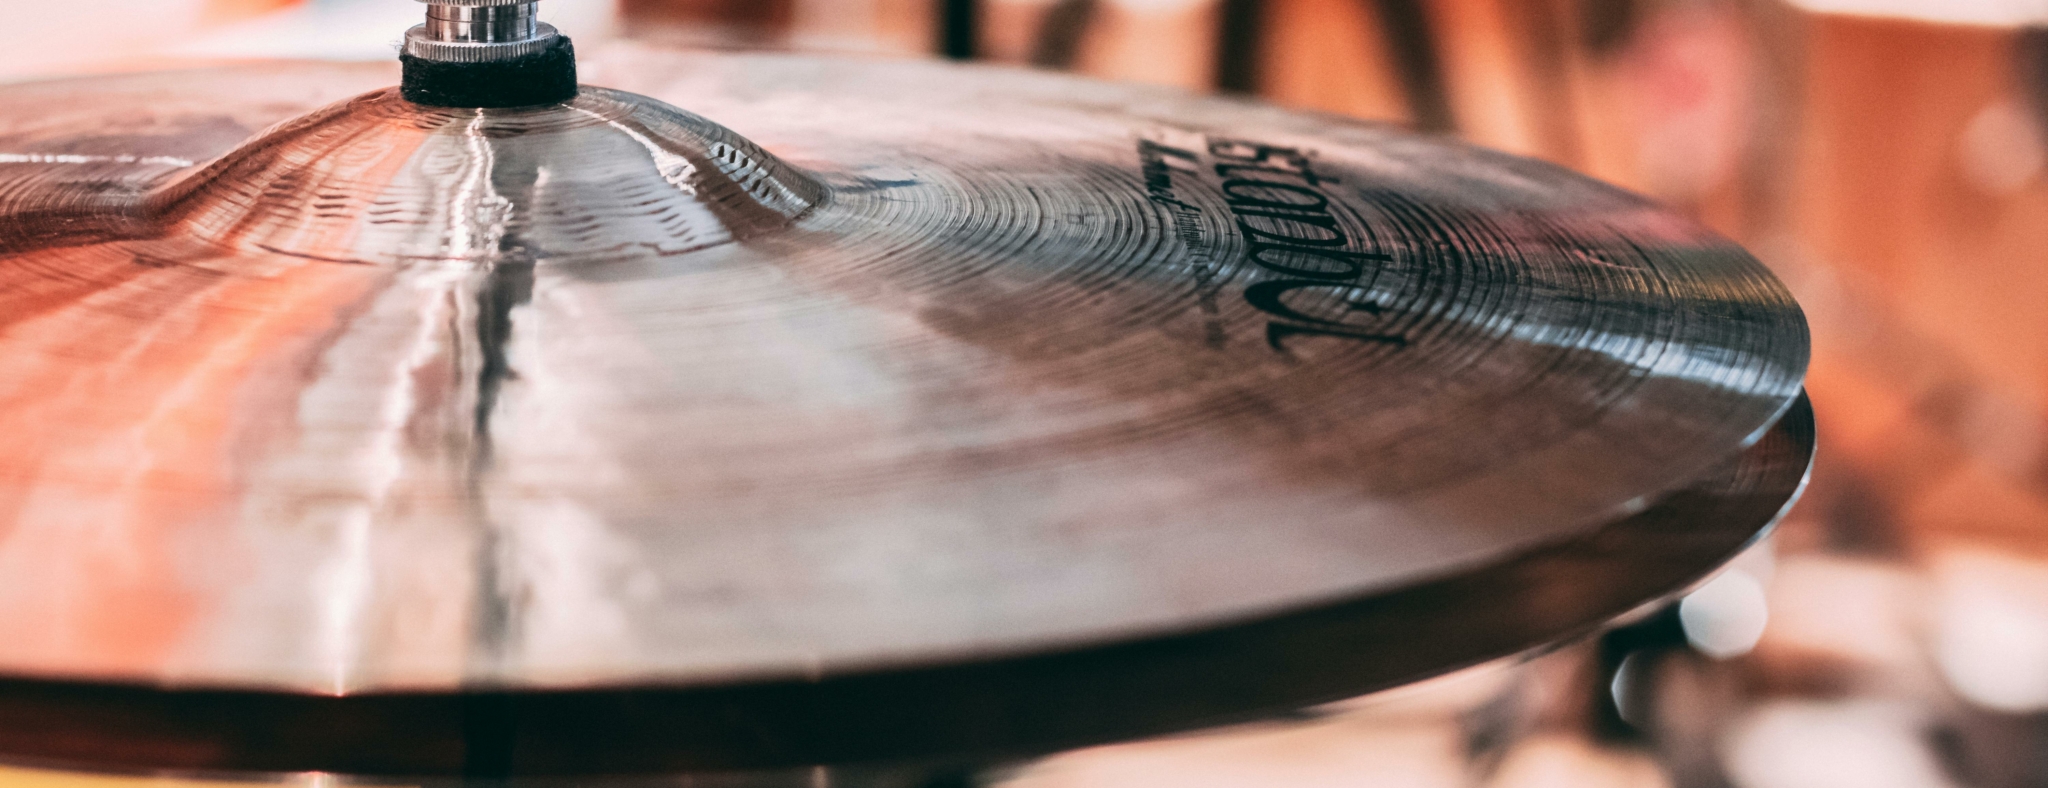
Cymbals
Cymbals offer brightness and accent within a drum kit. The main cymbals are the hi-hats, crash, and ride. Many drummers expand by adding splashes, Chinas, or additional crash cymbals. Cymbals are typically made from bronze alloys. They vary in thickness, diameter, and shape.
Hi-Hats
Hi-hats are two identical-sized cymbals mounted on a stand. A foot pedal allows you to press them together or separate them. When closed, hi-hats create a tight “chick.” When open, they produce a washy, sizzling sound. Drummers often play steady eighth or sixteenth notes on the hi-hats. The hi-hat pedal action can add nuance. You can try half-open, closed, or open positions.
Most standard hi-hats measure 14 inches. Smaller ones at 13 inches give a higher, tighter sound. Larger hi-hats at 15 or 16 inches can offer darker, broader tones. Hi-hats are crucial for timekeeping. They can also supply textural changes by opening or closing them mid-beat.
Crash Cymbal
A crash cymbal adds an explosive accent. It’s often used to signal transitions in a song, like going from verse to chorus. Standard crash sizes range from 16 to 18 inches. Larger crashes (like 19 or 20 inches) project more volume, but they can take longer to open up. Smaller crashes respond fast but might not have as much depth.
The crash typically sits to the drummer’s left or right, within easy arm’s reach. By hitting it on the edge with a glancing blow, you get that distinctive “crash” burst of sound. Many kits feature more than one crash for variety. Each crash can have a unique pitch and sustain.

Ride Cymbal
The ride cymbal is usually the largest cymbal in a standard kit. Common sizes are 20 or 22 inches, but rides can go up to 24 inches or more. The ride offers a “ping” when struck on the surface. Playing on the bell (the raised center) produces a bright, cutting tone.
Drummers use the ride for steady patterns, especially in jazz or moderate-tempo rock. The ride can also be crashed if it’s not too heavy. However, heavier ride cymbals can be quite stiff to crash. The ride is often placed near the floor tom. It provides consistent rhythmic patterns and a different flavor from hi-hats.
Additional Cymbals
Drummers often add splash cymbals, which are small and create a quick, bright accent. They might also use China cymbals, known for their trashy, exotic tone. Various other effect cymbals exist, like stacks or bells. These specialized cymbals let you further personalize your kit’s sound.
Hardware
Hardware comprises stands, pedals, mounts, and the drum throne. Each piece is vital for stability and ergonomics. Snare stands hold the snare at an adjustable angle. Cymbal stands come in straight or boom versions. A boom stand has an extra arm that can extend the cymbal over the drum set.
Hi-hat stands feature a pedal and a pull rod. You can adjust tension to control how stiff or loose the pedal feels. The bass drum pedal typically allows spring tension adjustments. Some drummers prefer a light pedal response. Others like it stiffer for quick rebounds.
The drum throne is where you sit. It should be adjustable so your thighs slope slightly downward. Comfort is crucial. If your throne is too high or too low, it can strain your back and legs. Quality hardware won’t slip during performance. Double-braced legs offer extra stability.
Drum keys are an essential piece of hardware. You’ll use a drum key to tune by tightening or loosening tension rods. Keep a drum key within reach at all times. You never know when you’ll need to make a quick tweak.
Shell Materials, Heads, and Tuning
Acoustic drums create sound through a combination of shell resonance, head vibration, and tension. The size of each drum, its material, and the drumhead selection all contribute to tone. Then there’s tuning, the process of adjusting tension at each lug. Understanding these factors allows you to shape your drum’s personality.
Shell Materials
Most drum shells are made of wood. Others can be metal or even acrylic. Each material has its own tonal signature.
- Maple: common pro-level wood. It offers a balanced frequency response, with a warm low end and pleasing highs. Maple shells project well and work for many music styles. Drummers appreciate maple for its versatility. It often provides a clean, full resonance that’s neither too bright nor too dark.
- Birch: emphasizes brighter highs and a tight punch. It’s great if you need clarity and presence. Birch often projects a strong attack and focused tone. This helps the drums cut through dense mixes. Birch shells also tend to have a slightly shorter sustain. They’re popular in recording contexts, where clarity is key.
- Mahogany: is known for vintage warmth and smooth midrange. Many older acoustic drum kits featured mahogany shells. They have a darker, mellower quality. The note can thud with rich low end. Mahogany shells lend themselves well to classic rock and jazz vibes. They bring a round, full presence, especially at lower tunings.
- Poplar: cost-effective wood found in many beginner kits. Yet it sounds surprisingly good. It produces a warm, controlled tone that’s not overly bright. Many entry-level kits rely on poplar because it’s easy to work with. Upgrading heads can unlock a pleasant, balanced sound that fits many genres.
- Metal Shells: most often used for snare drums. Steel is bright and cutting, excellent for loud environments. Brass can be powerful yet warm, with excellent volume potential. Aluminum offers dryness and clarity, popular in certain studios. Bronze sits between brass and steel in some respects, providing a wide sonic range. Metal shells for toms or bass drums exist, but they’re less common and can be quite heavy.
Drumheads
Drumheads are the membranes you hit (batter side) and those that resonate (resonant side). Changing heads can alter your drum’s tone dramatically.
Single-Ply vs. Double-Ply
A single-ply head is typically around 10 mil thick. It offers an open, resonant sound with bright overtones. This might be ideal for jazz or lighter styles. A double-ply head has two layers, often 7 mil each. It shortens sustain and delivers a thicker, more controlled tone. Double-ply heads work well for rock, metal, or any setting where you want reduced overtones.
Coated vs. Clear
A coated head has a white or textured surface. The coating warms the sound and helps with brushwork. Clear heads are brighter, allowing more high-frequency ring. Many drummers use coated heads on the snare and clear heads on toms. Others prefer coated heads all around for a more vintage vibe.
Specialty Heads
Some heads come pre-muffled. For instance, certain bass drum heads have built-in damping rings. Others have a center dot for reinforcement. These features help control overtones. You can also add , rings, or tape to reduce ringing. The choice depends on how open or muffled you want your drums to sound.

Tuning
Tuning is crucial. You adjust tension rods around the drum’s rim to change pitch and resonance.
Even Tension
It’s important to apply tension evenly. A star pattern helps prevent warping or wrinkling of the head. By tapping near each lug, you can hear if any spot is higher or lower in pitch. Aim for a consistent pitch at all lugs.
Batter vs. Resonant
You can tune the batter head to one pitch and the resonant head to another. Matching both often yields longer sustain and a purer tone. Tuning the bottom head higher can create a pitch bend upward. Tuning it lower gives a downward pitch bend. Snare-side heads are often tuned very tight to get that snappy response. Bass drum heads are usually kept at lower tension for a deep thump.
Muffling
Sometimes you get overtones that feel excessive. Muffling addresses this. Moongel, tape, or specialized dampening rings help control sustain. Bass drums often have a pillow or foam inside. You should avoid over-muffling, which can make the drum sound too dead. Finding the right balance is part of the art of tuning.
Tuning is an ongoing skill. Temperature, humidity, and playing style can detune heads over time. Regular fine-tuning ensures a consistent sound. Experimentation is key. Many drummers find satisfaction in discovering that “sweet spot” for each drum.
Setting Up Your Acoustic Drum Kit
Kit setup is personal. There’s no single right way, but there are ergonomic principles that help. You want easy access to all drums and cymbals. Your posture matters too. A comfortable setup prevents fatigue and injury, allowing you to play longer and better.
Bass Drum and Throne
Place your bass drum where you want the center of your kit to be. Attach the pedal securely so it doesn’t slip. Adjust the pedal’s spring tension to a level that feels natural. Set the throne at a height where your thighs slope slightly downward. Your foot should rest on the bass pedal with a comfortable bend in your knee.

The angle of the bass drum spurs can stop it from rolling. If the front hoop is raised too high, your pedal stroke might feel odd. Find a stable angle so the pedal beater hits near the center of the head. Make sure you position a rug or mat under the kit to keep everything from moving.
Snare Placement
Position the snare drum in its stand, typically between your legs. Aim for a height around your belt or slightly below. When you play, your forearms should be roughly level with the snare head. Some drummers tilt the snare slightly toward them. Others keep it almost flat. Test out different angles to see what’s comfortable. If you play rimshots frequently, a flatter snare can help.
The throw-off lever should be easy to reach. You may want to adjust snare wire tension quickly mid-session. Make sure the snare stand’s basket isn’t choking the drum. The drum should rest firmly but not be clamped too tight.
Toms and Cymbals
Most kits have one or two rack toms mounted on top of or above the bass drum. If you have two rack toms, place them where you can strike each near the center without awkward arm extension. A moderate tilt angle usually works well. If the toms are too flat, it might be hard to hit them properly. If they’re angled too steeply, you might catch the rims a lot.
The floor tom usually sits to your right if you’re right-handed. Many drummers keep the floor tom nearly flat or slightly tilted. Height is key. You shouldn’t have to reach excessively. Having the floor tom rim a bit lower than the snare rim is common.
Hi-hats sit to your left, close to the snare. When you place the hi-hat stand, adjust it so your left foot rests naturally on the pedal. The gap between the hi-hat cymbals when open is usually an inch or two. Make sure the top cymbal lines up well with the pull rod so it closes flush.
The ride cymbal often goes above or slightly to the right of the floor tom. Keep it in range of your right hand. A too-far ride can strain your shoulder. A crash cymbal typically hangs above the rack tom or near the ride. You want to hit it without reaching or twisting too much. If you have multiple crashes, you can place them on both sides for convenience.
Maintenance
Keeping your kit in good shape will prolong its life. Regular upkeep also ensures you get the best sound every time you play. Drums and cymbals can stand up to heavy use, but it’s worth performing a few simple checks.
Cleaning
Wipe down shells and hardware with a soft cloth to remove dust or stick marks. For wooden shells, avoid harsh chemicals. A damp cloth usually does the trick. Dry them afterward so moisture doesn’t sit. You can polish metal hardware lightly if it shows signs of corrosion.
Cymbals can develop patina over time. Some drummers love that antique look. Others prefer to polish them until they shine like new. If you decide to clean them, use a cymbal cleaner designed for bronze or brass. Never use abrasive pads that might scratch the surface.
Heads and Hardware
Drumheads wear out gradually. They become harder to tune, or you’ll see dents. A dull, lifeless sound is often a sign it’s time to replace a head. Consider keeping spare heads around for snare and toms.
Check your stands and pedals. Tighten any wingnuts or screws that loosen. If the pedal squeaks, a drop of light oil might help. Replace missing or worn felts to protect your cymbals. If your hi-hat stand feels sloppy, see if the pull rod or clutch is loose.
Storage
When not in use, keep your drums in a stable environment. Avoid direct sunlight or extreme humidity. Moisture can damage wood shells. If you’re transporting your kit, consider using soft or hard cases to protect from dings. Cymbals can crack if they clash against each other at harsh angles. Proper cases reduce that risk.
A basic maintenance routine saves money in the long run. You won’t have to deal with rusted hardware or severely damaged shells. Also, a clean kit looks more appealing and encourages you to practice more often.
Choosing an Acoustic Drum Kit by Skill Level & Recommendations
Acoustic Drum kits are available at every price point. New players often need a more affordable all-in-one kit. Intermediate drummers might want better shells and hardware. Advanced players might invest in high-end or custom kits. Consider your budget, style, and needs.
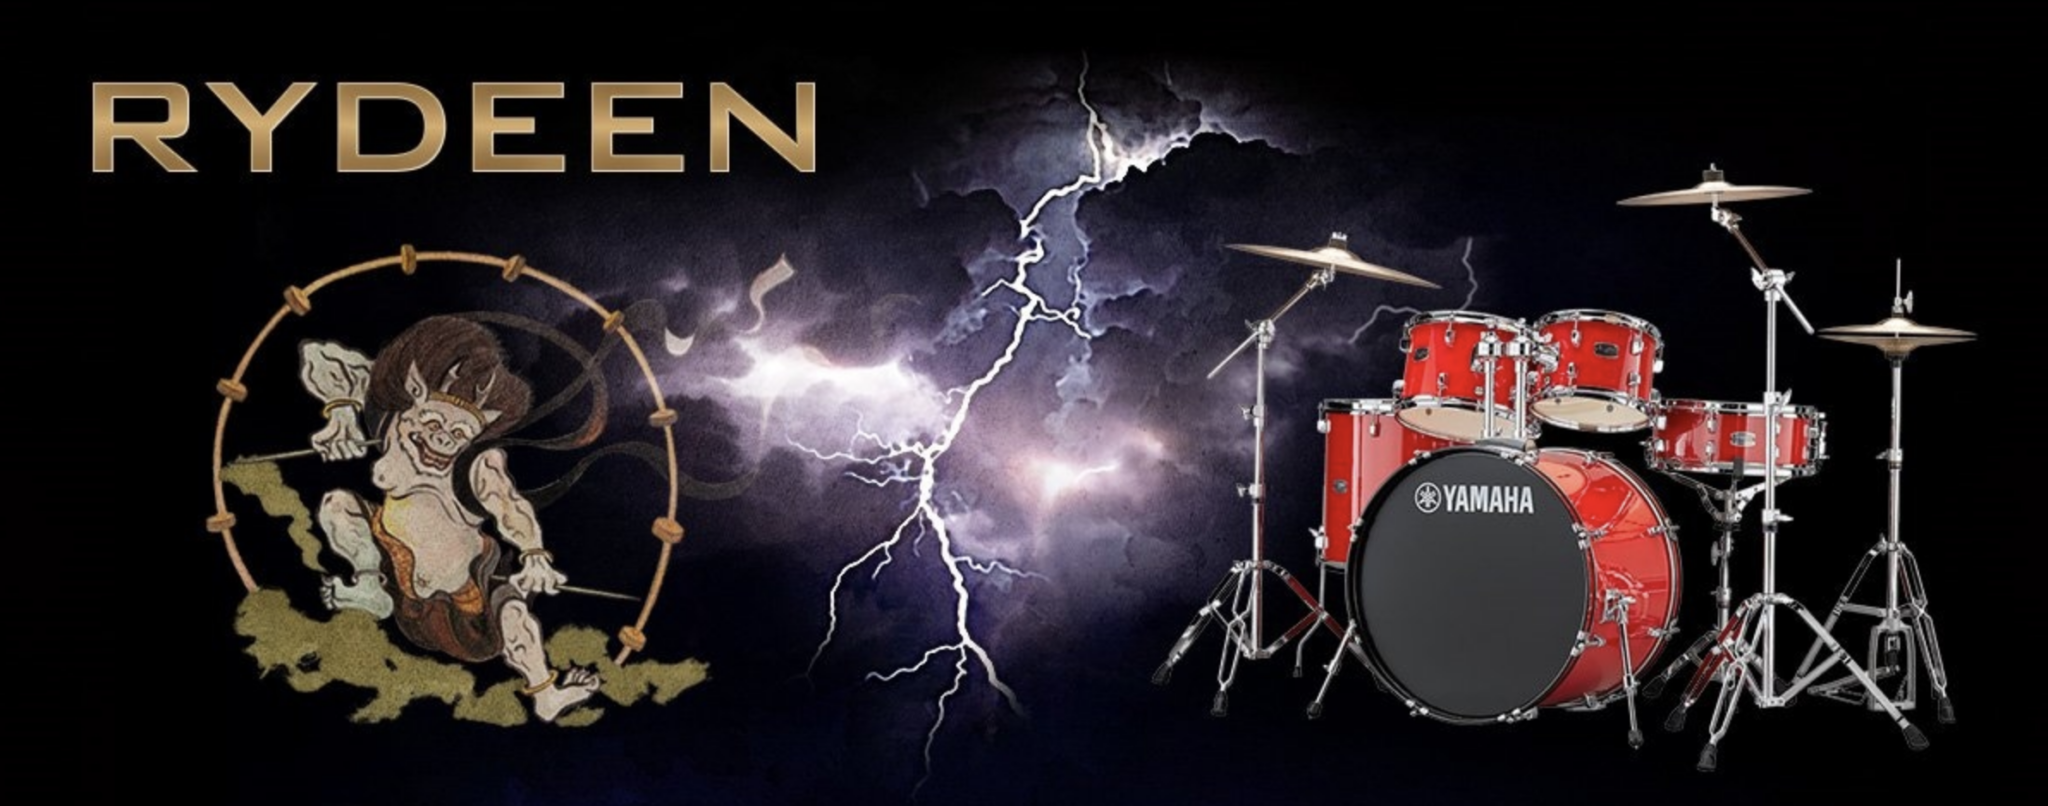
Beginners Drum Kit
A beginner kit should be complete. It usually includes the bass drum, snare drum, toms, cymbals, stands, and pedals. Cheaper kits may have poplar or basswood shells. The cymbals might be entry-level. But these packages let you start drumming right away.
Look for a solidly built kit. Pay attention to hardware sturdiness. Weak stands or pedals can hamper your learning. Over time, consider swapping stock heads for higher-quality ones. Also, plan to upgrade cymbals if you stick with drumming. Basic cymbals are fine to learn on, but they often have limited tonal qualities.
We would recommend the Yamaha Rydeen, with 6-ply 100% poplar.
Intermediate Drum Kit
An intermediate kit usually features better wood, such as birch, maple, or blends. It may come as a shell pack. You then choose hardware and cymbals separately. Intermediate kits handle studio recording or small gigs. They have more refined tone, better hardware mounting, and a polished finish.
Most intermediate drummers upgrade their cymbals first. Good cymbals transform your sound more drastically than you might expect. At this stage, you might also add an upgraded snare. That can drastically alter your backbeat. The kit shells are typically well-made, so tuning yields nice results.
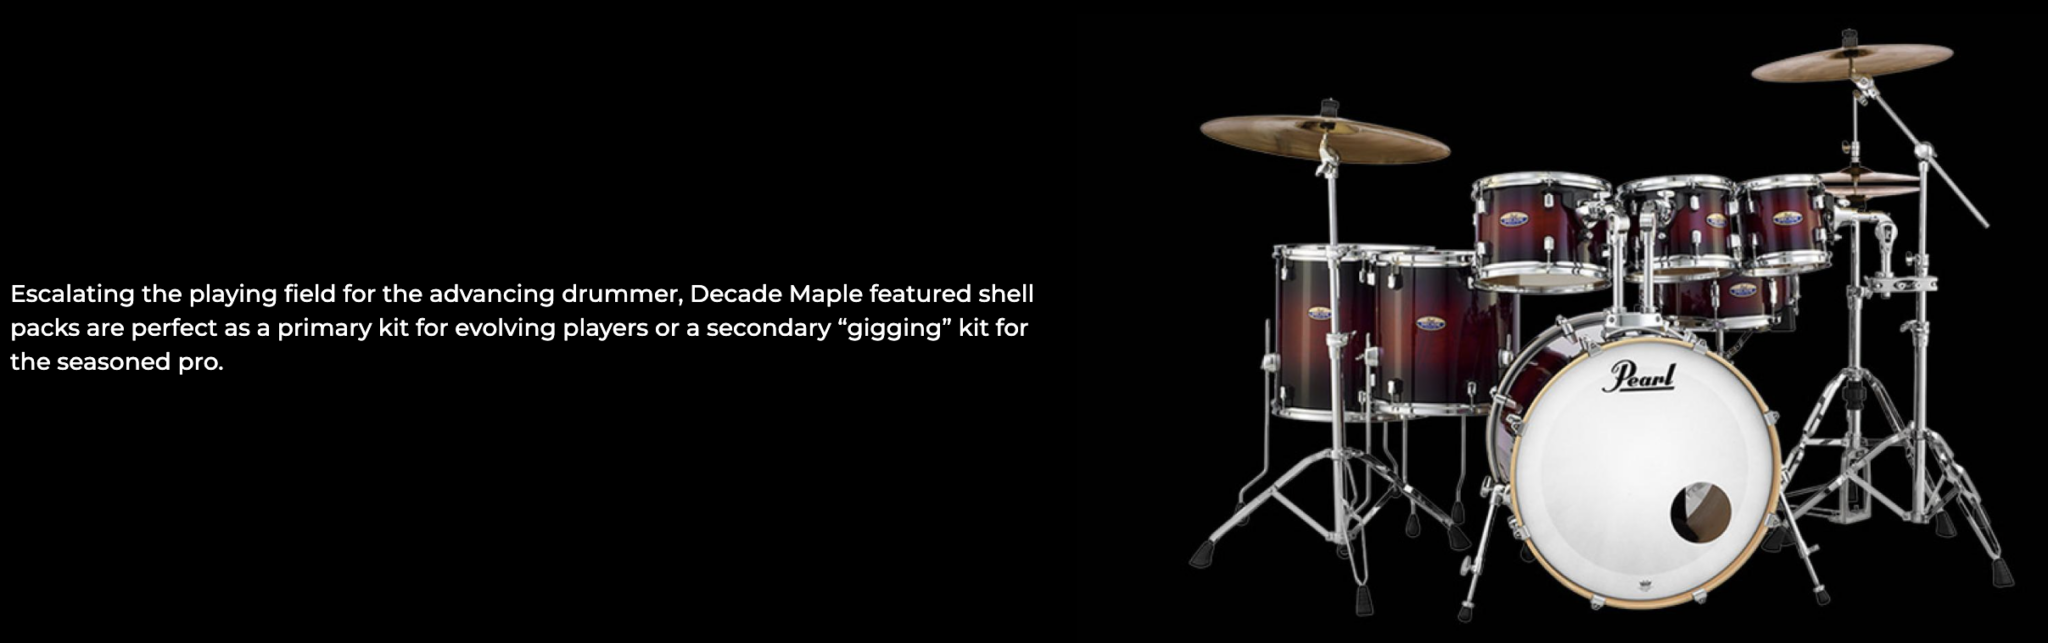
One interesting option in this range is the Pearl Decade Maple, with shell material made of 6-ply maple (5.4 mm EvenPly shells),
Advanced Drum Kit
Advanced or professional kits use premium woods, meticulous craftsmanship, and often custom features. Shells might incorporate exotic veneers or hybrid plies. Hardware is top-notch, designed for touring or long-term studio use. These kits can be pricey, but they offer consistent tone and durability.
If you’re at this level, you may choose shells separately from hardware and cymbals. You might own multiple snares for different situations. You might choose particular bearing edges or custom dimensions. The difference in a pro kit is subtle to the untrained ear, but the feel and performance can be exceptional. You have maximum control over your final sound.
Our recommendation is the Ludwig Classic Maple: With 7-ply North American maple (6 mm).
Conclusion
Acoustic drum kit define the pulse of many music genres. The combination of snare, bass drum, toms, and cymbals creates the heart of a rhythmic tapestry. Each component plays a unique part. How you tune and set up those pieces shapes the overall feel.
No single arrangement works for everyone. Drummers customize every detail, from snare depth to cymbal size, from tom angles to pedal tension. It’s a continuous journey. As you learn, you find the sweet spots that match your ears and style. You also learn how to maintain your gear so it lasts.
Take your time exploring different heads, shell types, and setups. Try new tunings. Move your hi-hat stand or lower your tom. Experimenting is part of the fun. You’ll grow as a musician and discover unique approaches to shaping tone and vibe. In the end, the drummer’s feel, groove, and creativity matter most.
An acoustic kit rewards attention and patience. When you dial in the tuning and place everything just right, the result is a powerful, organic instrument. That’s part of the drumming magic. Whether you’re jamming in a garage or playing a major venue, an acoustic set grounds you in real, resonant sound. Keep learning, practicing, and enjoying the process. Every beat you play is a story—tell it well!
Sobre o Autor

Néstor Rausell
Cantor, Músico e Especialista em Marketing de ConteúdoO Néstor Rausell é o vocalista da banda de Rock "Néstor Rausell y Los Impostores". Trabalha no MasteringBOX como Especialista em Marketing.
Deixa um comentário
Entra para comentar