Mastering is the final step in the audio production process. After you’ve achieved a solid mix that balances all instruments, vocals, and other elements, you turn to mastering to bring the entire track to a final state of polish. One key component of this stage is the audio limiter, a powerful process that ensures your track has both optimal loudness and controlled peaks.
Many producers equate limiting with compression, but while they share some fundamental principles, a limiter is more specialized. A limiter’s job is to set a strict ceiling for your audio signal, preventing it from ever rising above a specified level. In this article, we’ll explore what is an Audio Limiter, when to use it and when not and why and how to use and audio limiter. We’ll also examine peak vs. RMS limiting, loudness normalization standards, and important features like look-ahead and true peak limiting. Finally, we’ll cover common mistakes and best practices so you can make the most out of your limiter in mastering.
Table of Contents
- What is an Audio Limiter?
- When to Use (and When Not to Use) an Audio Limiter
- Why Use an Audio Limiter?
- How to Use an Audio Limiter
- Types of Audio Limiters
- Peak vs. RMS Limiting
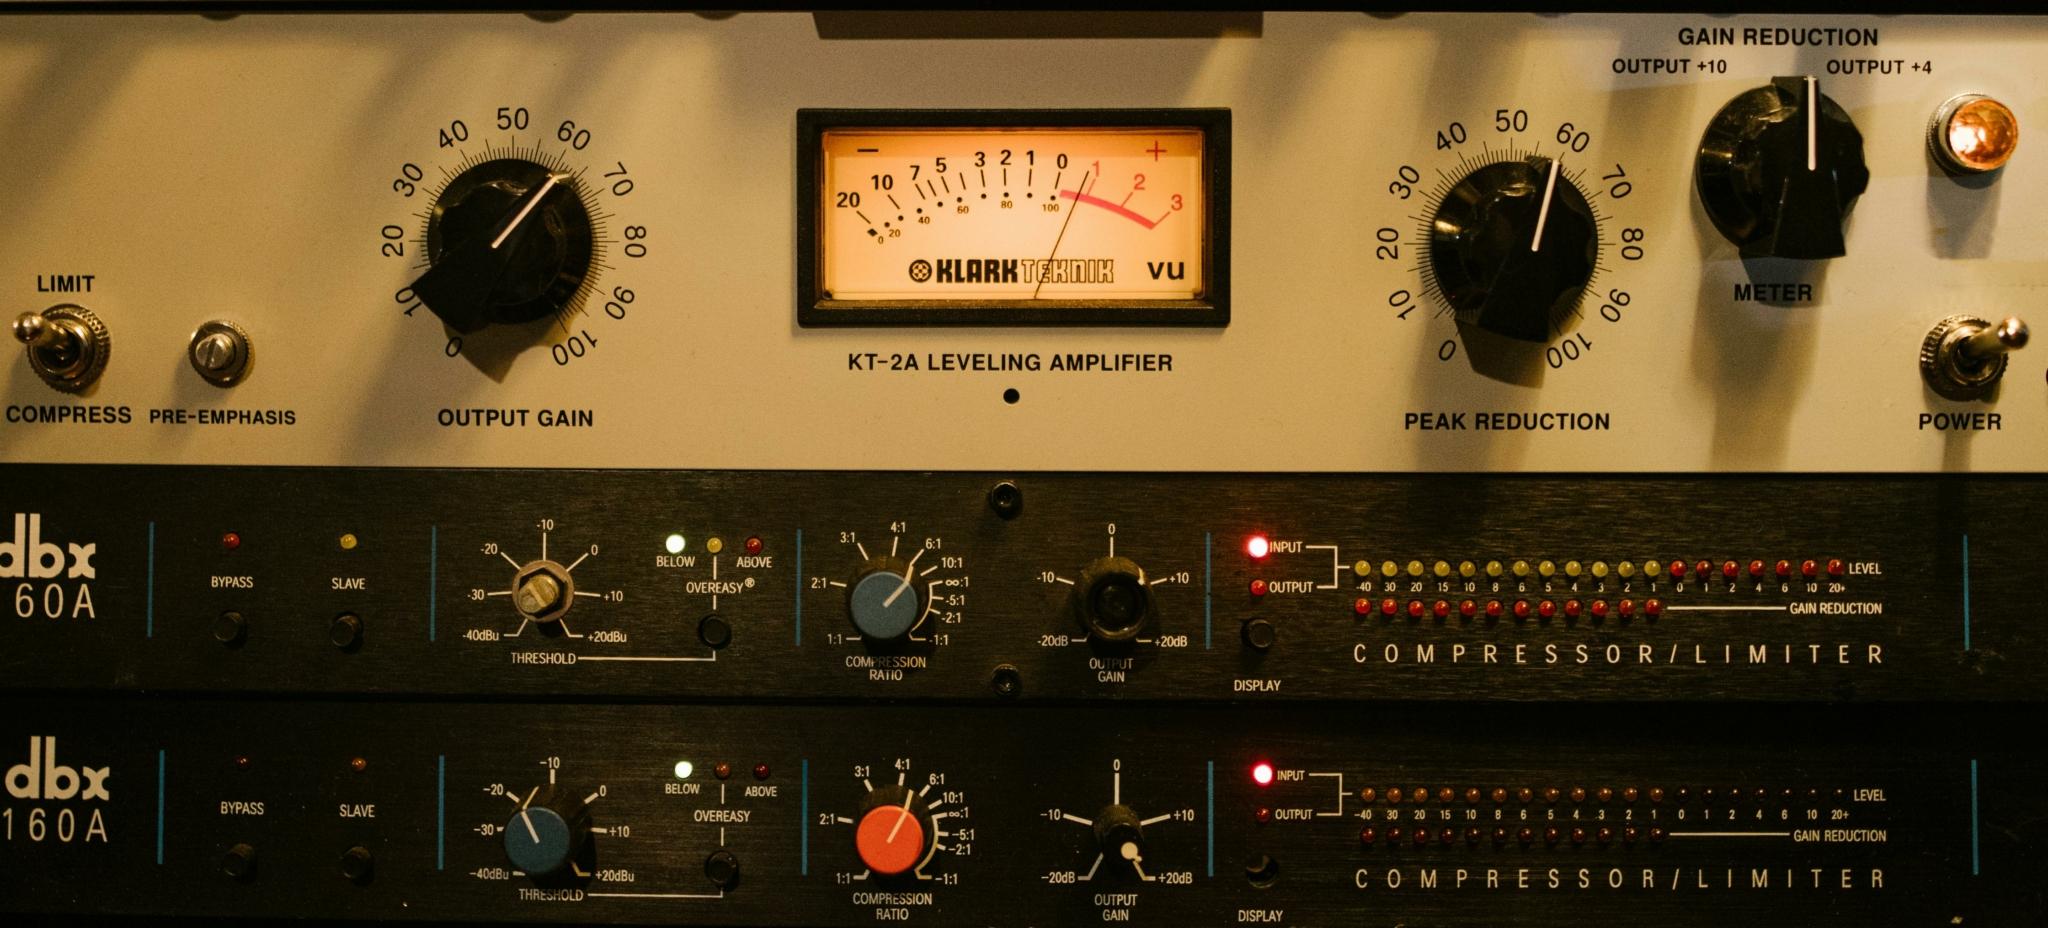
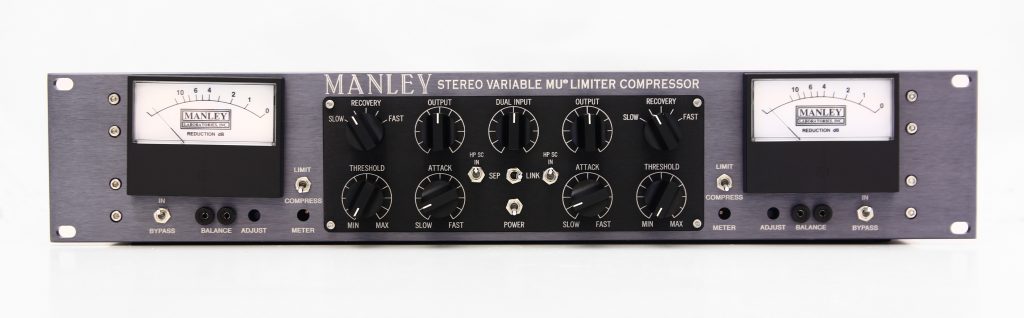
- How Limiters Differ from Compressors
- Placing Limiters in the Mastering Chain
- Loudness Normalization Standards
- Common Mistakes and Best Practices
- Conclusion
What is an Audio Limiter?
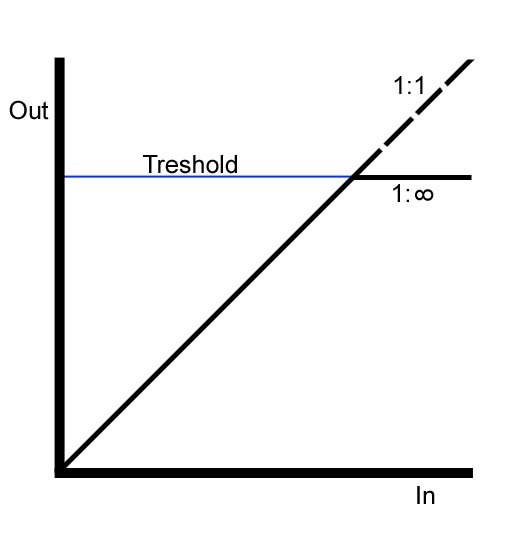
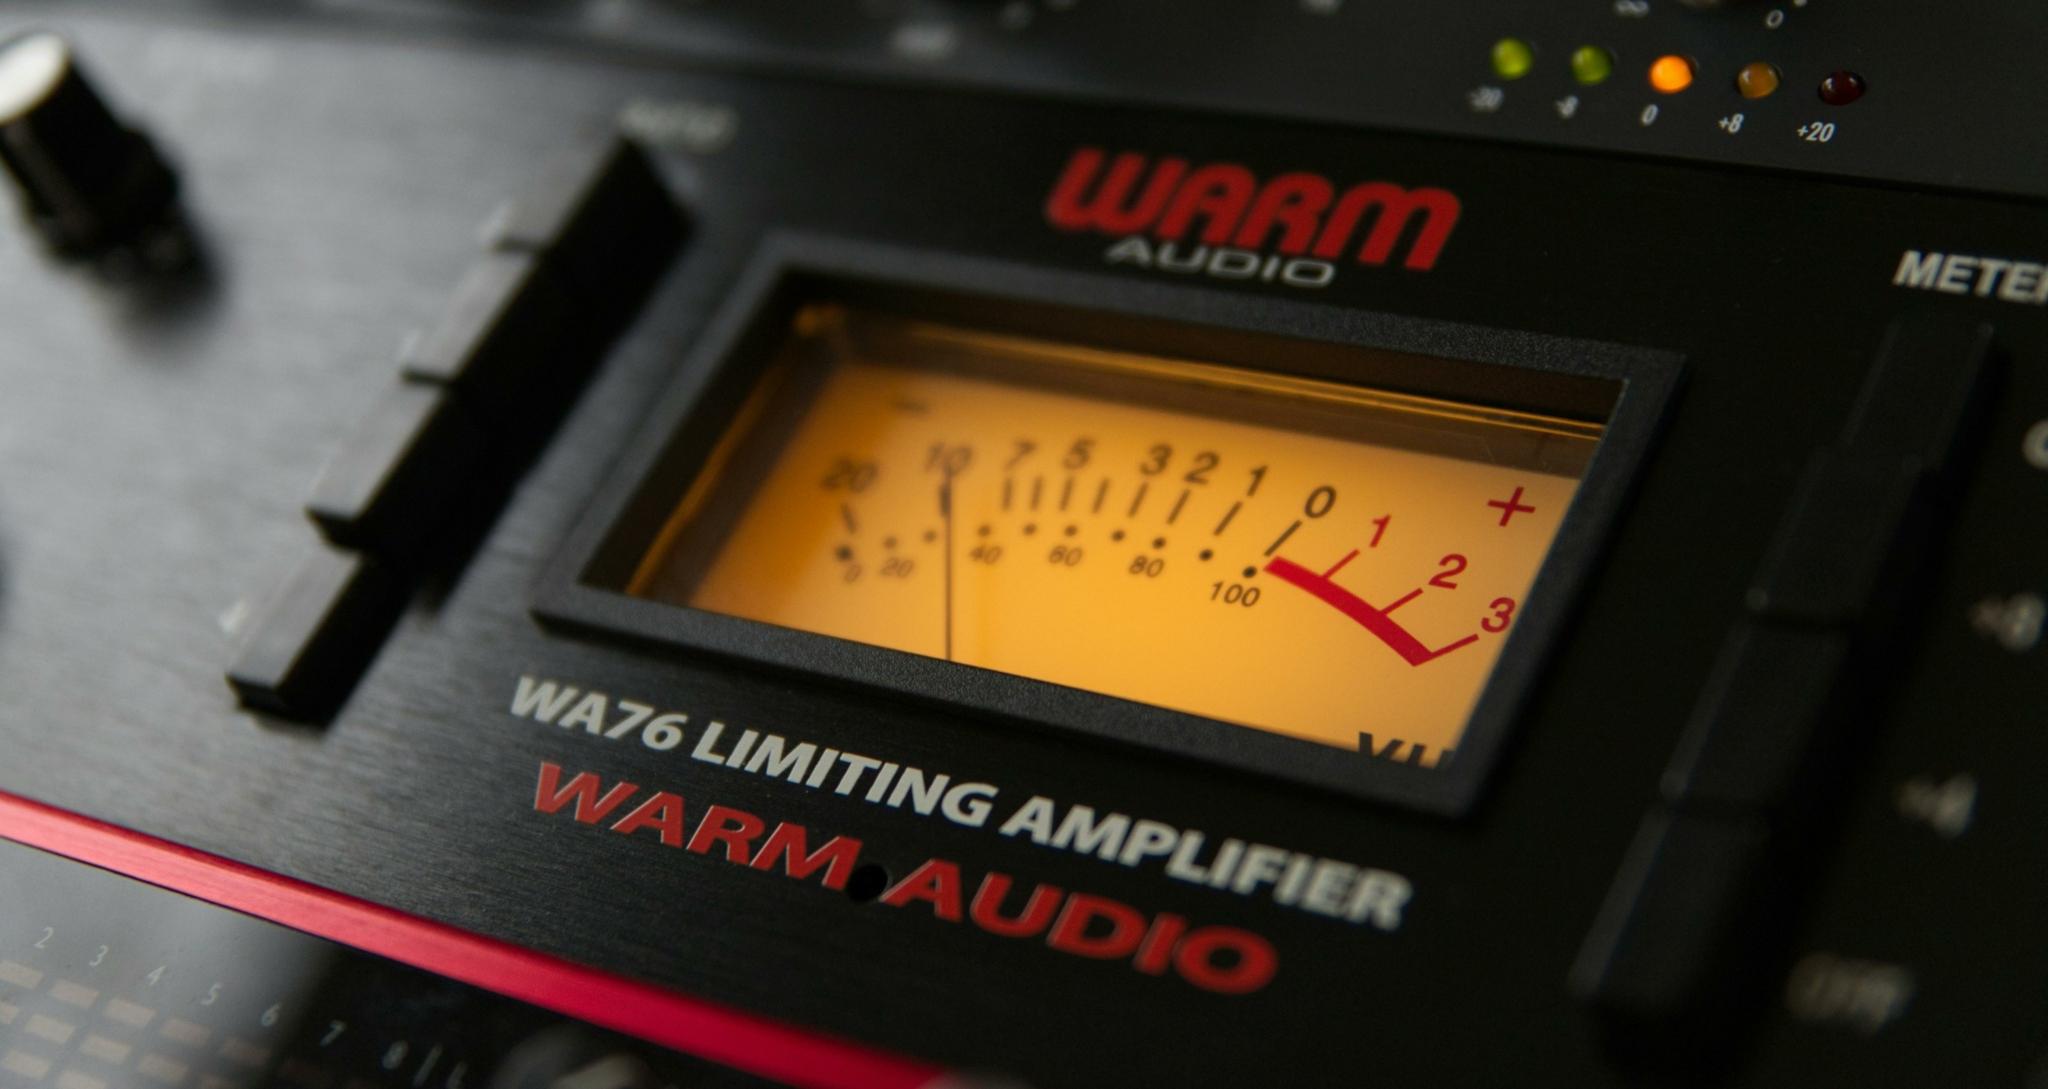
An audio limiter is a specific type of dynamics processor designed to prevent audio signals from exceeding a designated output level (often called the “ceiling”). Think of it as a more extreme version of compression: while a typical compressor might have a moderate ratio (e.g., 4:1), a limiter’s ratio approaches or reaches infinity:1. Any incoming signal that crosses the threshold gets clamped down immediately—ensuring peaks don’t go above that set point.
Key Characteristics of a Limiter:
- High Ratio (or Infinity:1) – Stops signals from passing the threshold.
- Fast Attack – Reacts quickly to sudden transients to prevent overshoot.
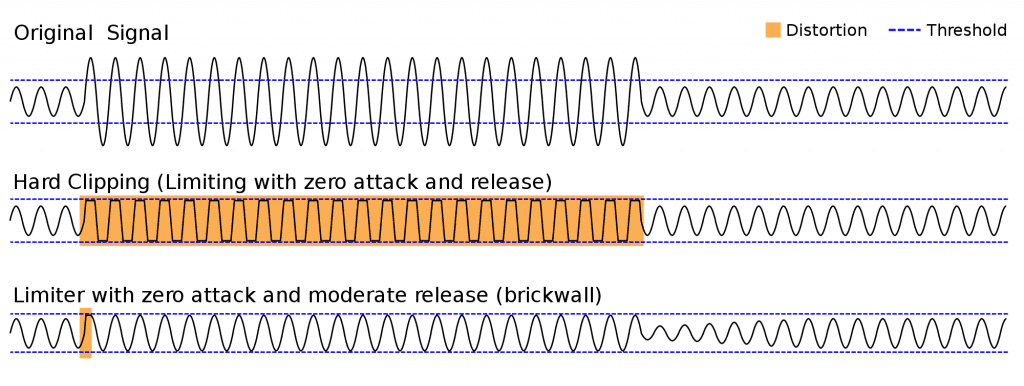
- Strict Output Ceiling – Maintains a “brick wall” so levels never go above the limit.
Limiters are commonly employed in mastering because they allow you to maximize loudness without incurring digital clipping. By fine-tuning the threshold and ceiling, you can make a track sound louder and more polished without sacrificing clarity.
When to Use (and When Not to Use) an Audio Limiter
Understanding when to place a limiter is crucial for getting the best results. Properly applied, a limiter prevents clipping and achieves competitive loudness. Used poorly, it can lead to distortion and overly squeezed dynamics.
When to Use
- Final Stage of Mastering: Prevents overs that might arise from subsequent EQ boosts or stereo imaging, keeping the final output clean.
- Protecting Against Overs: Safeguards your mix from digital clipping in broadcast, streaming, or live settings by enforcing a strict peak limit.
- Competitive Loudness: Helps match commercial loudness standards while preserving audio quality and clarity.
When Not to Use
- On Every Single Track: Heavy limiting on individual channels can result in a flat, lifeless overall mix light “safety” limiting can be okay, but too much dulls the final sound.
- Fixing a Bad Mix: Doesn’t rectify fundamental level imbalances or harsh frequencies; relying on limiting for such issues leads to pumping and distortion.
- Early in the Signal Chain: Risks stifling dynamic flexibility and causing clipping if you boost levels later in the process.
Why Use an Audio Limiter?
Modern music production often demands a careful balance between loudness and clarity. An audio limiter is one of the most effective tools for achieving that balance, whether you’re trying to prevent clipping, increase perceived volume, ensure consistent playback quality, or meet specific streaming platform standards. By intelligently controlling the highest peaks, a limiter can elevate your mix’s loudness while preserving its musical detail and impact. Here are several key reasons why it plays such a vital role.
- Prevents Clipping: Stops peaks from exceeding 0 dBFS and causing digital distortion.
- Boosts Perceived Loudness: Controls transients so you can raise overall volume without losing clarity.
- Ensures Consistency: Maintains impact and definition across various playback systems and environments.
- Meets Streaming Requirements: Aligns your mix with LUFS standards on major platforms while preserving dynamics.
How to Use an Audio Limiter
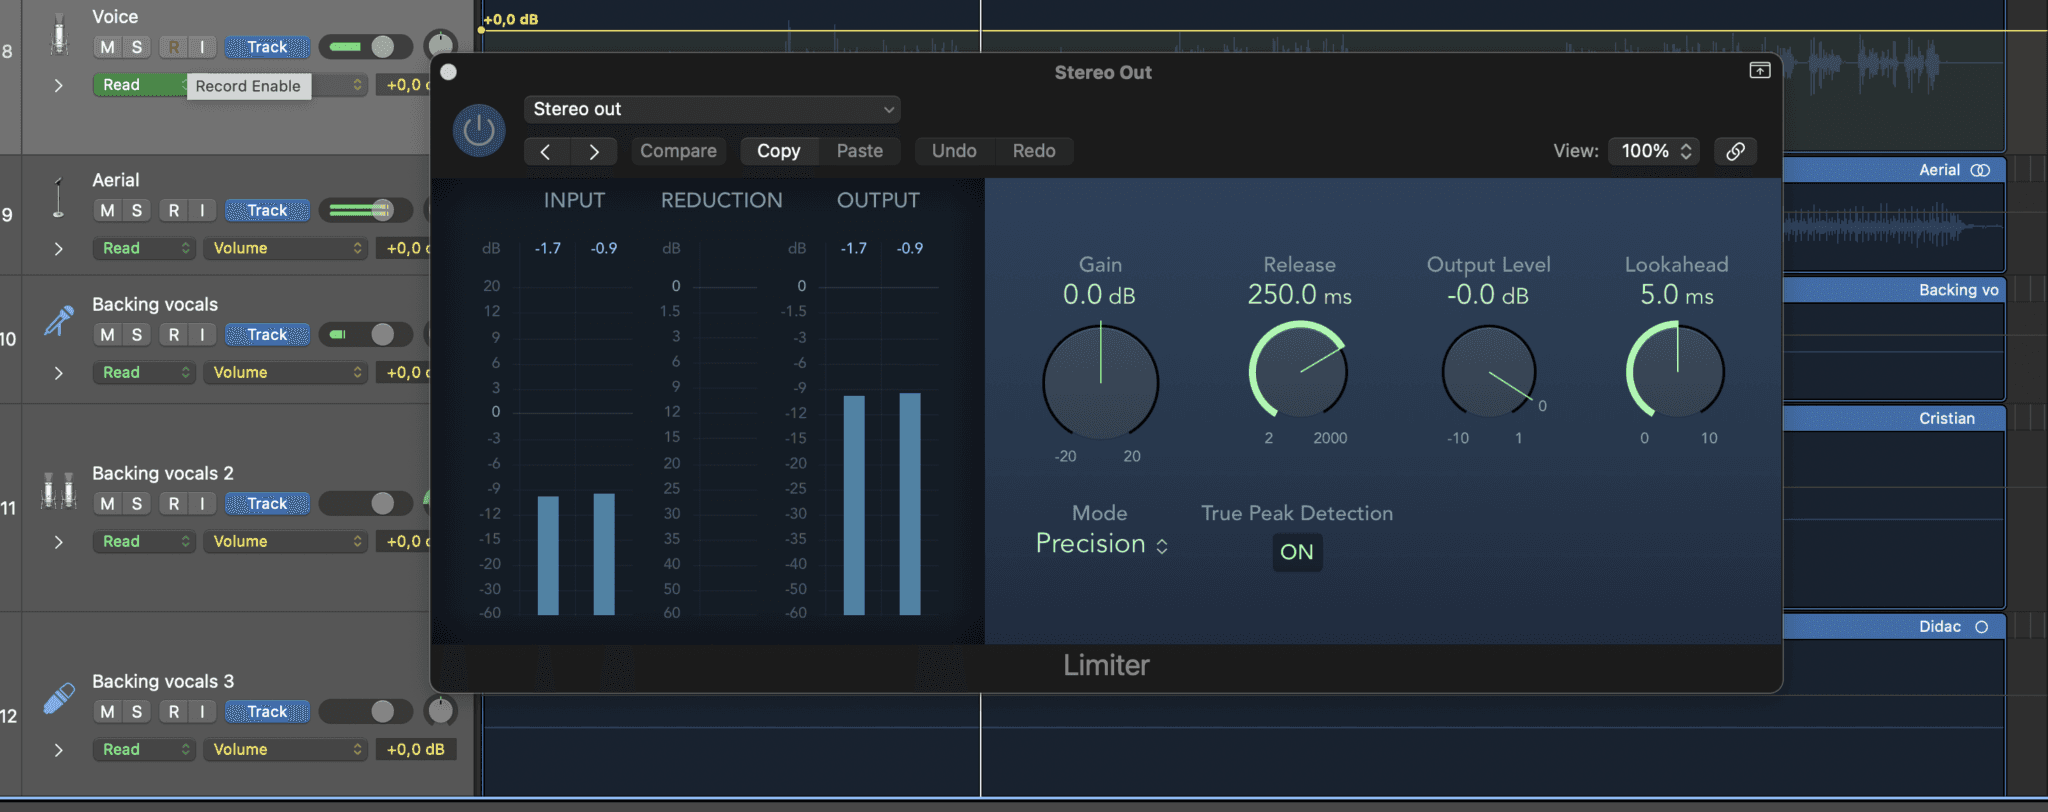
Mastering the art of limiting isn’t just about knowing why you need it, but also how to set it up for the best possible results. Each control on a limiter—ranging from threshold and attack to release, knee, and adaptative behaviors—directly shapes how aggressively and how quickly the limiter reacts to incoming signals. Understanding these parameters allows you to precisely balance loudness, punch, and transparency in your final master. Below is a closer look at each control and how it affects the limiting process.
Threshold
Setting the threshold determines the decibel point at which limiting begins. Bringing the threshold lower results in more of the signal exceeding that level, which can achieve greater loudness but risks additional distortion if pushed too far.
Attack
Attack dictates how quickly the limiter responds once the audio surpasses the threshold. Although most limiters have near-instantaneous attack times to catch transients, some provide adjustable attack for a smoother or punchier feel. A slightly slower attack might let transients breathe, creating extra “snap,” but can also let peaks overshoot.
Release
Release defines how long the limiter sustains gain reduction after the signal falls below the threshold. Extremely fast release times can introduce distortion, especially in low-frequency material, while overly long release can cause “pumping” or an overly compressed sound.
Knee
Knee influences how abruptly the limiting curve engages around the threshold. A hard knee immediately imposes a strict cap as soon as the threshold is crossed, which is typical for limiters. A soft knee smooths the transition, but pure limiters often default to a hard knee for maximum peak control.
Adaptative or Auto Settings
Some limiters incorporate features like auto-release or adaptive attack, adjusting their parameters in real time based on the input signal. This can be especially helpful in complex mixes, preventing harsh pumping or distortion when multiple transients occur simultaneously.
Types of Audio Limiters
Limiters come in different designs, each suited to specific tasks in mastering or post-production. The two primary categories are full-band and multi-band limiters.
Full-Band Limiters
When using a full-band limiter, the entire frequency spectrum is processed together as one band. If any signal in the mix crosses the threshold, the limiter reduces the overall output level. This approach is straightforward and often sufficient for most mastering tasks, especially if the mix is already well-balanced.
Advantages
- Simpler to set up and calibrate.
- Highly effective for uniform peak control.
- Can maintain a natural, cohesive sound if the mix is not overly bright or boomy in specific frequency areas.
Drawbacks
- Offers no selective frequency control. If a loud cymbal crash triggers the limiter, the entire mix gets attenuated at that moment.
- May not fix frequency-specific issues that become apparent after you start pushing levels for loudness.
Multi-Band Audio Limiters
Multi-band limiters split the audio signal into two or more frequency ranges (bands). Each band gets its own limiter threshold and processing controls.

Advantages
- You can target certain troublesome frequencies, such as harsh high-end content, without affecting the rest of the mix.
- Helpful if you discover that, after boosting loudness, a particular frequency range stands out more than expected.
Drawbacks
- Requires more detailed knowledge to set up effectively.
- If used improperly, can lead to unnatural frequency balance or phasing issues.
When to Choose Which?
In most mastering scenarios, a full-band limiter is enough to achieve the loudness you desire. If, however, you spot a specific frequency range that’s triggering unwanted peaks, a multi-band limiter can act more precisely to reduce only that band. This can preserve the rest of the mix while controlling problematic transients in one region.
Peak vs. RMS Limiting
When we discuss limiting, we usually refer to peak limiting, which focuses on controlling sudden transients that could cause clipping. However, there is another approach: RMS limiting.
Peak Limiting
Peak limiting reacts instantly to the loudest point of the signal, clamping down on those quick transients (like a snare hit or a vocal pop). It ensures the signal never passes 0 dBFS (or any chosen ceiling), preventing digital clipping. In mastering, peak limiters are extremely common, as they provide a safety net against overs.
RMS Limiting
RMS limiting measures the average loudness over a short window (commonly a few hundred milliseconds). Instead of catching individual peaks, RMS-based limiters bring down the overall level when it is consistently high. This results in a smoother, more “glued” sound, suitable for materials where you want to maintain consistent loudness without sudden jumps.
When to Use Peak vs. RMS
- Peak limiting is typically placed as the final stage in mastering. Its brick-wall characteristic protects the audio from overshoots.
- RMS limiting or compression may be used earlier in a chain to even out the average levels before the final limiter. If a limiter offers a switch between peak and RMS modes, you might do initial shaping with RMS, then finalize with peak limiting to prevent any digital clipping.

How Limiters Differ from Compressors
Limiters and compressors both reduce dynamic range, but the extent and use cases differ significantly. Knowing these nuances helps you decide whether you need gentle compression or more aggressive limiting.
Threshold and Ratio
Compressors reduce volume when the signal crosses a threshold, applying a ratio that determines how strongly the signal gets attenuated. For example, a ratio of 4:1 means that if the signal goes 4 dB above the threshold, the compressor only allows 1 dB of that excess to pass.
An Audio limiter can be thought of as a compressor with a very high ratio—effectively approaching infinity:1. Any audio that attempts to exceed the threshold is prevented from doing so. This creates a “brick wall,” ensuring your signal never surpasses the set level.
Attack, Release, and Knee
Both compressors and limiters have attack, release, and knee controls (though in limiters, the attack time is typically extremely short, sometimes near 0 ms).
- Attack determines how quickly the processor reacts once the audio surpasses the threshold.
- Release sets how long it takes for the limiter to stop applying gain reduction after the signal falls below the threshold.
- Knee (found in many compressors) indicates how abruptly the compression starts. In limiters, the knee is usually hard, enforcing a strict boundary.
Placing Limiters in the Mastering Chain
In mastering, order matters. The limiter typically sits at or near the end of your signal chain, once you’ve finished all EQ, compression, and stereo imaging tasks.
Final Stage Usage
A common mastering chain looks like this:
- Corrective EQ – Address frequency problems like resonances or boomy bass.
- Compression – Gently reduce dynamic range or add “glue” to the mix.
- Tonal/Sweetening EQ – Fine-tune the musical balance, adding or removing certain frequencies to shape the overall color.
- Saturation/Exciters – Enhance harmonics or add subtle color.
- Stereo Imaging – Broaden or narrow the stereo field if needed.
- Limiter – Apply final loudness adjustments and set an absolute ceiling to prevent overs.
By placing the limiter last, you ensure that no subsequent boost or processing will push the signal into clipping. For instance, adding a shelf EQ boost after your limiter could generate peaks beyond the threshold, defeating the limiter’s purpose.
Multiple Limiting Stages
Some mastering engineers use more than one limiter or a combination of a clipper followed by a limiter. The idea is to split the work:
- A clipper or fast limiter might shave off the sharpest transients.
- A secondary limiter then applies only a small additional gain reduction.
Dividing the workload can sometimes sound more transparent than forcing a single limiter to manage all peaks. However, this approach requires careful tuning so as not to over-process or flatten the transients entirely.
Mix Bus vs. Mastering Limiter
In mixing, some engineers place a gentle limiter on the mix bus to get a preview of “finished” loudness. If you do this, it’s wise to avoid over-limiting. Heavy limiting on the bus can mask mix issues and leave little headroom for the mastering stage. It’s common for mastering engineers to ask for mixes without bus limiters or with limiters only lightly applied.
Loudness Normalization Standards
In the past, the so-called “loudness wars” drove many engineers to push mixes to extreme levels. Today, major streaming platforms like Spotify, Apple Music, YouTube, and Amazon Music use loudness normalization to create a more consistent listening experience. They adjust each track’s playback volume based on perceived loudness, typically measured in LUFS (Loudness Units relative to Full Scale).
Key Streaming Platforms
- Spotify tends to normalize to around –14 LUFS.
- Apple Music aims for about –16 LUFS.
- YouTube also generally sits around –14 LUFS.
- Amazon Music often uses –14 LUFS as well.
Any material louder than these targets will be turned down by the platform, effectively negating the perceived advantage of pushing your master extremely loud. Conversely, if your track is significantly quieter than these targets, the platform may boost it, but only to the point where peaks remain free from clipping.

Loudness Units and Targets (LUFS)
LUFS is a standardized measurement that better reflects how humans perceive loudness compared to standard dBFS meters. For most streaming-oriented masters, aiming for a level around –14 or –16 LUFS with a true peak ceiling of around –1 dBTP is common. This helps ensure your track sounds clean after encoding to lossy formats (like MP3 or AAC) and that it won’t be heavily attenuated.
Common Mistakes and Best Practices
Limiting is both a technical and artistic process. Mastering engineers aim to maximize loudness while preserving the track’s punch, depth, and dynamics. Below are key pitfalls to avoid and some guidelines to help you get the best result.
Over-Limiting
Pushing the limiter threshold too far in pursuit of maximum loudness can cause pumping and audible distortion. The track may lose its natural transients and become fatiguing. Given that streaming services will likely turn down an overly loud master, there’s little reason to crush it. Instead, aim for a reasonable loudness that retains clarity and dynamic range.
Using a Limiter Too Early
Engaging an audio limiter at the start of your mastering chain locks you into a loudness ceiling before you’ve applied EQ, compression, or other processing. If you then boost frequencies, you might cause clipping since the limiter has already done its job. Always ensure limiting is last or nearly last in the chain.
Relying on a Limiter to Fix a Bad Mix
A limiter can’t magically correct an unbalanced mix or fix harsh frequencies. If an instrument or vocal is too loud in the mix, hammering it with a limiter will create pumping and reduce everything else whenever that loud element appears. Always fix mix issues at the source if possible.
Setting the Wrong Ceiling
Setting the output ceiling of a limiter to exactly 0 dBFS risks inter-sample overs, leading to clipping in certain playback situations. Many engineers use a margin of –0.1 to –0.3 dB if they are not enabling true peak limiting, or about –1 dB if they are focusing on streaming compatibility. If your limiter has a true peak mode, consider using it at –1 dBTP for an extra safeguard.
Not Listening in Context
We naturally perceive a louder signal as “better.” Always match volume levels when comparing the limited signal to the unprocessed signal to make sure your decisions aren’t skewed by loudness bias. Some limiters include a gain match or unity gain feature; if not, manually adjust volume so you can accurately judge the sonic changes.
Ignoring Release Settings
In many modern limiters, release time can be set manually or left to an “auto” mode. A too-fast release can cause low-frequency distortion (the limiter “grabs” each cycle of a bass note). A too-slow release can cause the entire mix to duck for a moment after a peak, creating pumping. Experiment with release settings or different limiter “modes” to find the most transparent result.
Using One Limiter for Every Genre
Different audio limiters, and even different algorithms within a single limiter, can excel in different scenarios. A setting that works great for rock might sound too aggressive for a delicate acoustic track. Test multiple limiters or modes to see which best suits the music at the required loudness.
Conclusion
An audio limiter is crucial for creating a polished, loud, and distortion-free master. By applying a strict ceiling to your output, it prevents unwanted peaks and maintains a controlled final level. However, limiters can easily be overused or misapplied, resulting in squashed dynamics, distortion, and listener fatigue.
To use your limiter effectively, begin with a well-balanced mix and position it at the very end of the mastering chain to capture any final peaks. Consider a full-band limiter for general loudness management or opt for a multi-band limiter when specific frequency ranges require tailored attention. Pay close regard to whether you’re using peak or RMS limiting: peak limiters act as a strict “brick wall” for transient spikes, whereas RMS-based options help regulate overall levels more smoothly.
By keeping these best practices in mind, you’ll craft masters that not only meet loudness expectations but also preserve the full impact and nuance of your music. Always remember that limiting is as much an art as a science: it rewards careful listening and thoughtful decision-making at every stage.
About the Author

Ethan Keeley
Writer, Voice Talent, Musician, and Audio EditorEthan Keeley is a musician, voiceover talent, and writer from Rochester, New York. When he's not on tour with his band Unwill he's working on new songs and stories.
Leave a comment
Log in to comment