Phase alignment is one of the most crucial yet often overlooked aspects of recording and mixing with multiple microphones. When two or more mics capture the same source at slightly different times, their signals can interfere with each other in ways that either reinforce or cancel certain frequencies. This can lead to a variety of sonic outcomes, ranging from fuller, punchier sounds to thin and hollow tones that suffer from comb filtering and phase cancellation. Recognizing and correcting phase problems can dramatically improve the clarity, depth, and impact of a mix.
In this article, we’ll explore the fundamentals of phase alignment and why it matters when working with multi-microphone setups. We’ll cover the difference between flipping polarity and adjusting time alignment, talk about common ways phase issues can sneak into drum kits, guitar amps, orchestral recordings, and more. We’ll then delve into manual phase correction methods—like zooming in on waveforms and nudging tracks—as well as automated approaches using dedicated plugins. Finally, we’ll look at creative ways of using phase to our advantage, from comb filtering effects to stereo widening tricks. Whether you’re new to mixing or a seasoned pro, phase alignment skills are essential, and we’ll guide you through both the basics and more advanced strategies.
Table of Contents
- Understanding Phase vs. Polarity
- How Phase Issues Occur
- Manual Phase Alignment Techniques
- Using Plugins for Phase Correction
- Instrument-Specific Techniques
- Before-and-After Differences
- Creative Uses of Phase Misalignment
- Conclusion
Understanding Phase vs. Polarity
Many people confuse the terms phase and polarity, but they’re not exactly the same thing. Phase typically refers to a time-based shift in a waveform. For example, if two microphones are placed at different distances from a single sound source, the audio may arrive a few milliseconds later at one mic than the other. That delay shifts the signal in a frequency-dependent way, which can lead to partial cancellations or boosts in the sound when the signals are summed together.
Polarity, on the other hand, usually means flipping the positive and negative portions of the waveform. Think of it like reversing the plus and minus signs: if you have a wave that’s about to peak, flipping polarity inverts that peak into a trough. In a mixing context, a polarity flip is often referred to as a “phase invert” button on a console or plugin, but it’s really just a 180-degree polarity swap of the signal. This can fix an issue if two tracks are exact opposites of each other, but it doesn’t address smaller offsets in time.
When you have multiple microphones on the same source, you often need to consider both factors. Sometimes a quick polarity flip will fix a thin-sounding snare or kick. Other times, the signals are offset by some millisecond delay, so you need to nudge one track forward or backward in time to properly align the waveforms. Checking polarity is always a good first step, since it’s easy to toggle on and off to see if it improves the sound. If that doesn’t solve the issue, you move on to time alignment.
When people talk about a track being “out of phase,” they usually mean that it’s misaligned in time and is causing frequency-specific cancellations. A pure polarity flip only solves a 180-degree offset, whereas actual time shifting can correct any number of degrees of misalignment.
Why This Matters
Phase issues can manifest as a lack of low-end punch, a hollow midrange, or strange “swishy” artifacts. It might seem subtle at first, but in mono, these cancellations become very obvious: you’ll hear the track lose power or certain instruments disappear. By understanding the difference between phase and polarity, and by learning how to apply both flipping and nudging, you can avoid these pitfalls. In fact, simply addressing phase in a multi-mic setup can make your recordings sound dramatically better—often more than adding EQ, compression, or other effects.
How Phase Issues Occur
Phase issues often occur because sound waves take time to travel through the air, and different microphones pick up those waves at slightly different moments. Even a small difference in distance—a couple of inches—can translate into a time delay of a few hundred microseconds to a couple of milliseconds. Depending on the frequency of the sound, these time delays can cause all sorts of interference patterns.
When two signals partially cancel and partially reinforce each other, you get a comb filter effect. A comb filter happens when certain frequencies line up in a way that some are boosted and others are cut, resulting in a series of peaks and valleys across the spectrum. The name comes from the shape of these peaks and notches on a frequency graph; it looks like the teeth of a comb.
Common Scenarios
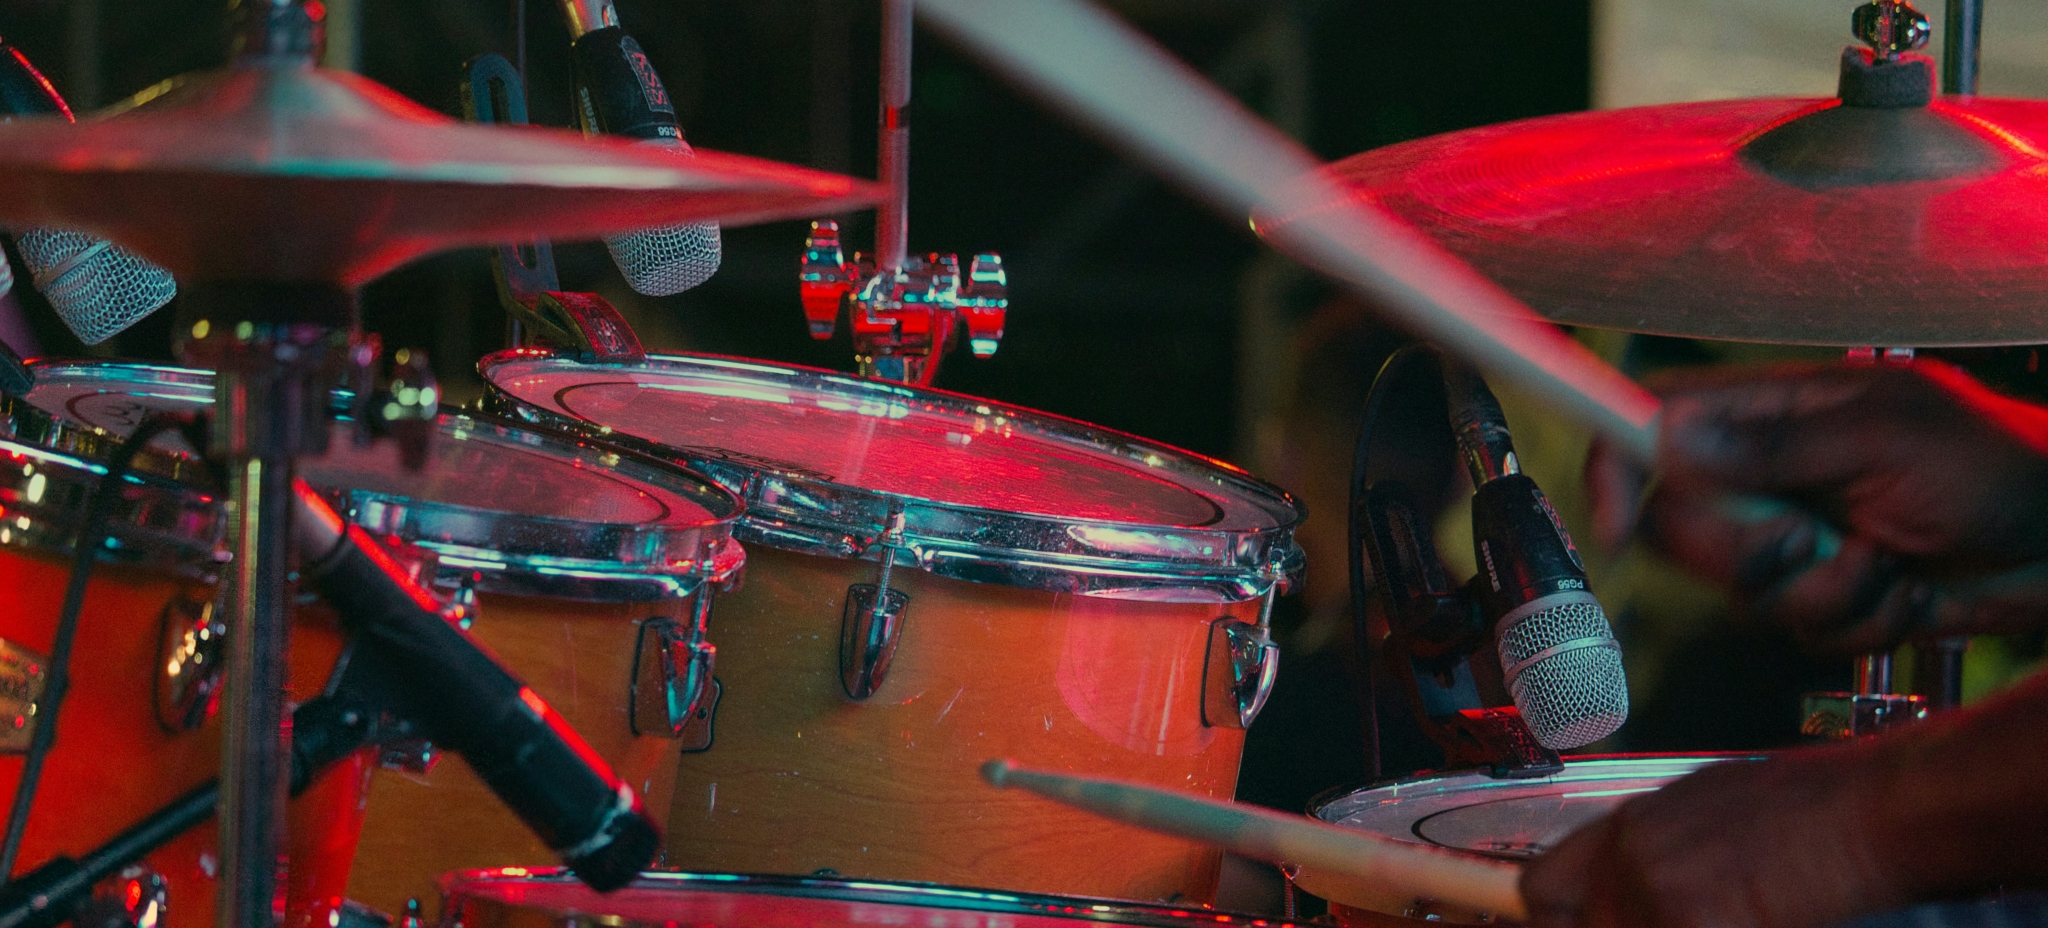
- Drum Kits: With multiple mics on a kit—kick inside, kick outside, snare top, snare bottom, overheads, room mics, tom mics—there’s a huge potential for phase interference. Each mic picks up bleed from various drums at different times, which can thin out the overall sound.
- Multi-Miked Guitar Cabs: If you place a dynamic mic right up against the speaker and a ribbon mic a few inches back, or a foot back, you’ll have a small time delay between them. Combined, that can cause some frequencies to disappear while others are reinforced, giving you that hollow or nasal tone.
- Orchestral Recordings: If you’re mixing a main stereo pair with spot mics, or adding room mics, the travel times are often longer, sometimes tens of milliseconds. That can create comb filtering that affects the timbre of instruments in a subtle but important way.
- Vocal Bleed: In a room with multiple singers, or where a vocal mic picks up some bleed from an instrument mic, time differences can introduce partial cancellation. This is often mitigated by spacing the mics according to guidelines (like the 3:1 rule), but you’ll still need to check for phase issues at mix time.
Recognizing Phase Problems
An easy way to test for phase problems is to sum everything to mono. If the mix suddenly collapses, losing low-end or clarity, it suggests that different signals are cancelling out. You can also invert polarity on any suspect track and hear if it “pops” into fullness. If it gets better, you know you had a 180-degree mismatch. If that doesn’t help, try sliding the track in time by a few samples or milliseconds while listening carefully. You’re listening for that sweet spot where the body and depth of the sound suddenly jump out.
Manual Phase Alignment Techniques
Manual phase alignment is a hands-on approach to adjusting the timing of multiple microphone tracks so their waveforms line up in a constructive way. While it can be time-consuming, many engineers prefer it because it offers precise control and can yield very satisfying results.
Polarity First
Always start by checking polarity. In many cases, if you have a bottom snare mic or a second kick mic, a simple polarity flip can drastically improve the sound. If flipping polarity on a track obviously fills out the low-end, keep it flipped and move on.
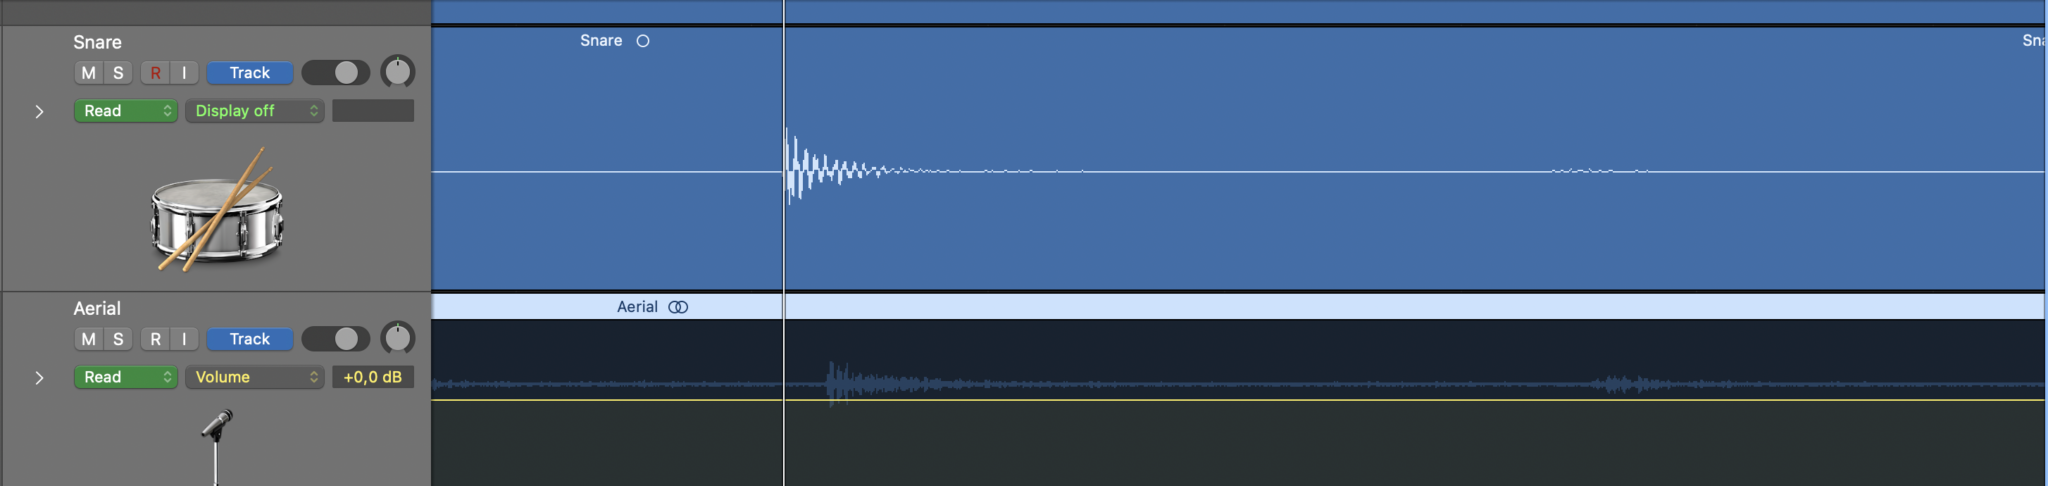
Aligning Transients
One of the most straightforward ways to correct phase problems is to align the transients of the waveforms visually. Zoom in on a clear transient, like a snare hit or a guitar chord strike, and make sure the peaks in both waveforms line up. You can drag the audio region forward or backward, or use a track delay parameter in your DAW to shift the playback of one track by a certain number of milliseconds.
You can also try an approach where you invert one track and slide it around until you hear the biggest null (the thinnest, quietest point). Once you find the place where the tracks cancel out the most, flip the polarity back to normal. Now they’re aligned in the best possible way for reinforcement.
By Ear vs. By Sight
Using your ears is still the best final arbiter. Visually aligned waveforms can sometimes be misleading, especially if the sounds have complex envelopes or if you’re dealing with different frequency content. Slide the track in small increments and listen for the moment when the tone becomes richer, fuller, and more solid. That’s usually the best alignment point.
Considering Other Channels
If you’re working on a large session with many microphones, it can be tricky to get everything perfectly in phase with everything else. In certain situations, you might prioritize one element over others—like focusing on the snare or kick alignment in a drum kit—because that’s the main anchor of the beat. Once you’ve aligned the key elements, see how the rest of the kit sounds. You might have to find a compromise that works best overall.
Avoid Over-Aligned Sterility
There’s a danger in over-aligning, especially with room or overhead mics. Part of the beauty of a multi-mic recording is the natural sense of space and depth. If you fully time-align your room mic with your close mic, you might lose that airy ambiance. Some engineers choose to leave room mics as-is, or only partially align them, to keep some sense of natural delay. Ultimately, it’s about musicality—be prepared to experiment.
Using Plugins for Phase Correction
While manually nudging tracks can be satisfying, there are plenty of plugins designed to make phase alignment easier and faster. These tools can range from simple sample-delay plugins to sophisticated software that analyzes the frequency content in real time.
Automatic Alignment
Plugins like Sound Radix Auto-Align or Melda’s MAutoAlign can automatically measure the timing between multiple tracks and apply the ideal delay and polarity settings. Typically, you insert the plugin on each track you want to align, choose one as a reference, and let the software do its magic. It then reports how much delay or polarity inversion it has applied.
This approach is especially handy for large drum sessions. Rather than manually aligning dozens of hits across multiple mics, an auto-align plugin can save hours of work and often yields very tight results. You might still want to tweak by ear afterward, but for many engineers, this gets them in the right ballpark immediately.
Phase Rotation and All-Pass Filters
Some plugins also offer continuous phase rotation or all-pass filters, which can shift the phase of certain frequencies more than others. This is helpful when a simple time delay or polarity flip isn’t enough, especially for signals with complex frequency content. For example, you might want to align the low-end of a kick drum but leave the upper midrange untouched.
Stock DAW Tools
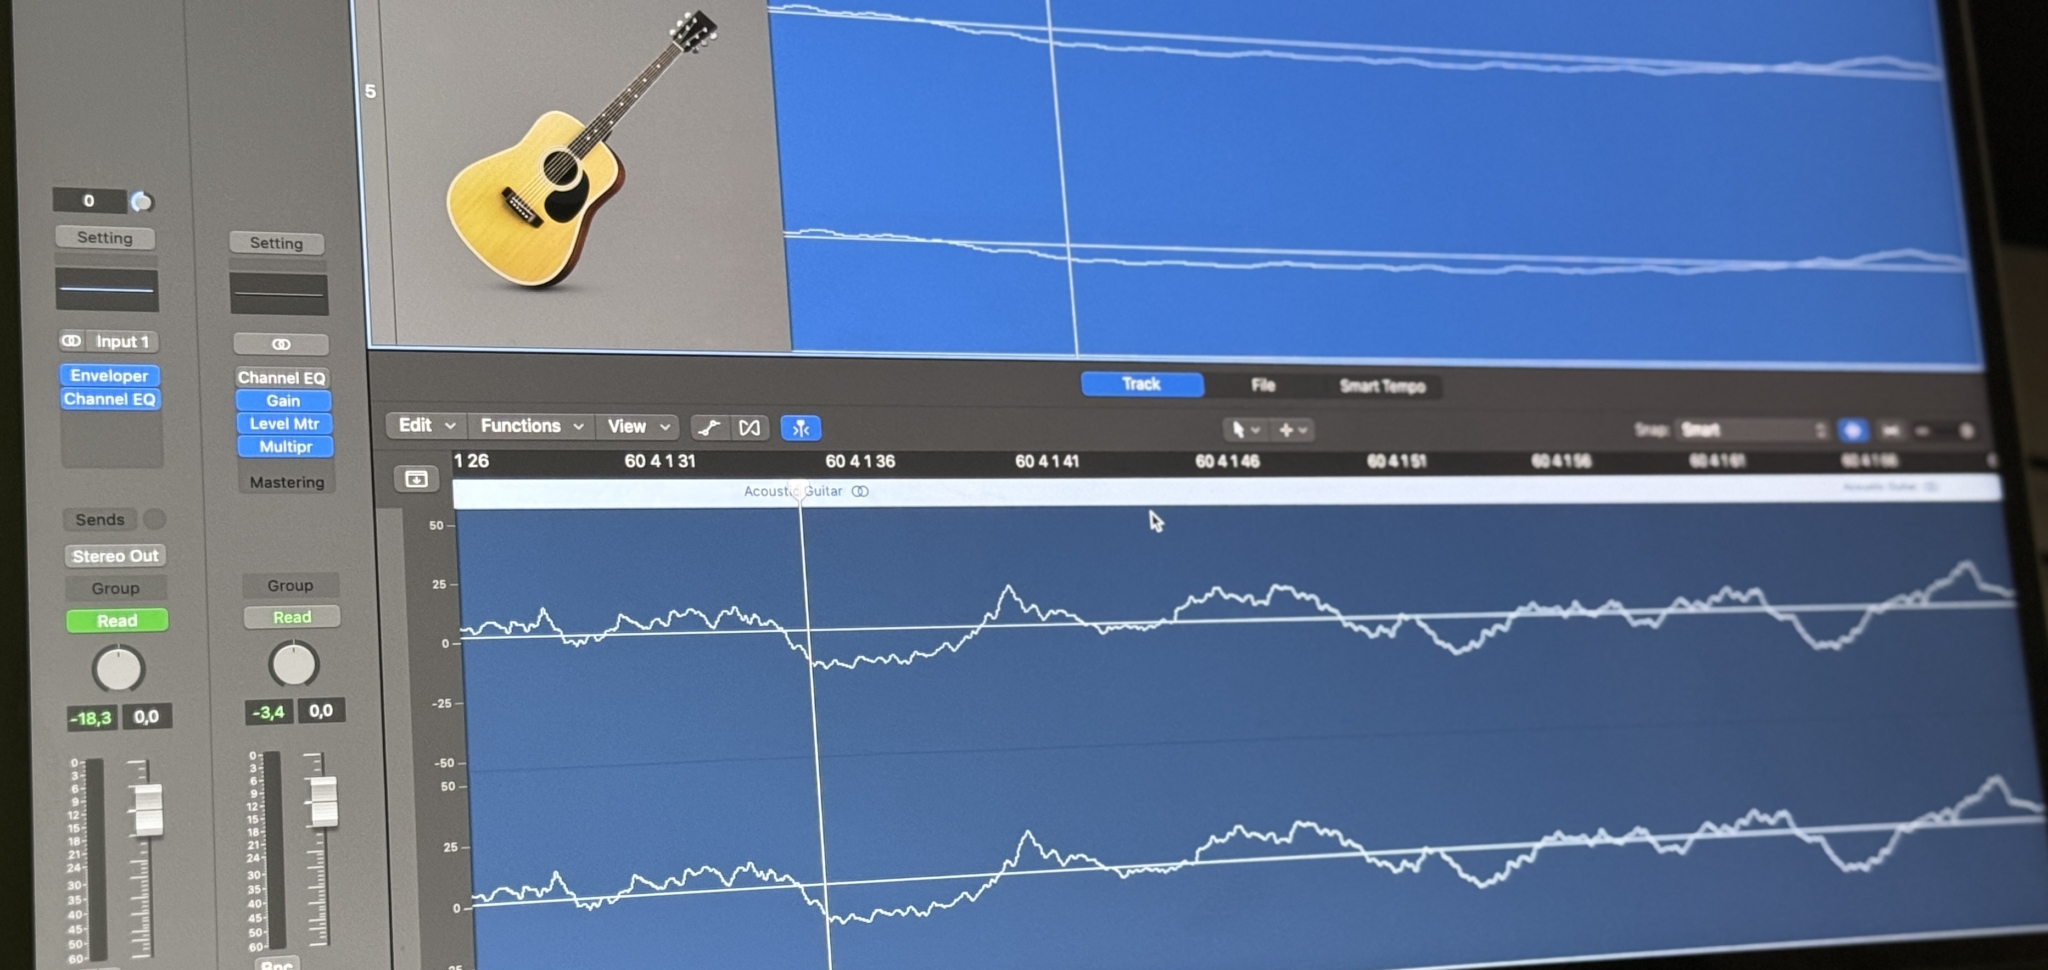
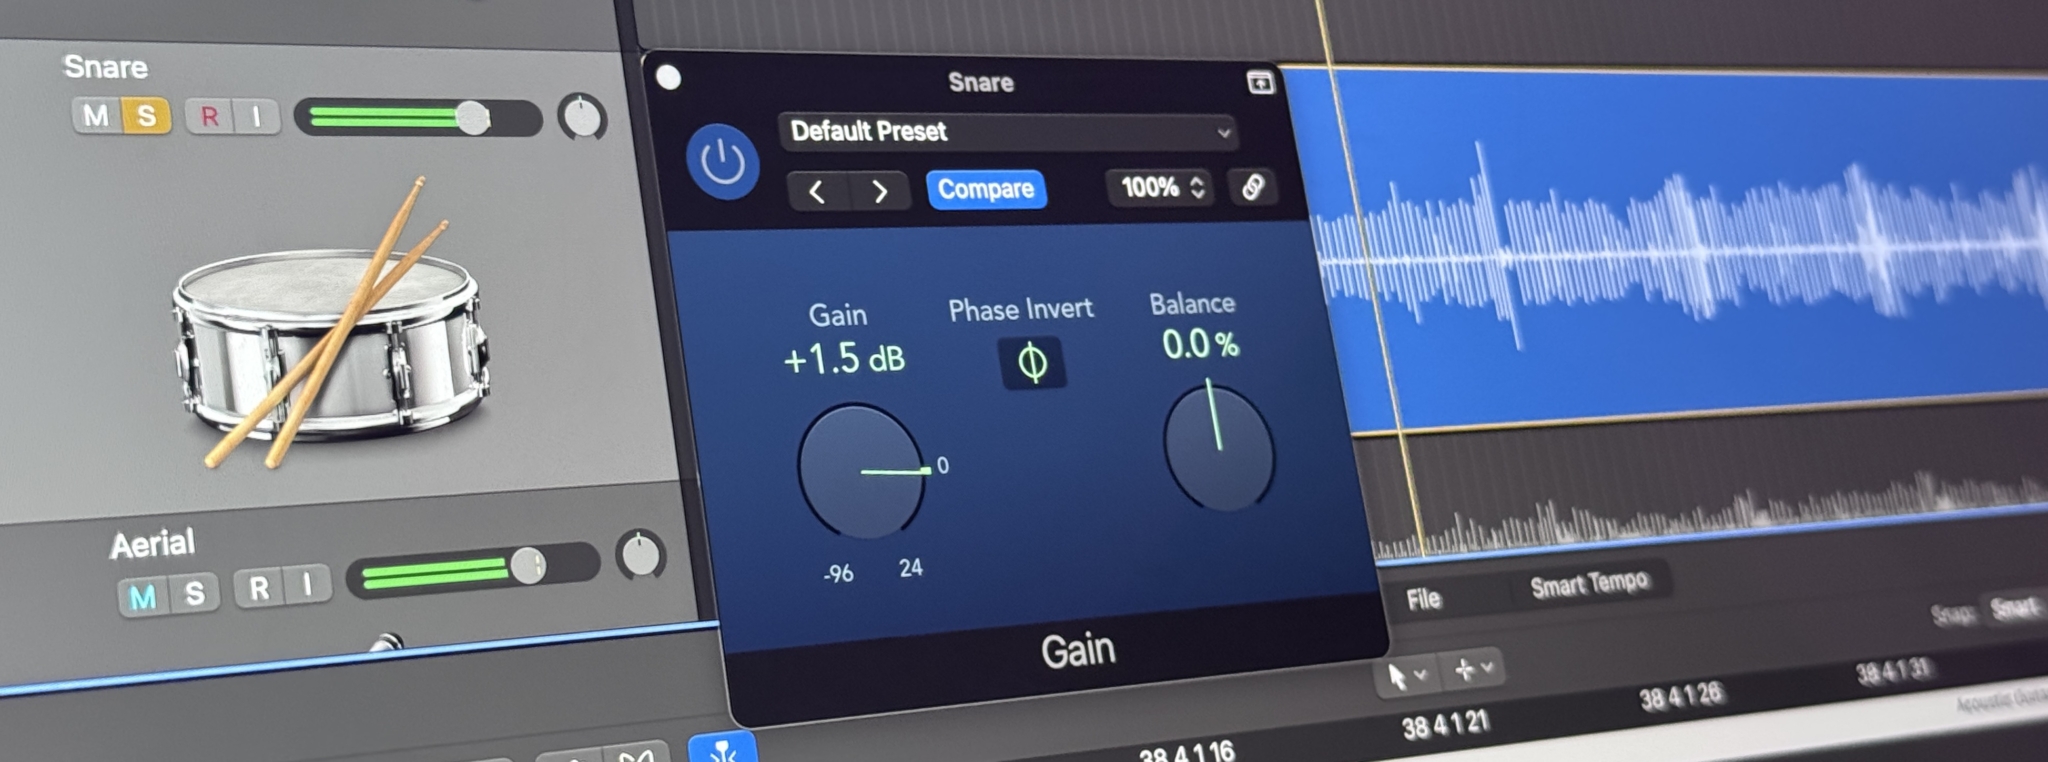
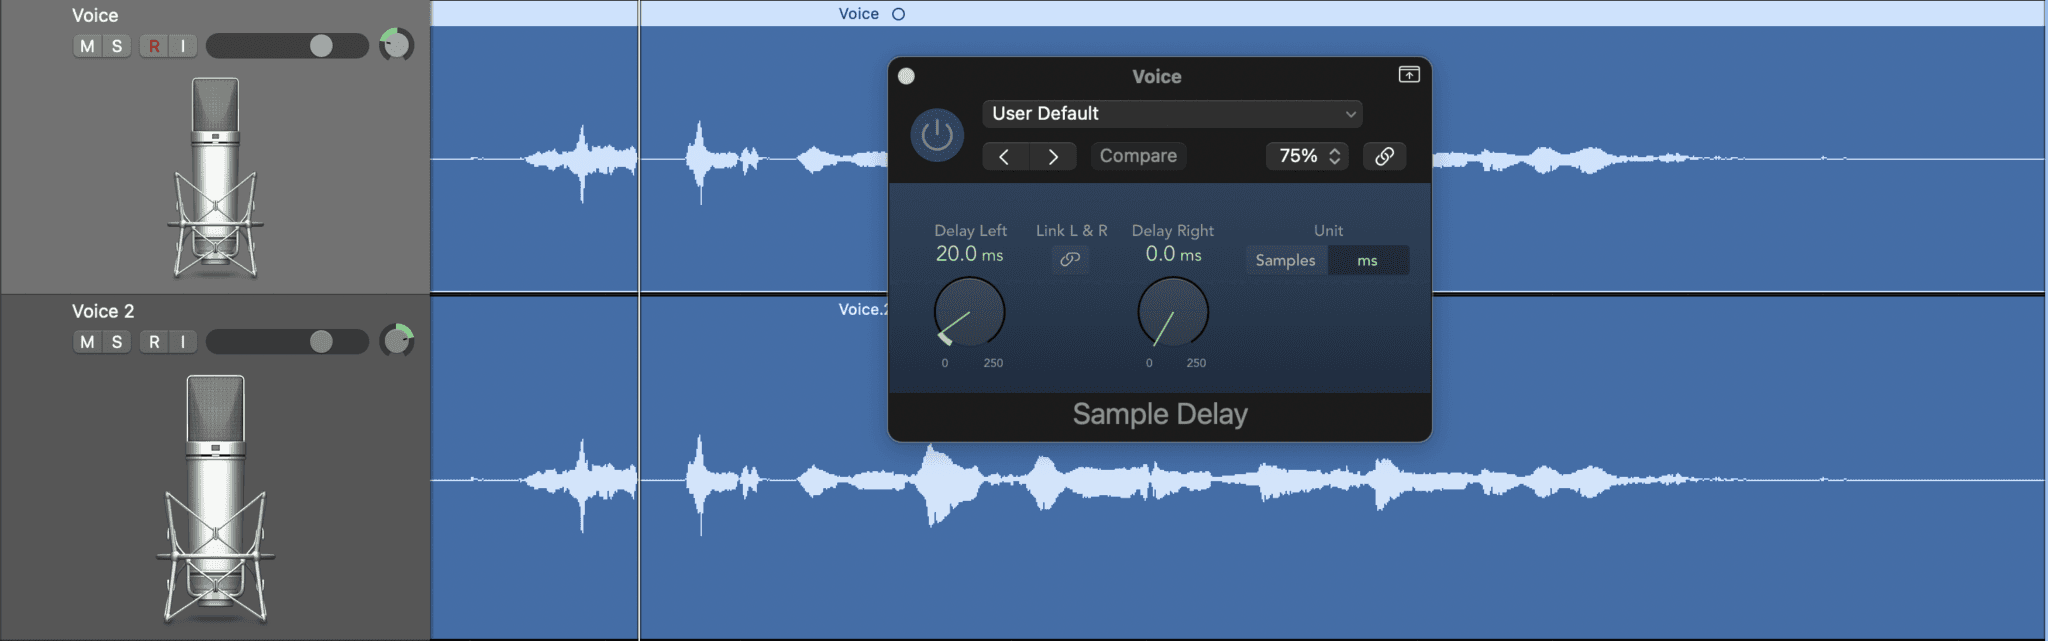
In Logic Pro, you can use the Track Delay parameter in milliseconds, or the built-in Sample Delay plugin. These let you shift a track forwards or backwards by a certain number of samples or milliseconds. There’s also a simple Gain plugin with a Phase Invert button if you just want to flip polarity. In Pro Tools, you can use Time Adjuster. Nearly every DAW has some way to nudge timing at a sample level, so you don’t necessarily need an expensive third-party plugin for basic tasks.
Correlation Meters
Phase correlation meters and vectorscopes help you visually assess whether your signals are in or out of phase. A reading close to +1 means high correlation (in phase), near 0 is less correlated, and negative readings mean the signals are largely out of phase. While these meters don’t fix anything by themselves, they can guide your adjustments and confirm that your changes are making a real difference.
Limitations
Automatic alignment plugins generally work best on static situations, where neither the source nor the microphones are moving. If you’ve got a roaming performer or a dynamic environment, the best alignment can shift over time. That’s a more complex problem. For most studio or stationary band recordings, though, these tools are a godsend.
Instrument-Specific Techniques
Phase alignment can be applied to virtually any multi-mic situation, but the details vary from instrument to instrument. Let’s look at some of the most common setups: drums, guitar cabs, and orchestral recordings.
Drums: A Multi-Mic Puzzle
Drum kits are often miked with a combination of close mics (kick, snare, toms), overheads, and sometimes room or ambient mics. That means a lot of potential for phase interference. Even the overheads, which capture a broader stereo image, can cause phase cancellations with the close mics.
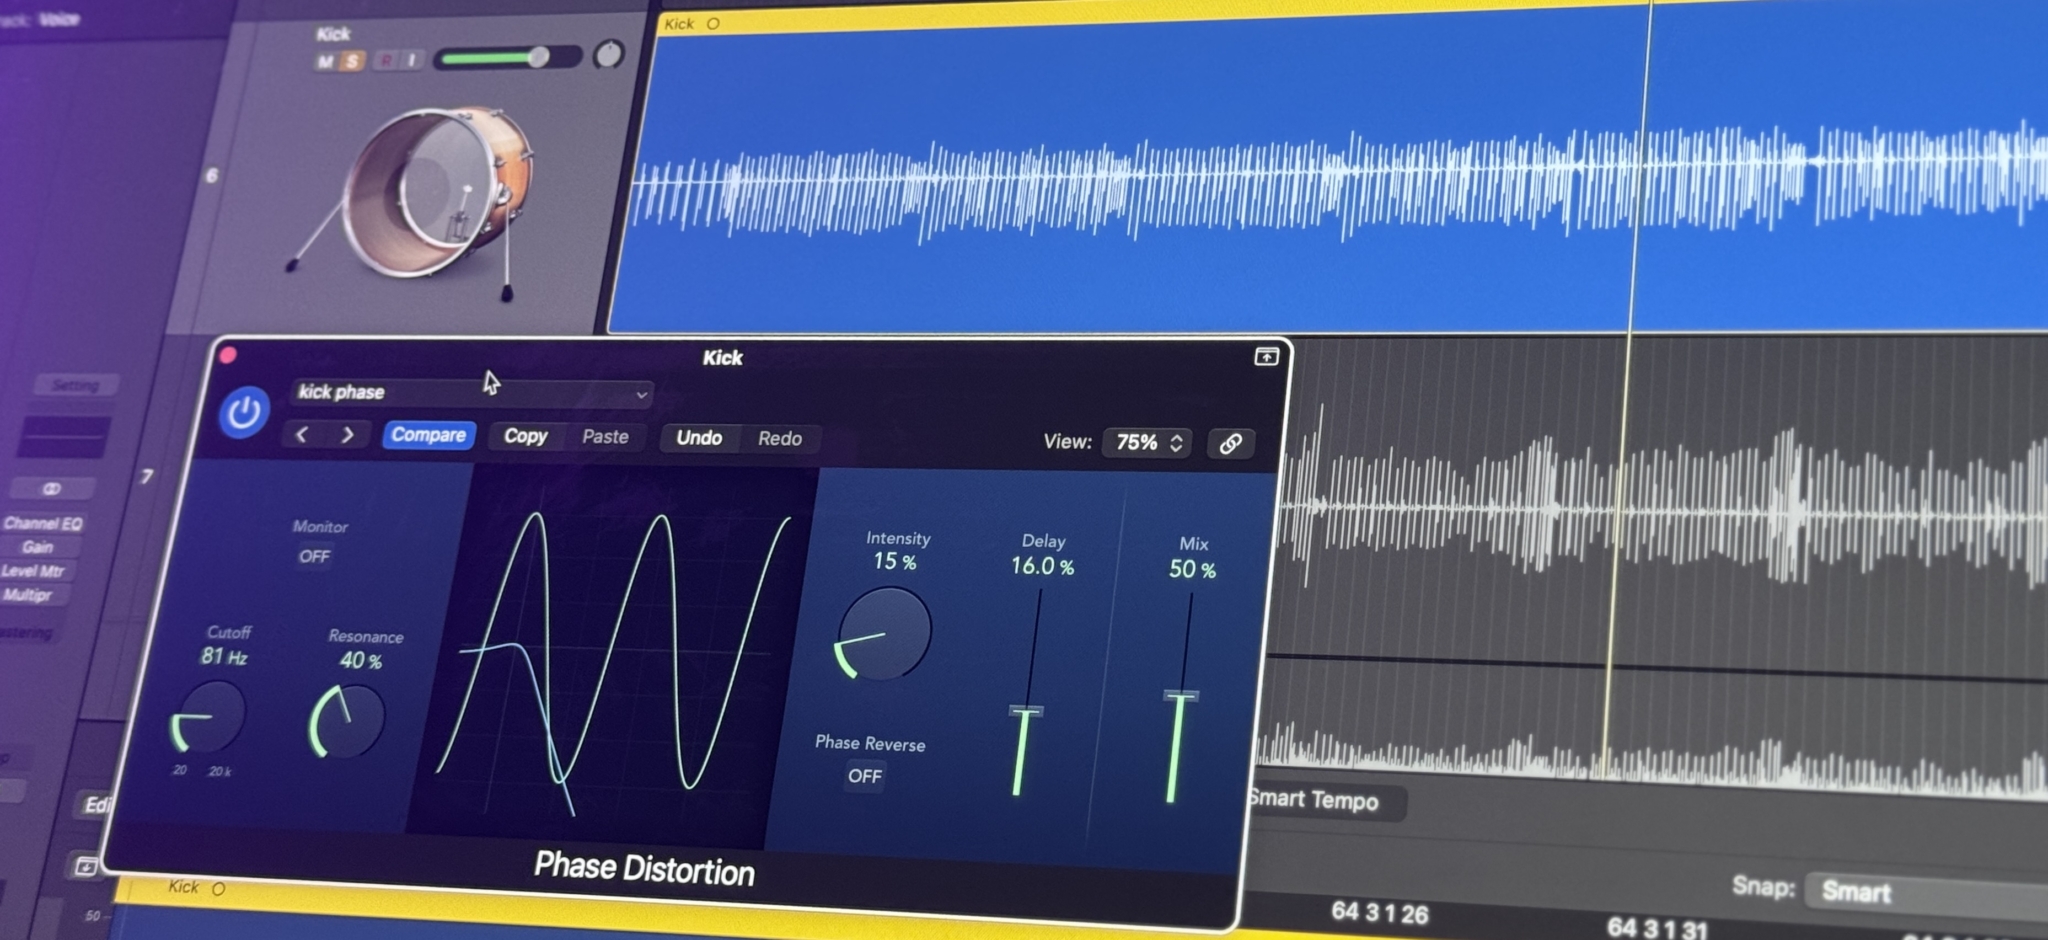
Kick Drum
It’s common to have one mic inside the kick for attack and another mic outside for low-end body. Often, you’ll want to see if flipping polarity on the outer mic yields a fatter sound. After that, you might shift the outside mic a few samples earlier in your DAW so that its wave matches the inside mic’s main transient. The difference can be dramatic—suddenly the kick will have a much more solid thump.
If you’re using a subkick mic, treat it similarly by testing polarity flips and then fine-tuning the alignment with the inside mic. The extra sub-frequency content can vanish if it’s out of phase, so pay attention to how big or hollow it feels.
Snare Top/Bottom
Flipping polarity on the bottom snare mic is almost always the first thing to try, because the underside of the snare head moves in the opposite direction from the top when struck. If you don’t flip it, you end up with a thin, weak snare. Beyond that, you can nudge it a few samples to see if it tightens the overall crack. But for many engineers, just inverting polarity on the bottom mic is enough.
Overheads
Overheads pick up the entire kit, so they can conflict with snare, kick, and tom close mics. Typically, you might choose the snare (or sometimes the kick) as your reference anchor. Align the overheads so that the snare transient in the overheads lines up with the snare close mic. If the snare suddenly becomes more solid and in-your-face when you bring up the overheads, you know you’re in a good spot.
You can do similar checks with the kick and overhead alignment, although occasionally you’ll discover that aligning snare and overheads throws off the kick alignment a bit. You might find a compromise or decide which is most important for the mix. Some engineers measure overhead distances during tracking to keep them equidistant from the snare, which helps minimize these problems in the first place.
Toms and Room Mics
Tom mics might need a quick check if they’re heavily featured in the mix, but they’re often gated or only come in during tom hits. If you hear weird phasing on a tom fill with the overheads, try some alignment or a polarity check.
Room mics, if placed far away, can introduce larger time delays. You can partially align them to preserve some of the natural ambiance but tighten up the low-end punch of the kit. Or you can leave them as-is for a real sense of space. It depends on whether you want a more immediate or a more open and distant drum sound.
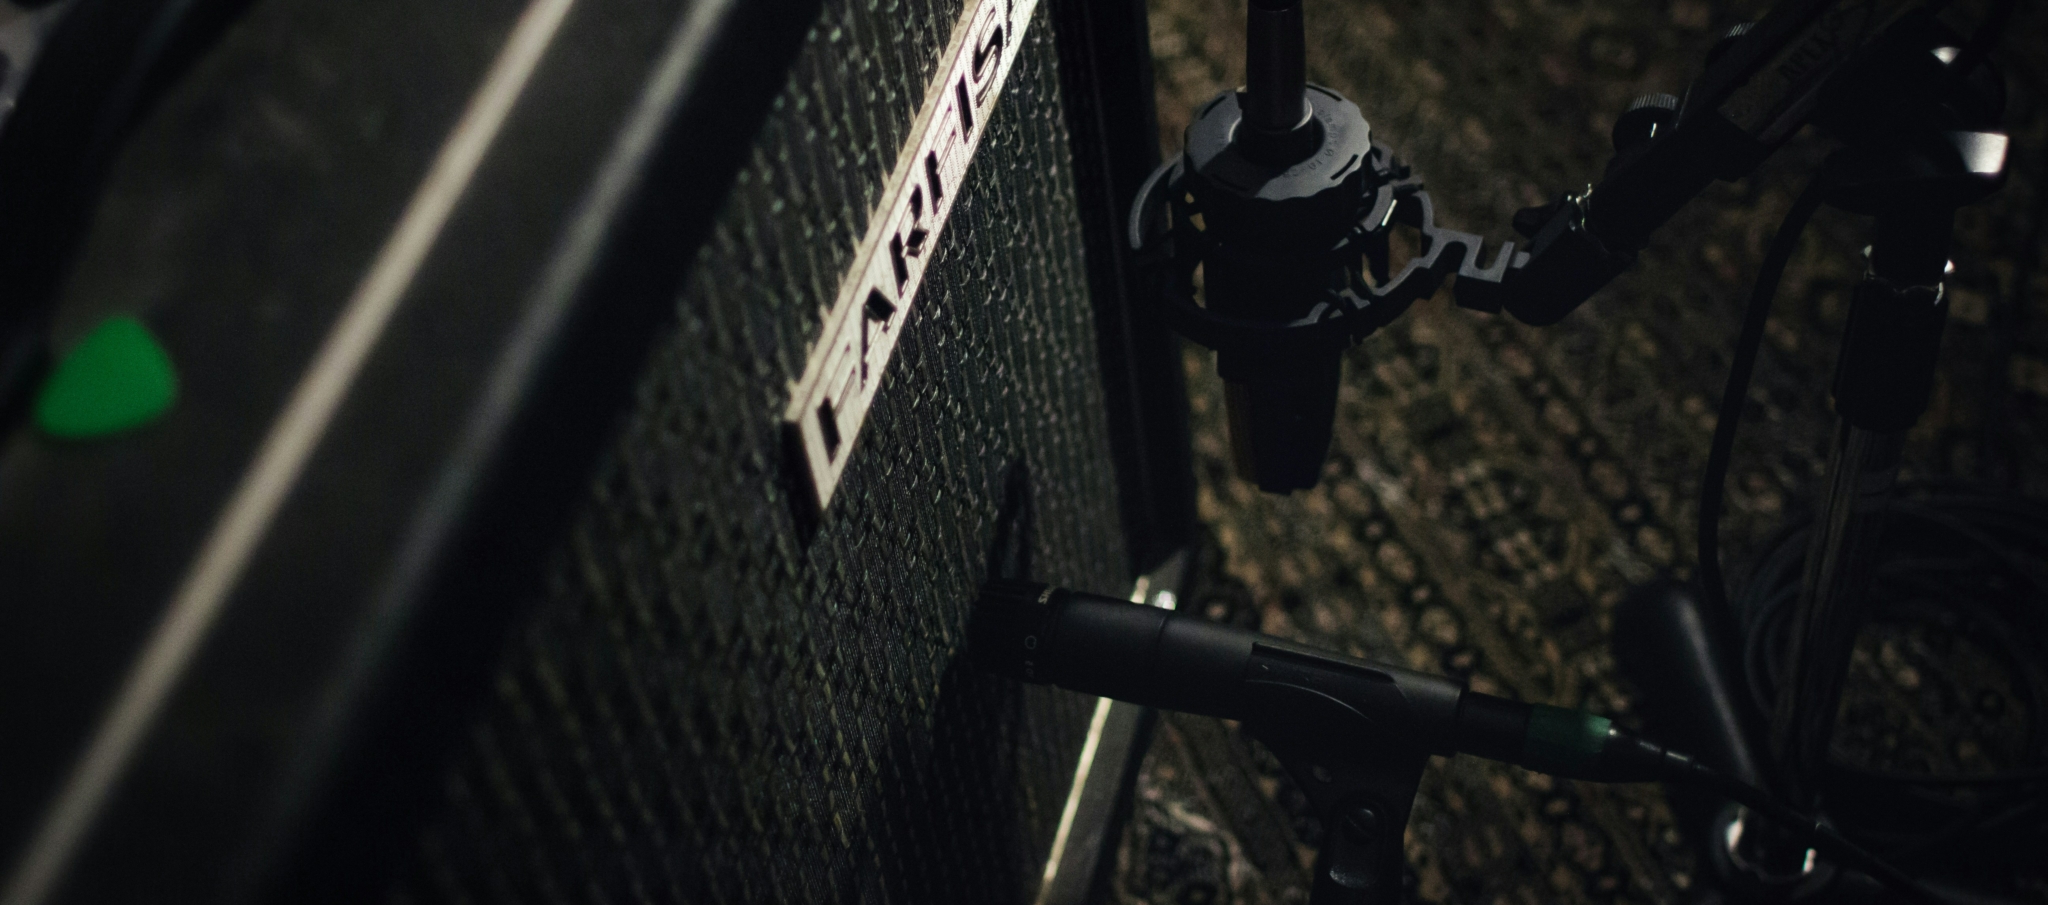
Guitar Cabinets: Blending Multiple Mics
Putting two or more mics on a guitar cabinet is a classic way to capture different aspects of the tone—a bright dynamic mic near the center, a darker ribbon mic off to the side, a condenser further back, etc. But if these signals aren’t aligned, you can end up with a weird comb-filtered tone that lacks midrange or clarity.
Capsule Alignment
A simple fix is to physically place the mic capsules as close together as possible. If you can get them at the same distance from the speaker cone, you minimize the time offset. Some engineers even tape the two mics together so that their diaphragms line up exactly. Then you rely on the natural differences in mic design rather than difference in distance to shape the tone.
Intentionally Off-Axis
Sometimes, you deliberately place the second mic in a way that introduces a subtle comb filter as a creative choice. This can scoop out or emphasize certain frequencies. The key is to do it consciously: move the mic while listening to both signals combined in mono, and find a position that creates a pleasing tone. Once you’ve found a spot, you can check if you like the results under polarity flip or a slight time shift. Ultimately, it’s about whether it sounds good in the mix.
Close and Room Mic
A common scenario is a close mic on the grill and another mic a few feet away, capturing the room’s character. If you want a more cohesive, immediate sound, you might time-align the room mic so it locks in with the close mic, effectively removing the natural delay. This can make it sound like both are the same distance away. If you want more natural space, you leave it alone, or only partially align it so that you remove the worst of the comb filtering but still keep some airiness.
Orchestral and Large Ensemble Recordings
In orchestral or ensemble recording, you usually have a main stereo pair capturing the overall performance and additional spot mics on soloists or instrument sections. Because the main pair is farther away, it picks up the sound later than a close spot mic would. If you simply blend these two, you might get subtle phase cancellations that affect the tone of the featured instrument.

Delaying Spot Mics
A common practice is to delay the spot mic to match the arrival time of the main pair. Let’s say the main pair is about 20 feet from the violins, while the spot mic is only 5 feet away. You could add a rough 15-foot equivalent delay to the spot mic, bringing it closer in time to when the main pair receives the violin. This avoids comb filtering and preserves a cohesive sound.
Preserving Natural Depth
Some engineers prefer to leave these subtle time differences because it helps convey the sense of distance in the recording. Others might partially align them, so you keep a bit of the natural reverb and acoustic spacing while getting a clearer, punchier blend. There’s no one-size-fits-all rule—it depends on the genre and the desired aesthetic.
Phase vs. Stereo Imaging
If you’re using a spaced pair or Decca Tree as the main stereo capture, you might already have intentional time differences between the left and right mics for stereo spread. Aligning a spot mic too aggressively can collapse some of that sense of space. Finding the right balance is key. Sometimes a minimal adjustment of just a few milliseconds is enough to prevent comb filtering without making the recording sound too artificially tight.
Before-and-After Differences
One of the most striking demonstrations of phase alignment is the instant improvement you hear when you fix a significant issue. For instance, on a drum kit, you might be mixing the overheads with the snare mic and noticing that the snare’s low-end punch disappears whenever you bring up the overheads. After aligning the overhead track by a small nudge or flipping polarity, the snare suddenly “pops” out with power and definition.
Dramatic Drum Power
Imagine the snare losing all its presence when the overheads are added. Then, with one quick polarity flip or a 0.3 ms shift, you get a snare that leaps forward in the mix. The difference is night and day. Similarly, aligning an inside and outside kick mic can change a kick from hollow to massive, with a thick, satisfying thump that wasn’t there before.
Fuller Guitar Tone
For a guitar amp, a multi-mic approach might initially produce a hollow, honky tone if the signals are out of phase. Once you align them, the guitar can suddenly sound rich and balanced. You might realize you don’t need as much EQ as you thought you did, because the tone is naturally fuller when the mics reinforce each other properly.
Orchestral Clarity
In an orchestral setting, a woodwind spot might sound odd or thin when added to the main pair, especially in the midrange. After adjusting a short delay on the spot mic, the instrument’s timbre becomes seamless with the rest of the mix, providing clarity without that strange coloration. This is often subtle, but in professional orchestral recordings, these small differences matter a lot in the final presentation.
Creative Uses of Phase Misalignment
While phase problems can be a nightmare to fix, you can also harness phase intentionally for sound design or stereo imaging tricks. Rather than seeing it as purely a technical issue to eliminate, think of it as another sonic tool in your arsenal.
Comb Filtering for Effect
When you slightly delay one version of a signal and mix it with the original, you create a comb filter that accentuates some frequencies and diminishes others. This can be a neat effect for adding a sense of motion or texture to a track, especially if you modulate that delay time (which then becomes a flanger or phaser-type effect).
You can also purposely place a second mic on a guitar cab a few inches off to create a mild comb filter that scoops out a bit of midrange. Some engineers find it easier to do that physically rather than using an EQ plugin. The key is to listen carefully in context and be aware that the results might collapse in mono or create unpredictable cancellations when combined with other tracks.
Haas Effect for Stereo Widening
The Haas effect states that if two identical sounds arrive within about 30 milliseconds of each other, our ears will interpret them as a single fused sound, but still get a sense of spaciousness. Producers often use this by duplicating a track, panning one hard left and the other hard right, and adding a short delay (like 10 to 20 ms) to one side. This yields a wide stereo image but can introduce phase cancellations in mono. That’s a trade-off you accept for the sake of width.
Polarity Tricks
Beyond the classic “flip the bottom snare mic,” you can get more experimental. Some engineers duplicate a track, invert the polarity of one copy, then apply different EQ to each. This can create unusual cancellations or highlight very specific frequency ranges. It’s not always predictable, but it can produce unique textures.
Mid/Side Manipulations
Mid/Side processing and recording rely heavily on phase relationships. By summing or subtracting left and right channels, you create a mid (sum) channel and a side (difference) channel. Changing their relative levels or applying different processing can reshape the stereo image or even isolate certain elements in interesting ways. While it’s more of an advanced topic, a solid grasp of phase makes these techniques easier to understand and apply effectively.
Conclusion
Phase alignment is an essential skill in modern recording and mixing. Whether you’re working on a drum kit with multiple mics, capturing the nuances of an orchestra with main and spot mics, or blending two microphones on a guitar cabinet, understanding how to identify and fix phase issues can dramatically improve the final result. By starting with a simple polarity flip, moving on to manual alignment of transients using a track delay or even specialized delay plugins for advanced correction, you can ensure that your sources combine to reinforce rather than cancel each other.
It’s also important to remember that perfect alignment isn’t always desirable. Sometimes leaving natural time delays (especially for room or overhead mics) can provide a sense of space and realism. In other contexts, a slight misalignment can even be used creatively, as a tone-shaping or special effect.
Ultimately, the key is to be aware of how phase relationships shape the sound. Listening in mono, toggling polarity switches, and fine-tuning alignment are all powerful ways to discover exactly where your mix might be losing its punch. Once you address those phase issues, you’ll often find that everything snaps into focus with far less effort than trying to fix it later with endless EQ or compression. The payoff for taking the time to check your phase is enormous—more depth, power, and clarity, along with the option to creatively shape the sound through intentional phase play. When used wisely, phase alignment can elevate an ordinary recording into something truly special, ensuring that all your mics are working together in harmony.
Om författaren

Dídac
VD & grundare av MasteringBOXDídac är ljudtekniker, musikproducent och mjukvaruingenjör. Han är grundaren av MasteringBOX och författare till många av artiklarna på bloggen.
Lämna en kommentar
Logga in för att kommentera