

Mastering a track can feel like a mysterious final step in music production, especially if you’re just starting out. This Mastering for beginners guide is meant to take a mix that already sounds good and adding the final shine so it competes with professional tracks on any platform. Here, we’ll break down mastering in simple terms, share practical tips, and walk you through an easy workflow. Think of this as your beginner’s guide to mastering (or even Mastering for Dummies)—we’ll keep it friendly and jargon-free at first, then gradually dive deeper into the technical stuff.
Table of Contents
- What Is Mastering?
- Why Mastering Matters
- Mastering vs. Mixing: What’s the Difference?
- Preparing for Mastering: Beginner’s Quick Checklist
- Simple Mastering Steps
- Essential Mastering Tools of the Trade
- Common Beginner’s
- Workflow Mastering Checklist for Beginners
- Mastering for Different Formats
- Mastering for Beginners: Final Tips
What Is Mastering?
Before we dive into steps and tools, let’s answer the big question: What is mastering? In simple terms, mastering is the final polish on a song after mixing. Imagine you’ve baked a great cake (that’s your mix) – mastering is like the icing and decoration that makes it look and taste amazing everywhere.
In technical terms, mastering involves using EQ, compression, limiting, and other tools on your final stereo track. The goal is to make the song louder, clearer, and consistent so it sounds professional on any speaker – from club PA systems to tiny phone speakers. Mastering makes your song fit in with other tracks on the radio or streaming playlists. It also ensures all songs on an album have the same volume and tone.
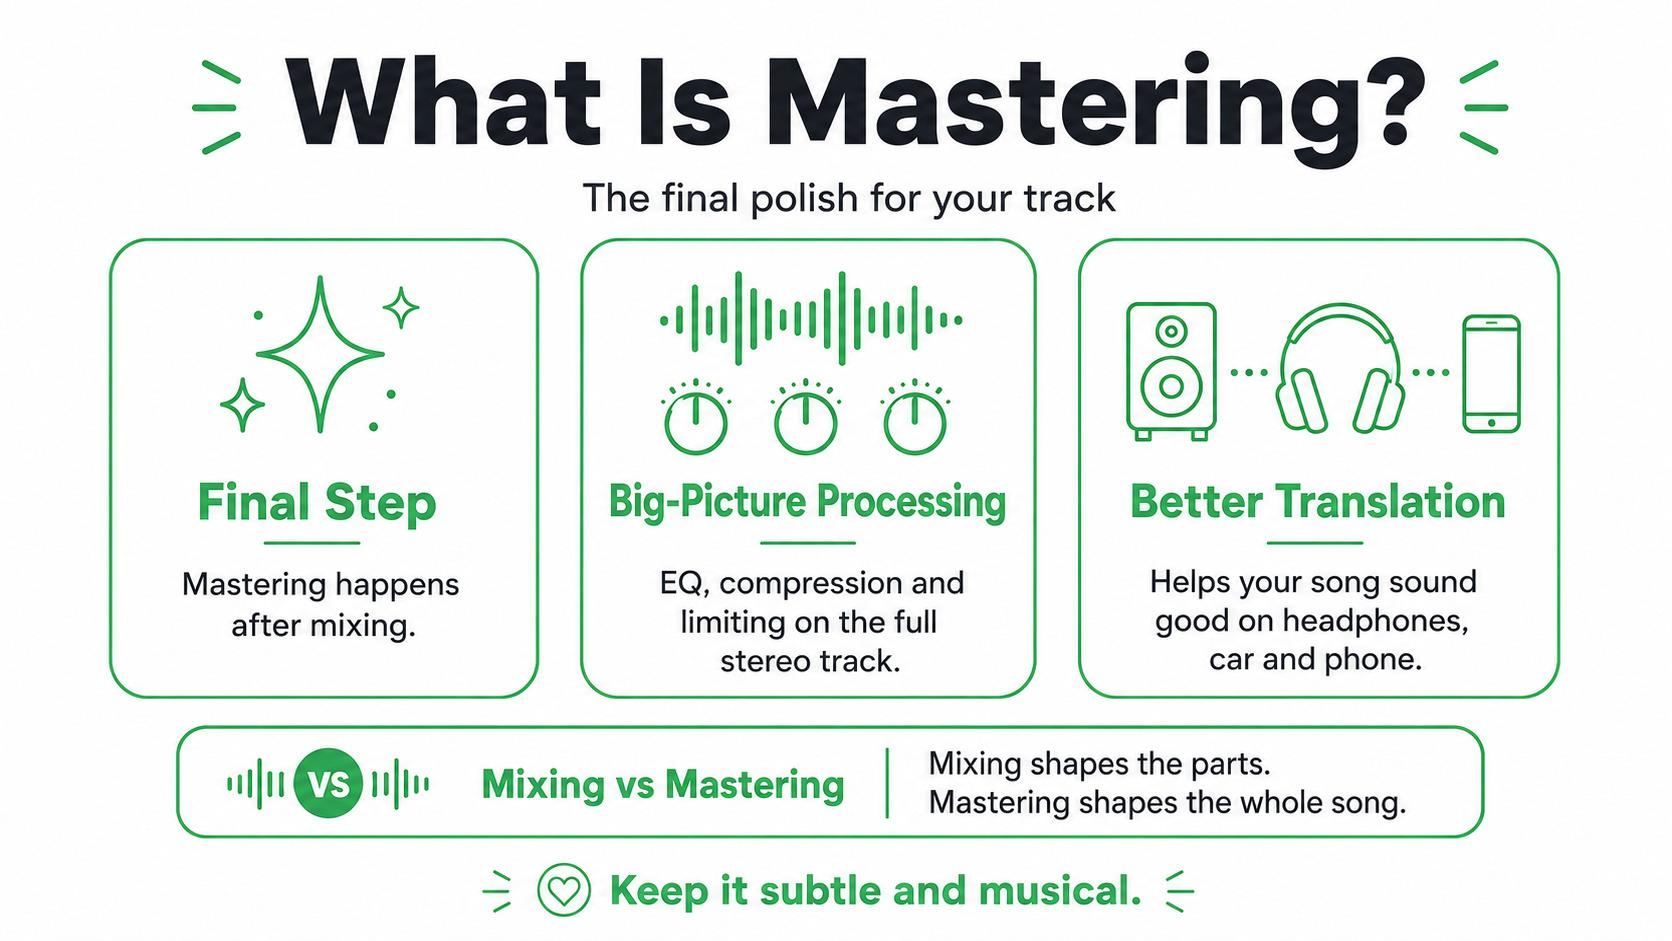
Note: Mastering is not the same as mixing. Mixing is about balancing individual instruments and vocals within the song. Mastering tweaks the overall track to make it shine as a whole.
Key takeaway: Mastering is the last chance to make your track sound its best by balancing tones, controlling loudness, and checking how it translates across different playback systems.
Why Mastering Matters
You might wonder, “Do I really need to master my songs, or can I skip it?” For beginners especially, mastering is valuable for a few big reasons:
- Consistency and Translation: It ensures your song sounds good on headphones, car speakers, or even old radios. A well-mastered track translates well everywhere.
- Perceived Loudness: A master gives your song competitive volume without distortion. It helps your music hit the sweet spot where it’s loud but still dynamic.
- Polish and Clarity: Mastering brings clarity to the mix. Harsh frequencies can be tamed, and softer parts can be lifted so every element is heard.
- Professionalism: A master ties the track together, giving it that final polish that separates hobby tracks from pro releases.
- Fresh Ears: When you master, you ideally take a short break from mixing. Listening fresh often helps catch tiny issues you missed before (small pops, clicks, or imbalances).
For example, you might think your mix is loud enough on studio monitors, but on phone speakers it could sound thin. Mastering catches problems like that. It’s the difference between a good mix and a truly professional sound.
Remember: Even high-end studios leave some tasks for mastering engineers. But in a home studio, mastering can be done with the right approach and patience. It’s a great learning experience too—when you master your own song, you’ll start mixing with mastering in mind.
Mastering vs. Mixing: What’s the Difference?
Understanding mastering starts with knowing how it differs from mixing. Many beginners mix and then put it through some plugins and call it done, but mixing and mastering have distinct goals:
- Mixing: Focuses on individual tracks (kick, snare, vocals, guitars, etc.). You adjust levels, pan instruments, add effects (reverb, delay), and EQ each instrument so everything fits together.
- Mastering: Works on the final stereo mix. You don’t adjust individual tracks anymore; instead you adjust the mix as a whole using EQ, compression, and limiting. It’s about the big picture.
To illustrate: think of a band photo. Mixing is arranging each band member so everyone is framed nicely. Mastering is retouching the final photo’s color, contrast, and sharpness so it looks great on any screen. You wouldn’t crop a single band member in mastering, you work on the final “picture.”
Key point: Do not rely on mastering to fix mixing issues. If a vocal is too quiet or too sibilant in the mix, fix it in your mix first. Mastering is for subtle, broad enhancements, not surgical fixes.
Preparing for Mastering: Beginner’s Quick Checklist
Before you hit “Render” on your DAW, make sure your mix is ready. Here’s a quick pre-mastering checklist every beginner should follow:
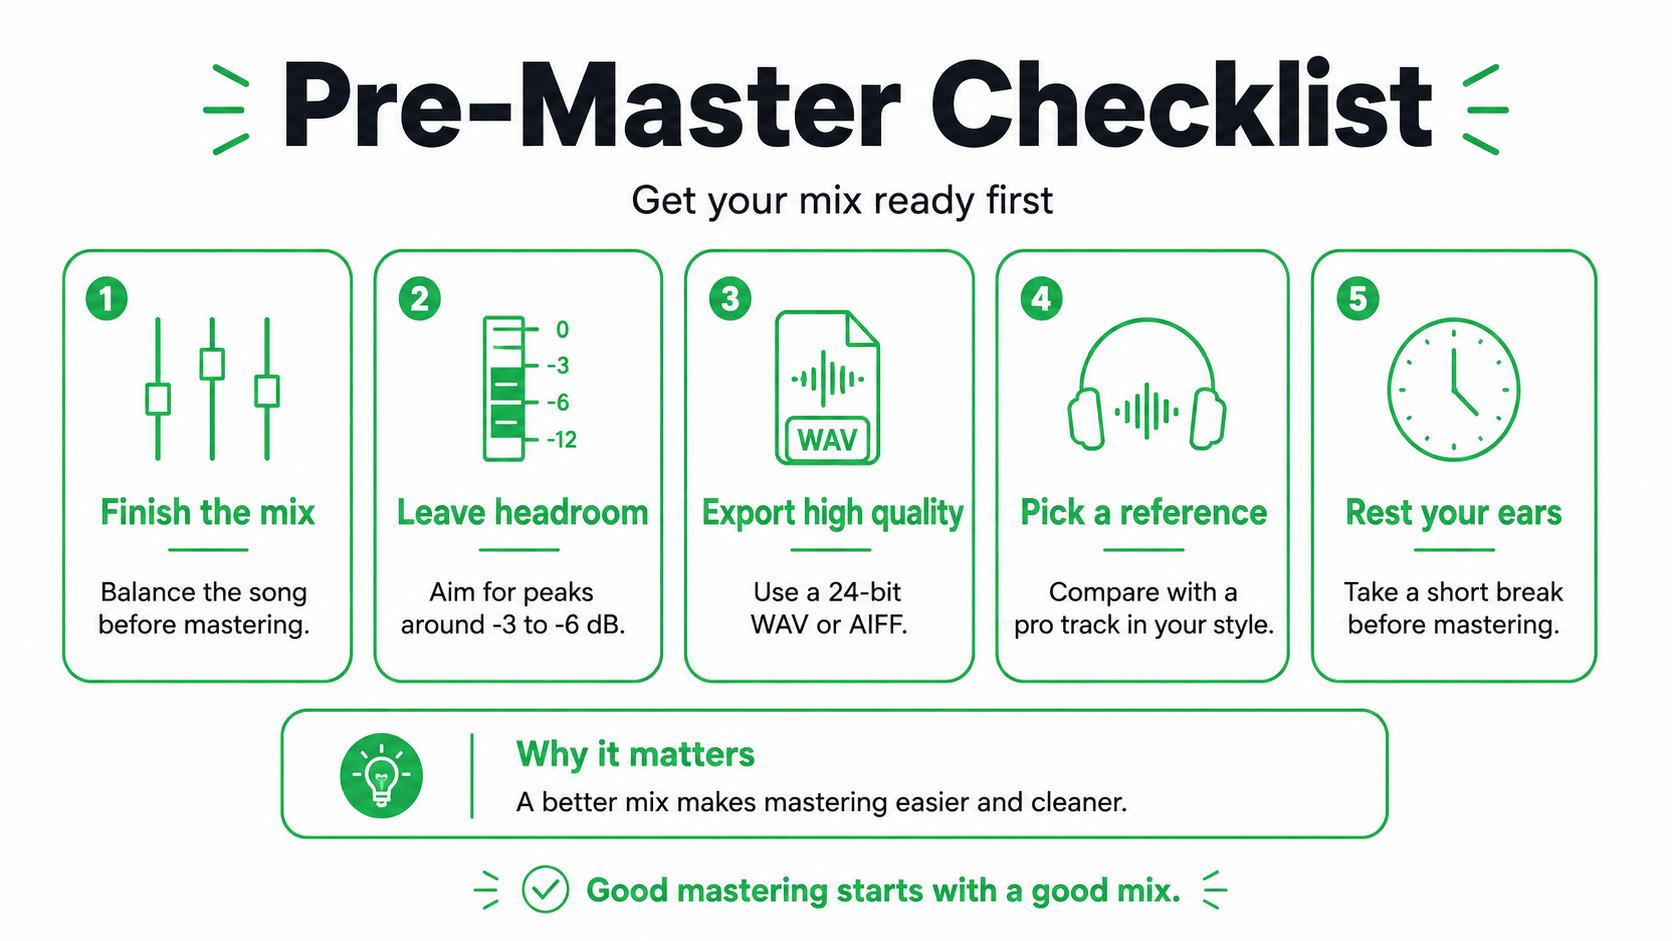
- Finalize Your Mix: Treat mastering as step 2. Mix carefully first. Ensure each element (drums, bass, vocals, etc.) is balanced.
- Leave Headroom: Lower your final mix output. Aim for peaks around -3 dB to -6 dB on the master fader. This headroom gives mastering tools space to work. If your mix is already hitting 0 dB or clipping, a limiter will work overtime and ruin dynamics.
- No Final Limiting/Maximizing: Remove any limiters or maximizers on your master bus during mixing. Save the loudness push for the mastering stage.
- Export High Quality: Bounce your mix to a high-resolution stereo file (like 24-bit WAV). The cleaner the file, the better the master will be.
- Good Listening Environment: Use decent monitors or headphones. A treated room is ideal, but even normal speakers can work if you know their quirks.
- Reference Track Ready: Pick a commercially released song in a similar style and have it in your project for comparison.
- Rest Your Ears: Take a break after mixing. Give your ears an hour or two away from the track. Fresh ears catch problems easier when mastering.
By ticking off these steps, you set the stage for successful mastering. It’s like making sure your canvas is clean before starting the final paint job.
Simple Mastering Steps
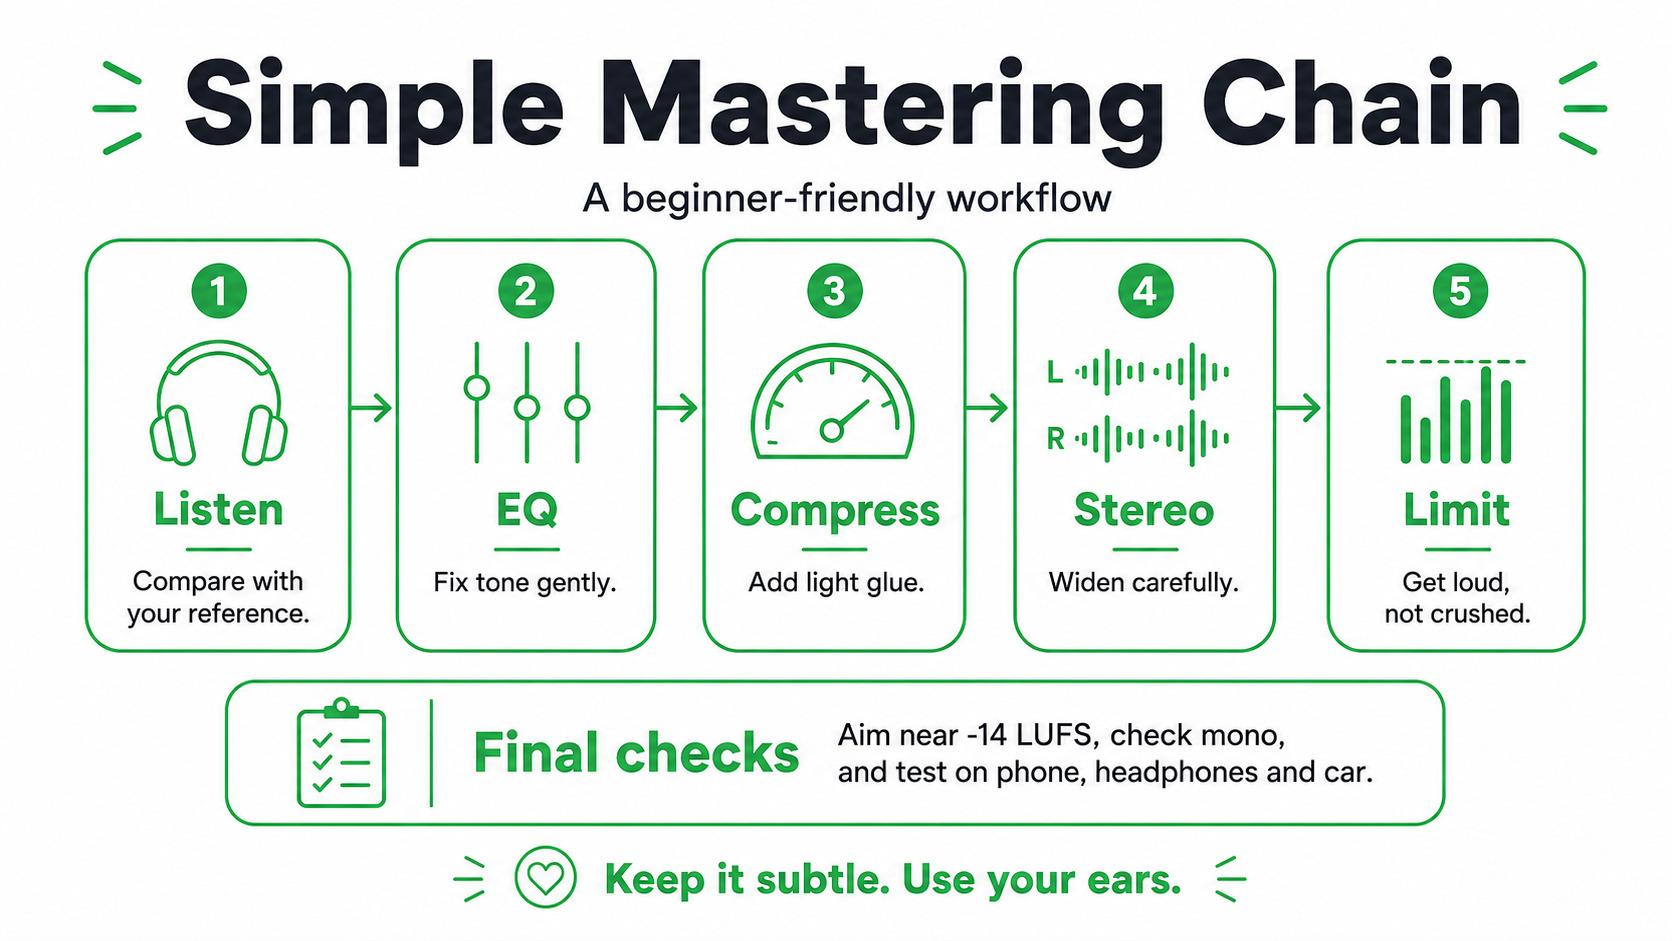
Now that you’re prepared, let’s walk through the core steps of mastering. Each step can be more or less important depending on your track, but as a beginner, it helps to have a basic chain in mind. Here’s a simple order to follow:
- Reference Listening: Before touching any knobs, listen to your track alongside your reference song. Get a feel for differences in tone and loudness.
- Equalization (EQ): Use a gentle EQ to balance the overall frequency spectrum. This might mean cutting a harsh treble or boosting a muddy bass.
- Compression: Apply light compression to glue the mix together. Don’t squash it—just even out dynamics slightly or tighten a drum groove.
- Stereo Imaging: (Optional) If your mix feels too narrow or needs width, subtle stereo widening tools can help. Conversely, you might narrow it if the low end is too spread out.
- Limiting: Finally, use a limiter to increase loudness to a competitive level. Set the ceiling around -0.5 dB to avoid digital clipping. Push it gently – aim for a warm increase, not a crushed sound.
- Dithering: If you’re reducing bit depth (e.g., from 24-bit to 16-bit for CD), add dither as your very last step to prevent quantization noise.
Below we break down each step in a bit more detail.
EQ: Balancing the Whole Track
After referencing your track, insert a mastering EQ plugin. This is not for huge changes—think of it as a finishing tweak. Example tweaks:
- If the bass feels too boomy, try a gentle cut around 200-400 Hz.
- If the mix lacks brightness, a small boost around 5-8 kHz can add air.
- To clean up a muddy mix, a slight cut around 300-500 Hz often helps.
Always use broad, gentle filters (with low Q) for mastering, so you don’t introduce new peaks. Weights like ±1-2 dB are often enough. Use your ears: boost or cut where the mix genuinely needs it. Remember, EQ in mastering should respect the character of your mix—think “subtle polish” rather than drastic surgery.
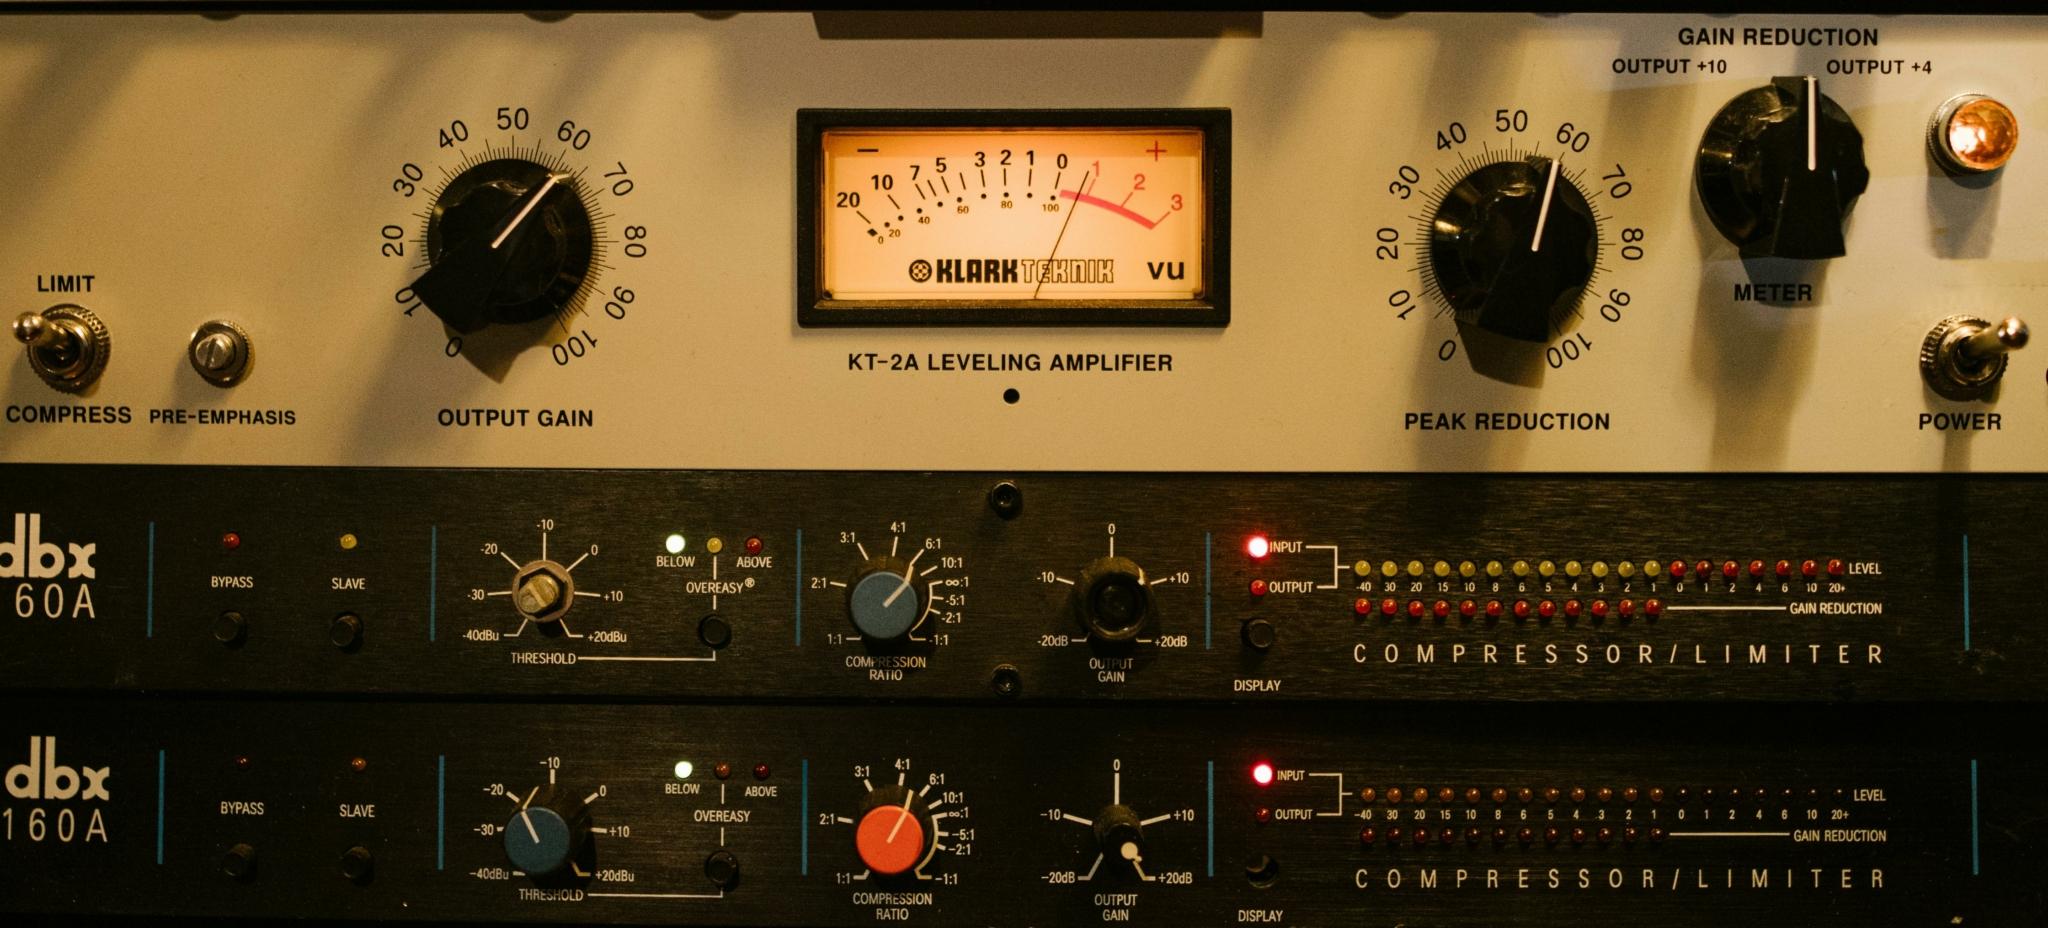
Compression: Adding Glue
Next, add a mastering compressor. Its role is to subtly even out dynamics and glue the mix together. Here’s how:
- Use a low ratio (often 1.5:1 to 2:1).
- Set a medium attack (10-30 ms) and a slow release (200-500 ms).
- Aim for just a few dB of gain reduction. If the needle moves more than 3-4 dB, it might be too much.
For example, you might lightly compress the drum bus and vocals so soft parts stick out a bit and loud hits are tamed slightly. This adds perceived energy. But be careful: over-compressing in mastering can kill the vibe. If your mix is very punchy, you might even skip compression at first and only use it for control if needed.
Stereo Imaging: Widening Carefully
A stereo enhancer can make a mix “feel bigger,” but use it sparingly. Before tweaking stereo width:
- Check your track in mono. Play it summed to mono and see if anything disappears or sounds weird. If it collapses badly, fix the mix’s panning or phase issues first.
- If your mono check is fine, you can gently widen the stereo field. Tools often have a slider from narrow to wide—nudge it a bit and listen.
Be cautious: too much stereo widening can cause phase issues or make low end unstable. If you have an Image plugin, use it with +/- 5-10% adjustments, not 50%. Alternatively, use mid/side EQ to boost high-end in the sides and cut lows, making it perceptually wider without true phase tricks.
Limiting: Getting Loud (With a Tail)
Limiting is usually the last step. A brick-wall limiter catches peaks and boosts overall loudness. Tips:
- Set the output ceiling to about -0.5 dBTP (true peak) to prevent inter-sample clipping in streaming.
- Raise the input gain or threshold until the track is loud enough, but stop when you start hearing distortion or pumping.
- Watch your LUFS (Loudness Units Full Scale). For example, if you’re targeting streaming, around -14 LUFS integrated is a safe ballpark (many platforms normalize to around there).
The goal is a punchy loudness, not a flat brick. Always compare to your reference track at the same perceived volume. If your limiter is churning out more than 4-6 dB of gain reduction, dial back and re-evaluate.
Tip: Some mastering limiters have modes like “transparent” or “low saturation.” Start with those so your limiter doesn’t color the track too much.
After limiting, double-check no clipping is happening, and that your track still breathes. A good limiter will make the song loud and clear without obvious distortion.
Essential Mastering Tools of the Trade
Now, let’s talk gear—virtual gear, that is. As a beginner, you don’t need racks of fancy hardware to get started. In-the-box (software) tools work great. Here are some types of plugins you’ll find useful:
- EQ Plugins: FabFilter Pro-Q (but others like Waves Q series or TDR Nova are great). Look for parametric EQs with high precision.
- Compressor Plugins: The iZotope Ozone Maximizer can double as a soft clipper; or Waves SSL G-Master Buss Compressor. Even stock DAW compressors (like Logic’s Compressor in master bus mode) can do the job.
- Limiter Plugins: iZotope Ozone Limiter, Waves L2/L3 Ultramaximizer, or FabFilter Pro-L are popular. Free alternatives like LoudMax can also work.
- Metering Tools: A loudness meter (to see LUFS), spectrum analyzer, and phase meter are handy. Try YouLean Loudness Meter or your DAW’s built-in meters.
- Stereo Imaging Tools: iZotope Ozone Imager (free plugin), Waves S1, or Ableton’s Utility for width control can help.
And remember: you don’t need the most expensive gear. Even free plugins can sound great if used properly. What matters most is understanding the tools, not their price tag. Spend time learning one EQ and one limiter well, rather than chasing new shiny plugins.
Common Beginner’s Mastering Mistakes
As you start experimenting, watch out for these classic beginner pitfalls:
- Crushing the Mix with Too Much Limiting: It’s tempting to slam the limiter just to hear a louder track, but this often kills the dynamics. If your limiter is boosting too much, back off. Loud should be exciting, not fatiguing.
- Mixing Too Hot (No Headroom): If your mix peaks at 0 dB, your limiter has no room to work. Always export with some headroom (we said -3 to -6 dB).
- Ignoring the Mix Issues: Found a bad frequency or balance? Don’t try to surgically fix it on the master track. Note it and go back to the mix. Mastering affects all instruments, so fixing a small mix flaw at this stage usually makes something else worse.
- Over-EQ-ing: Adding massive EQ boosts/cuts is a no-no. If you need +6 dB of bass boost to make your track sound full, your mix might have a bass issue. Start with cuts (removing problem frequencies) instead of wild boosts.
- Forgetting Mono Checks: Always listen in mono sometimes. Is the bass vanishing? Are vocals still clear? Mono compatibility is crucial since many phones and club setups sum to mono.
- Not Using Reference Tracks: Never skip comparing your master to a professional track. It guides your ears. Your song might feel loud, but maybe your reference is actually louder, or maybe it’s the opposite. Knowing this helps you adjust.
- Overthinking the “One-Size Chain”: There’s no single correct mastering chain. What works for EDM might not work for acoustic folk. Trust your ears and the needs of the song.
- Skipping Breaks: Mastering with tired ears is dangerous. After 20-30 minutes, take a breather. You’ll think the song sounds awesome just because your ears are numb.
- Ignoring Multiple Listening Environments: Think beyond your studio. If you listen only in one room, you’ll tailor the master to that room. Check your track on headphones, monitors, a car stereo, phone speakers, etc.
Avoid these missteps, and your mastering process will be smoother and more effective.
Workflow Mastering Checklist for Beginners
To wrap it all together, here’s a step-by-step mastering for beginners checklist you can follow when you sit down to master a track. Think of this as your cheat-sheet workflow:
- Gather Your Files: Have your final mixed track exported (WAV/AIFF, high bit depth), and a reference song ready.
- Set Up Session: Create a new project or session and import the mix and reference. Make sure project sample rate/bit depth match your export.
- Organize Tracks: Put your song on one track (leave it at unity gain) and references on another. Mute anything else.
- Critical Listening (Round 1): Listen to your track with no processing. Compare it to reference. Note any issues (too dark, not punchy enough, etc.).
- Insert Metering: Add a LUFS meter on the chain. Set targets (e.g. -14 LUFS for streaming).
- EQ Adjustments: Use an EQ plugin. Address any obvious tone issues. (Cut mud, tame harshness, etc.) A/B between EQ on/off.
- Compression (if needed): Insert a compressor. Apply subtle gain reduction to glue the track. A/B to ensure it’s musical.
- Stereo & Imaging: (If desired) Add a stereo imager. Widen or narrow slightly as needed. Always check mono after.
- Limiter/Maximizer: Finally, add a limiter. Set ceiling to -0.5 dB, bring up loudness gradually. Aim for your LUFS target without audible distortion.
- Check Mix in Mono: Collapse to mono to hear any lost elements. If big issues occur, consider backing off widening or fixing the mix.
- Listen on Different Systems: Bounce a quick test (or just play it) on monitors, headphones, car stereo, phone. Make notes.
- Make Minor Tweaks: Based on your tests, make small adjustments. Maybe a bit more bass, or slightly less harsh highs.
- Final Checks: Ensure peaks don’t clip, and loudness is consistent. Check before/after LUFS and K-weighting.
- Export the Master: Bounce your master at high quality. If needed for CD, dither to 16-bit; otherwise keep 24-bit for digital release.
This workflow isn’t set in stone, but it’s a solid path for beginners. You’ll iterate these steps as you develop intuition.
Mastering for Different Formats
What if your song will appear in various formats? Each medium has its own quirks:
- Streaming (Spotify, Apple Music, YouTube, etc.): These services normalize loudness around -14 LUFS. This means making it much louder than that won’t actually increase playback volume (they’ll turn you down). Instead of chasing maximum loudness, focus on punch and clarity. Aim for around -14 LUFS LUFS for streaming, which still sounds full but leaves headroom.
- CD (or high-quality digital downloads): CDs can handle up to 16-bit/44.1kHz with no normalization. You can push a bit louder here if you want, but still watch dynamics. Keep peaks safe and consider dithering to 16-bit at the end.
- Vinyl: A vinyl master needs more care. Low bass should often be mono below ~150 Hz (to prevent needle jumping out of groove). Excessive compression might sound worse on vinyl. If sending to vinyl, talk to a mastering engineer for final touches, or use a plugin that mimics vinyl.
- Other: Radio, TV, etc.: If targeting broadcast, know that too-loud masters might get turned down by the station. Different broadcasters have their loudness standards (often around -23 LUFS for TV in many regions). Unless you’re aiming for broadcast, focus on general loudness that works worldwide.
The key is: tailor your master to its destination, but don’t panic. For a beginner making music for streaming or YouTube, just remember not to absolutely crush your track. Keep dynamics alive and let the platform handle normalization.
Mastering for Beginners: Final Tips
You’ve learned a lot of steps, but remember: mastering is as much an art as a science. Here are some final friendly reminders:
- Trust Your Ears: There are rules, but the final judge is your ear. Does it sound good and balanced? Go with that.
- Use Reference Tracks Continuously: Keep comparing your track to a few reference songs in the same genre. This helps your ears stay objective.
- Monitor at Reasonable Volume: Cranking monitors way up can distort your judgment. Aim for moderate listening levels when adjusting EQ/compression.
- Stay Consistent: If you do multiple songs for an album, maintain a consistent sound across them.
- Save Versions: Export different versions at each step (e.g., before limiting, after limiting). It helps if you need to go back and tweak.
- Keep Learning: Listen to pro tracks and try to reverse-engineer what the mastering engineers did. Over time, you’ll develop an intuition.
- Breaks Are Important: Step away for a bit and come back with fresh ears. You’ll notice small things you missed.
- Enjoy the Process: Mastering can be fun! You’re putting the final icing on your creation.
Mastering might sound complicated at first, but by following these steps and tips, you’ll gradually get the hang of it. As a beginner, your goal is to learn and experiment. Each song will teach you something new. Soon enough, you’ll master not just your tracks, but the skills behind them.
Sobre o Autor

Dídac
CEO & Fundador do MasteringBOXO Dídac é engenheiro de áudio, produtor musical e engenheiro de software profissional. É o fundador do MasteringBOX e autor de muitos dos artigos do blog.
Deixa um comentário
Entra para comentar

 English
 Español
 Français
 Italiano
 Deutsch
 Português
 Nederlands
 Svenska
 Polski
 Čeština