Welcome to this comprehensive exploration of the mix bus in audio production. Whether you’re totally new to mixing or you’ve been doing it for years, understanding how mix buses work (and how to process them) can make an enormous difference in your overall sound quality. Think of the mix bus as a final checkpoint through which all your tracks pass on their way out of the session. By applying certain processing decisions at this stage—like gentle compression, subtle EQ, and some tasteful saturation—you can bring cohesion or glue to your music.
In this article, we’ll start by defining what a mix bus is and how it differs from a master bus. Next, we’ll walk through the practical steps for setting one up in different digital audio workstations (DAWs). After we’ve established the basics, we’ll dive into the types of processing people typically apply on a mix bus—ranging from EQ and compression to saturation and advanced routing techniques like parallel processing. We’ll also cover the common mistakes beginners and even experienced mixers sometimes make, along with best practices for achieving a polished, well-balanced mix. Finally, we’ll suggest some plugins and wrap everything up in a concluding section that ties all these concepts together. By the end, you’ll have both a foundational and deeper understanding of how to use mix bus processing effectively in your own projects.
Remember, this is an informal yet thorough guide meant to serve all levels of audio enthusiasts. Beginners can glean basic insights about what a mix bus is and why it matters; intermediate and advanced users can find tips on advanced routing and sophisticated mix bus processing. Let’s jump in.
Table of Contents
- What Is a Mix Bus?
- What Is the Difference Between a Mix Bus and a Master Bus?
- How to Set Up a Mix Bus
- Basic Mix Bus Processing
- Advanced Mix Bus Processing and Routing
- Common Mistakes in Mix Bus Processing
- Best Practices for Mix Bus Processing
- Plugin Recommendations for Mix Bus Processing
- Conclusion
What Is a Mix Bus?
A mix bus is a conceptual (and often literal) path in your DAW where you route multiple audio signals for combined processing. Think of each track in your session as an individual passenger, and the mix bus as the vehicle they all board before heading to the master output or final destination. In practice, it’s typically a stereo auxiliary channel or group channel that collects all the sounds in a session.

The reason we use a mix bus (sometimes called a “stereo bus” or “2-bus”) is to apply processing—such as EQ, compression, or saturation—to every track at once, in a cohesive way. Instead of adding the same subtle EQ move across a dozen different vocal and instrumental channels, you can add one EQ on the mix bus to address the entire frequency spectrum of the full song. The same goes for compression: gently leveling out the dynamics of the overall mix can help the song feel more unified.
Why It Matters
Using a mix bus can simplify your workflow significantly. Instead of juggling many individual track inserts for the same effect or plugin settings, you can make adjustments in one place. This can also save CPU resources, though that benefit is secondary to the creative and technical advantages. Mix bus processing helps your tracks “gel” by introducing a shared sonic character and by controlling overall dynamics in a coherent way.
Efficiency and Cohesion
When you place EQ, compression, reverb or other effects across the entire stereo mix, you’re effectively shaping the entirety of your sound in real time. This can lead to a more cohesive result because it’s as though you’re adding a unifying thread through all the separate instruments, vocals, and elements. Many mixers say that proper use of a mix bus can give you up to 80% of the “sound” of a mix before you even start fine-tuning individual tracks.
Typical vs. Subgroup Buses
Remember, a mix bus differs from subgroup buses or auxiliary sends used for reverb and delay. Subgroup buses might collect only the drums or only the vocals, allowing you to process those in submix form. A mix bus is, in many contexts, the last bus in the chain before the sound leaves the session. While the terms can sometimes overlap, the fundamental concept is that the mix bus is the final summation point for the whole track before mastering.
Common Variations
Some engineers prefer to set up multiple mix buses, each for different sections of the mix—like one for drums and bass, another for guitars and keyboards, and a third for vocals—then route those into a final master mix bus. Others do a single stereo bus for everything. The approach depends on personal style, genre, and how much control you want over each group. Each technique can be valid if done carefully.
What Is the Difference Between a Mix Bus and a Master Bus?
It’s common for people to talk about a mix bus and a master bus as if they’re the same thing. In many DAWs, the master channel or Stereo Out is technically acting as a mix bus. However, there are conceptual differences that can be helpful to keep in mind.
Think of the master bus as the final output channel through which you’ll either bounce or export your track. The master bus is generally where you do mastering-specific tasks—like final limiting for loudness targets, dithering, or final stereo enhancement. The mix bus, by contrast, is usually the bus you work with during mixing. You might place gentle compression or EQ on it to shape the overall sound of the mix before it even gets to the master fader.
Mixing vs. Mastering
During mixing, the primary goal is to create a balanced, cohesive blend of all the individual tracks. Mix bus processing is about gluing those tracks together in a subtle way while retaining their individual character. Master bus processing, on the other hand, is often associated with mastering tasks: loudness maximization, final EQ touches for broad spectral balance, and other finishing touches. In many workflows, the mix bus and master bus could be the same channel. But in a professional workflow, they’re often separate, so you can do your cohesive “mixing glue” on one bus, then export the result to a separate mastering stage.
Separate Control

One of the biggest advantages of a separate mix bus is the extra level of control and flexibility. If you place all your mix shaping tools—like a bus compressor and an EQ—on your mix bus, you can leave your master bus free for referencing. For example, you could send a reference track directly to the master bus (bypassing your mix bus), so you can compare your mix to a professional track without the reference track going through your bus processing. This workflow trick helps you do more accurate A/B comparisons.
Headroom Management
Because you ideally leave some headroom on your mix bus, the master bus is often where you do the final push—if needed—through a limiter or final stage. In a typical scenario, you might want your mix hitting somewhere around -6 dBFS at the mix bus stage, ensuring you have enough room for any mastering moves. If you rely on a single master channel for everything, you just need to be careful with your gain staging so you don’t run out of digital clipping.
In short, the mix bus is generally about cohesion during the mixing phase, while the master bus is where you finalize the track. They can be the same physical channel in a DAW, but keeping them separate often gives you more workflow flexibility and clarity.
How to Set Up a Mix Bus
It’s easy to assume that any stereo output channel is a “mix bus” by default. While that’s often true, many audio engineers prefer an explicit mix bus for the creative and logistical advantages. After this heading, we’ll walk through the general steps of setting one up, then briefly touch on some specifics for popular DAWs.
When you set up a dedicated mix bus, all your tracks (or groups) will feed this bus, and then that bus will feed your master output. That way, you can place any mix-level processing on the bus, while the master channel remains available for referencing, metering plugins, or the final stage limiting.
General Steps
- Create a Stereo Aux or Group Channel: Label it “Mix Bus” or whatever you like.
- Assign All Tracks (or Submixes) to This Bus: Go through each channel’s output routing and change it from “Stereo Out” (or “Master”) to “Mix Bus.”
- Route the Mix Bus to the Master Bus: Now that your new mix bus is receiving the signal, it has to go somewhere, usually the main master output.
- Insert Plugins on the Mix Bus: You can now place EQ, compression, saturation, or other effects on this dedicated channel. Any processing here affects the entire mix.
- Solo Safe (If Needed): In some DAWs, you might need to set the bus as “solo safe” so it doesn’t get muted when you solo individual tracks.

DAW-Specific Examples
Pro Tools
- Create a stereo aux input track, label it “Mix Bus.”
- Assign its input to an available stereo bus (e.g., “Bus 1-2”).
- Route your individual channels or subgroups to that same bus as their output.
- Set the aux’s output to your main interface out or Master Fader.
Logic Pro
- Use a Summing Stack to combine all tracks into one “Mix Bus” aux, or manually send all tracks to a new bus.
- Name the aux channel “Mix Bus” and ensure its output is the default Stereo Out (or your master fader).
Ableton Live
- Group all tracks into a Group Track and name it “Mix Bus,” or create a dedicated audio track that receives input from all other tracks.
- The new group or audio track then sends to the “Master” channel.
This is roughly the same in other DAWs like Cubase, Studio One, Reaper, and so on. Once everything is routed, your entire mix now passes through the mix bus, giving you one convenient place to shape the overall tone and dynamics.
Basic Mix Bus Processing
After a heading like this, it’s nice to have a quick intro: Basic mix bus processing is all about subtle but effective moves that shape the entire stereo signal. While the specifics vary depending on style, genre, and personal taste, there are a few go-to processes that many engineers rely on.
The Core Tools
EQ
One of the most common additions to a mix bus is a broad EQ. You might use a low-shelf filter to gently boost or cut the low end, or a high-shelf to brighten the overall mix. The key with mix bus EQ is subtlety—small changes have a big effect when applied to the entire mix. Typical moves might be:
- A slight cut in the low-mid region for clarity.
- A mild shelf boost in the top end for brightness.
- A gentle high-pass filter to remove inaudible sub-bass rumble.
Be cautious with surgical EQ on the mix bus. If you find yourself needing large, narrow cuts, it might be better to address the offending frequency on the individual track rather than globally.

Compression
Many engineers like a “glue compressor” on the mix bus, typically a low ratio (1.5:1 to 2:1) with a slowish attack and only a couple dB of gain reduction. This style of compression pulls the mix together, ensuring the transients are tamed just enough that everything feels more cohesive. Whether you use a classic SSL bus compressor or a modern digital model, aim for gentle gain reduction. Too much compression can choke the life out of the mix.
Saturation
Subtle saturation can help warm up the entire mix, adding harmonic content that glues things together in a pleasing, almost imperceptible way. Tape emulations are popular here—some folks add a bit of gentle tape saturation to smooth out transients and impart an analog feel. Tube or console emulators can also achieve a sense of warmth or color on the mix bus.
Order of Processing
You may wonder if you should EQ first, then compress, or vice versa. In many cases:
- EQ first to set a general tone before hitting the compressor.
- Compressor to add glue and control transients.
- Saturation to add final harmonics or color.

But there’s no fixed rule. Some mixers prefer compressing into an EQ if they want the compressor to respond to the original frequency balance. Experiment with both orders to see which suits your material best.
Using Your Ears
When applying these basic tools, keep your ears open for any over-processing. Bypass each plugin to ensure it’s genuinely improving the sound, not just making it louder. Try to match volumes when you toggle plugins on and off—otherwise, louder might trick you into thinking it’s better. The best mix bus changes usually make themselves felt more than heard.
Advanced Mix Bus Processing and Routing
After we’ve covered the basics, let’s introduce some more advanced techniques for those who want deeper control. Advanced mix bus processing often involves parallel paths, multiple stages of compression, or sophisticated routing schemes that let you treat different groups in unique ways.
Parallel Compression
One sophisticated move is running a parallel compression chain on the entire mix. Instead of a single compressor on the mix bus, you create a second bus that’s heavily compressed, then blend it back in with the dry bus. This approach can add a sense of density or loudness without squashing your transients as much. Some compressors come with a mix knob, making parallel processing easier: just apply heavy compression, then dial the wet/dry to around 50% or whatever sounds good.
Benefits of Parallel Compression
- Retains transients and original dynamics from the dry path.
- Adds thickness and sustain from the heavily compressed path.
- You can EQ or otherwise shape the parallel signal differently from the main path.
Multi-Bus Workflows
Some engineers split the mix into two or more main buses, each receiving different elements of the mix. One bus might carry drums, bass, and other rhythmic elements, while another bus might have guitars, keys, and vocals. Each bus can then be compressed or processed differently before summing them together. This can prevent loud drums from pushing down the vocals and instruments too much, or vice versa.
M/S Processing
Another advanced approach is mid/side processing. Mid/side works by separating the stereo signal into a “mid” component (center information) and “side” component (the stereo width). With an M/S EQ or compressor, you could, for example, compress the mid channel slightly to control the vocals and bass but leave the sides untouched for a wide, open sound. Or you could add a high-frequency boost on the sides to give the mix more air and spaciousness without brightening the center.
Automation on the Mix Bus
An often overlooked yet highly effective trick is automating the mix bus level or certain effects over time. You could, for instance, automate the mix bus volume up by 0.5 dB in the final chorus to add impact. Or automate a subtle EQ boost in the high frequencies as the song builds. Because the mix bus affects everything, small changes can have a significant emotional effect on the listener, helping your mix feel more dynamic and alive.

Common Mistakes in Mix Bus Processing
Even seasoned engineers sometimes make missteps with mix bus processing. Here, we’ll highlight some frequent pitfalls and how to avoid them.
Over-Compression
One of the biggest traps is slamming the mix bus compressor so hard that you lose the track’s dynamics. A short attack, high ratio, and big gain reduction can kill the mix’s energy, making it dull and lifeless. If your meter is showing more than a few dB of compression, ask yourself if the results are truly beneficial. Often, a gentler approach sounds more open and natural.

Excessive EQ Moves
Huge EQ boosts or deep cuts can quickly unbalance your entire mix. Remember that each dB of EQ on the mix bus affects every instrument. If you discover that something in the low-mid is muddy, investigate the source track (maybe the guitar or bass) instead of pulling out a massive chunk globally on the bus. The mix bus is best for broad, subtle shaping.
No Headroom
Pushing the mix bus close to 0 dBFS can result in digital clipping or the need to strap on a limiter that changes the character of the mix. It’s good practice to leave around -6 dBFS of peak headroom on your mix bus so the mastering engineer (even if that’s you) can work effectively later. If you’re consistently hitting 0, lower the faders or group channels.
Using the Mix Bus as a Fix-All
Try not to rely on mix bus processing to address major issues like a boomy kick drum or a vocal that’s too harsh. Those problems should be tackled at the track or subgroup level. The purpose of the mix bus is to add cohesive polish, not patch up big problems in the arrangement.
Not Level Matching
Many people forget to match the output levels before and after applying mix bus plugins. A typical example is adding a compressor with auto makeup gain that raises the overall volume, and it feels subjectively “better” only because it’s louder. Always try to bypass the chain at equal loudness to confirm if your level matching is truly an improvement.
Overusing Effects
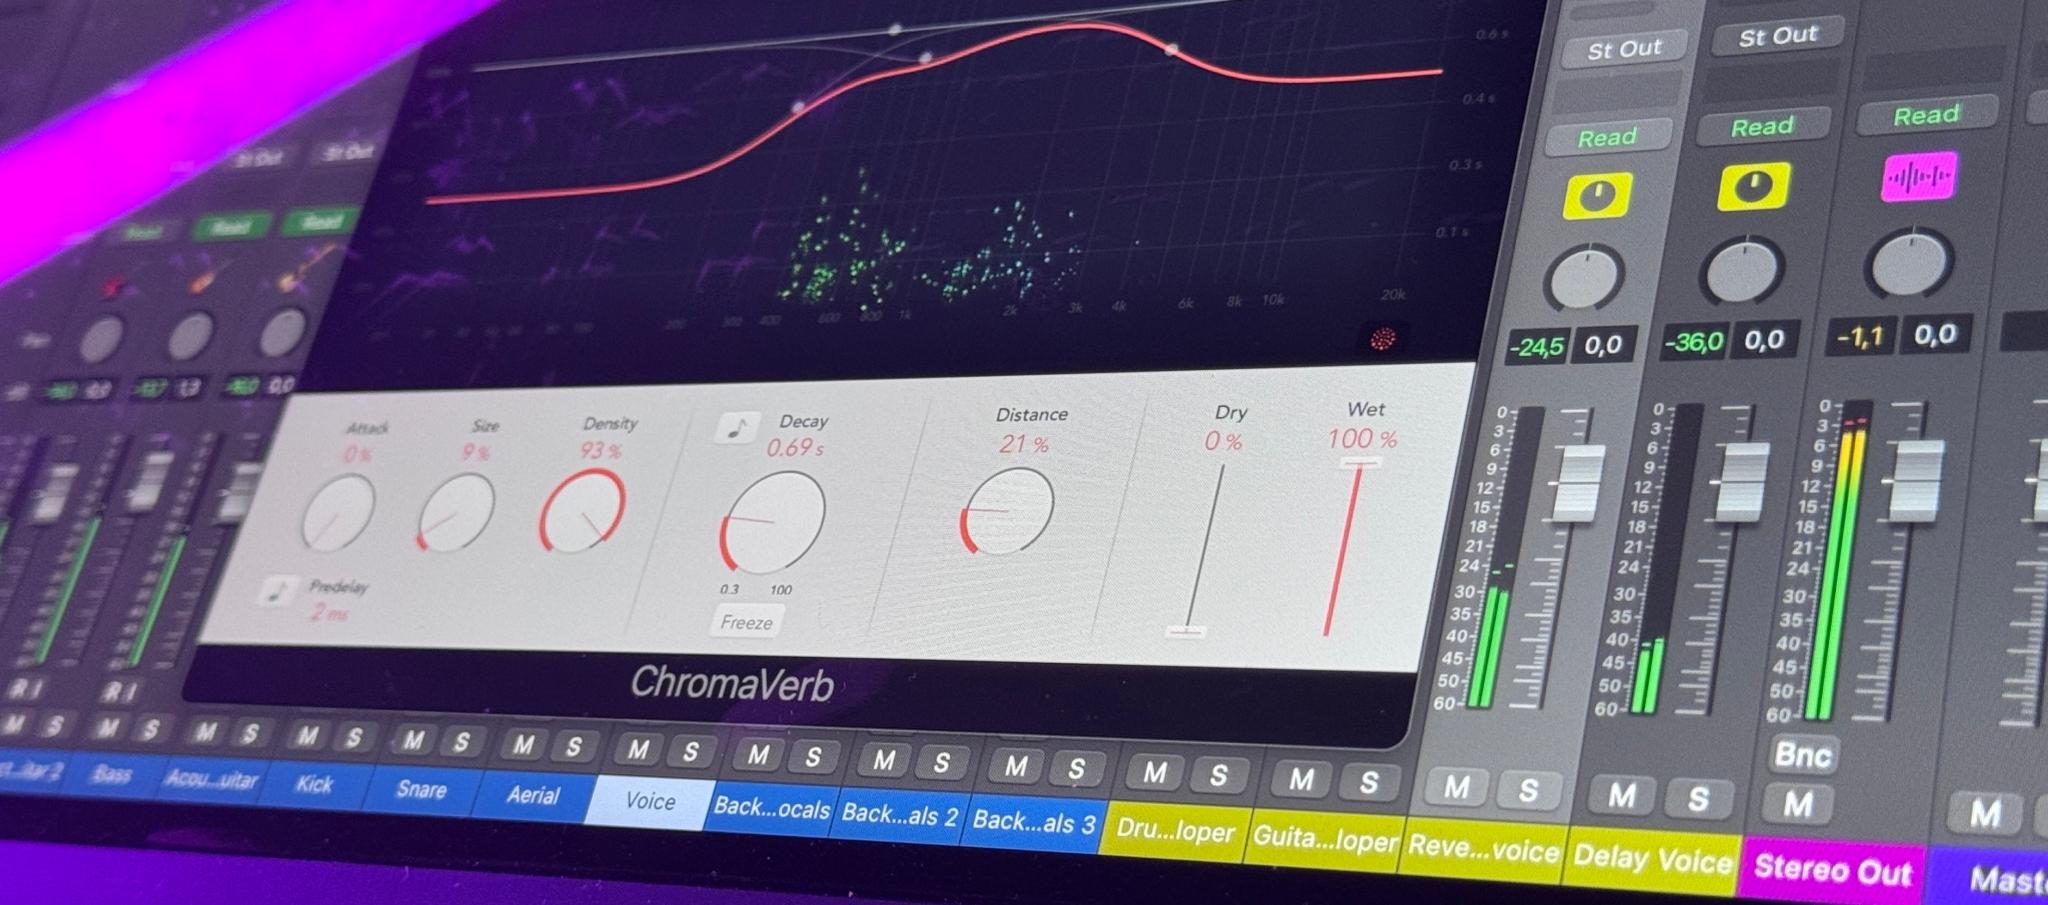
Reverbs, delays, or other time-based effects on the entire mix bus can quickly muddy the soundstage. Unless you have a very specific creative reason—like a lo-fi or experimental vibe—avoid putting reverb across the entire mix. Modulation effects can similarly cause phasing and unintended changes to your stereo image.
Ultimately, avoiding these mistakes is about listening critically, mixing at a comfortable level, and using your bus processing as a subtle polish rather than a heavy-handed fix.
Best Practices for Mix Bus Processing
It helps to have a list of best practices to guide your decisions. These aren’t hard rules, but they reflect what many successful mixers do to create cohesive, clean, and dynamic mixes.
Subtlety is Key
On a mix bus, small increments matter. A 1 or 2 dB EQ boost might be all you need. Aim for around 1–3 dB of compression at most if you’re using a glue compressor. A dash of saturation (rather than a full-blown distortion) is typically enough. When in doubt, scale back a bit and listen again.

Start Early or Late—But Listen
Some engineers apply mix bus processing early, so they’re “mixing into” that glue from the start. Others add it near the end, once the mix is mostly balanced. Either way can work, but be prepared to make adjustments in your track levels when you enable or disable the mix bus chain. If you keep the chain active from the get-go, you’ll be shaping your decisions around it.
Maintain Headroom
Always watch your meters to ensure you’re not clipping the bus. Even if your DAW uses 32-bit float, external hardware, certain plugin chains, or analog stages might still distort if you push levels too high. Keep some room so that any mastering processing has space to operate.
Reference Tracks
Use reference tracks routed directly to your master output for A/B comparison. This way, you can make sure your bus processing isn’t coloring your references. Match the volume levels to make a fair comparison, and listen for differences in tonal balance, stereo width, and dynamic range.
Intentional Aggression
Sometimes you want a more aggressive bus approach—for certain genres of electronic music, rock, or anything that thrives on in-your-face compression. If that’s a creative choice, go for it. But ensure it’s intentional. There’s a difference between a carefully crafted pumping effect that adds excitement and an over-compressed track that sounds lifeless.
Use Metering Tools
Throw a meter plugin on your mix bus so you can see peak levels, LUFS, or RMS. This helps you maintain consistent output levels and avoid unintentional overload. Some mixers use multi-analyzers that show them a real-time frequency spectrum to confirm they aren’t overboosting or missing certain ranges.

Check in Mono
Summing your mix to mono is a time-tested technique. If your bus processing uses stereo width enhancers, mid/side EQ, or any manipulation of the stereo field, toggling to mono occasionally helps ensure your mix elements still translate well. If everything collapses or certain instruments disappear, you might need to adjust that stereo trickery.
In the end, best practices revolve around balancing the art and science of mixing. Keep it subtle unless you have a specific sonic goal. Always stay mindful of how each plugin influences the track as a whole. And remember to maintain a sense of perspective—walk away and return with fresh ears if you suspect your settings might be drifting off-course.
Plugin Recommendations for Mix Bus Processing
It’s often helpful to see a short list of plugin recommendations, especially if you’re new to mixing or looking to expand your toolkit. Let’s break them down by category, keeping in mind that stock DAW plugins can also be highly effective.
EQ Plugins
- Transparent EQs: FabFilter Pro-Q, various DAW stock EQs (for example, Logic’s Channel EQ or Ableton’s EQ8). Transparent EQs allow precise, subtle shaping.
- Analog-Style EQs: Pultec emulations, SSL channel strips, Neve-style EQs. These may add a bit of harmonic coloration that some people love on the mix bus.
Compression Plugins
- Glue Compressors: SSL-style bus compressors, or any plugin labeled “bus comp.” These are designed to add that classic “glue” many people love.
- Transparent Compressors: Some digital compressors aim to be as colorless as possible, which can be great if you only want dynamic control without added color.
- API-Style: Known for a punchier, sometimes more aggressive sound. Good for rock or modern pop where you want the drums to really snap.
Saturation and Color
- Tape Emulations: Popular ones add subtle tape saturation, which can gently soften transients and add harmonic richness.
- Tube/Transformer Emulations: Tube or console emulators, sometimes used to introduce a mild “vintage” or “analog” flavor.
- Dedicated Saturators: Some plugins specialize in saturation, from gentle enhancements to heavier distortion.

Stereo Imaging and Mid/Side
- Stereo Width Tools: Some standalone plugins let you widen or narrow the stereo field. A little bit of width enhancement can add a nice sense of space.
- Mid/Side EQ: This technique can give you pinpoint control over your center and side channels. For example, boosting air only on the sides to open the mix up top.
Metering and Analysis
- Spectrum Analyzers: Great for seeing whether your overall frequency balance is consistent across the track.
- Loudness Meters: If you’re aiming for specific LUFS levels, a loudness meter helps you gauge overall volume.
- Phase Correlation Meters: Useful for detecting any out-of-phase issues in stereo channels.
Keep in mind, you do not need to collect a massive plugin library to get a great sound. Many iconic mixes have been done with just the stock EQ and compressor on the bus. The trick is to know your tools well and use them judiciously.
Conclusion
After walking through the definition of a mix bus, how it differs from the master bus, and exploring everything from basic EQ and compression to advanced parallel chains and multi-bus setups, you should have a solid grasp on how to integrate this concept into your workflow. The mix bus is all about harnessing the collective energy of your tracks and shaping it in a cohesive, musical way.
Whether you’re aiming for a clean, pristine pop mix or a gritty rock track that feels glued and energetic, the mix bus offers a powerful place to apply broad strokes. Keep an eye on headroom, watch out for over-compression, and always rely on your ears to confirm that the processing is truly enhancing the music. If you’re new, experiment with subtle bus EQ and light compression; if you’re experienced, explore parallel bus compression, mid/side techniques, or automated changes that evolve throughout the song.
Remember, mix bus processing is not a cheat code; it won’t fix core mix issues that need attention at the track or subgroup level. But when used wisely, it can elevate a good mix to a great one, bringing that final layer of professional polish and consistency. Feel free to try out different plugins—whether stock or third-party—and discover which ones inspire you the most.
In the end, each song might call for a unique combination of EQ, compression, and color on the mix bus, just as each track has its own characteristics. Don’t be afraid to iterate. What matters most is the final result: a mix that connects with listeners on both a sonic and emotional level. Now it’s up to you to fire up your DAW, set up that dedicated bus, and start crafting your own signature sound. Good luck, and happy mixing!
O autorze

Dídac
CEO i założyciel MasteringBOXDídac to profesjonalny inżynier dźwięku, producent muzyczny oraz inżynier oprogramowania. Jest założycielem MasteringBOX i autorem wielu artykułów na blogu.
Zostaw komentarz
Zaloguj się, aby skomentować