

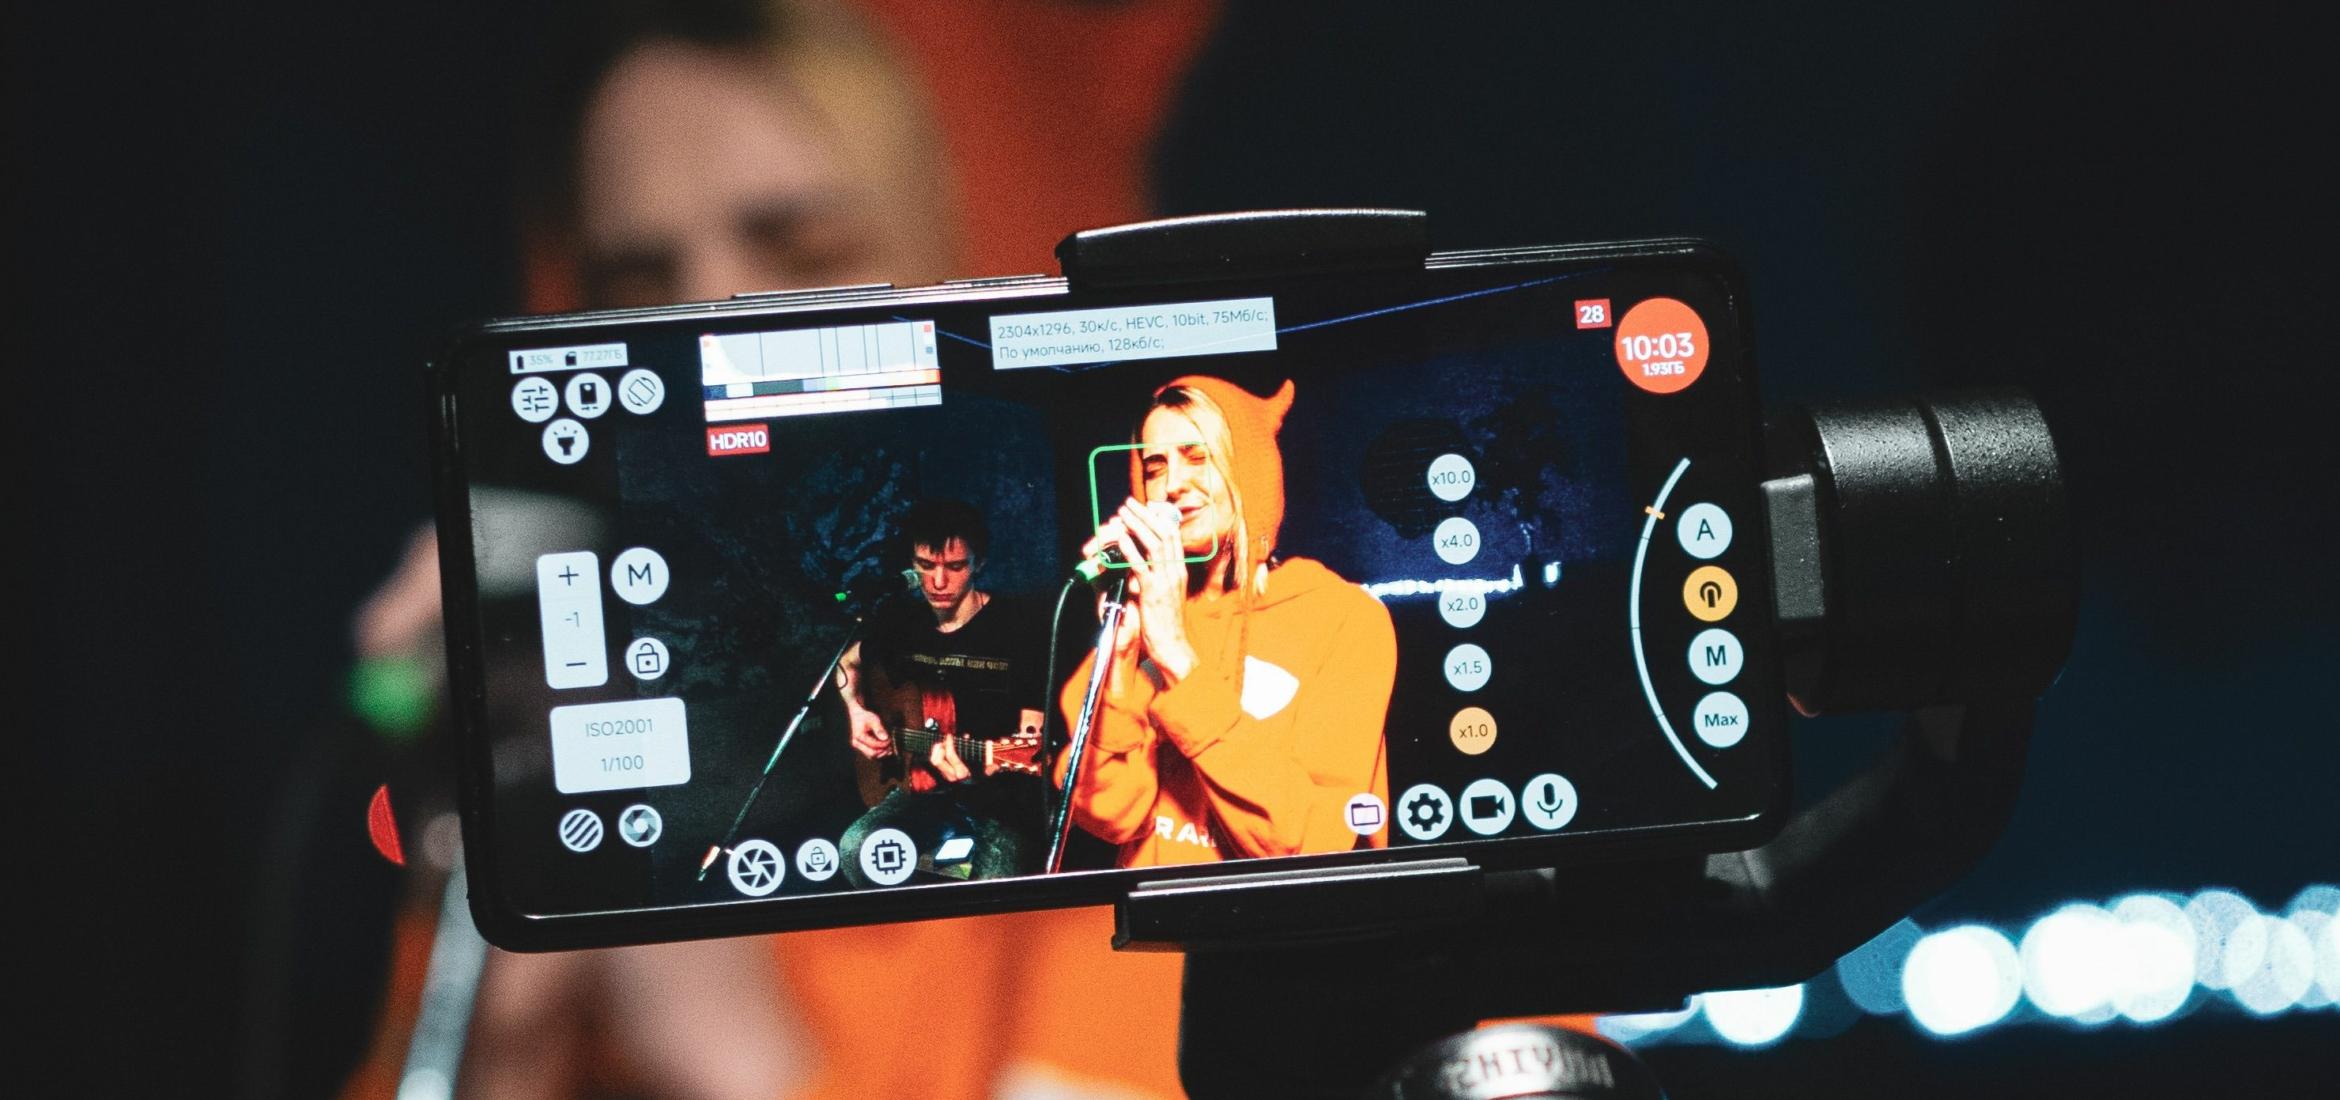
Live Streaming gives musicians a practical way to perform for people anywhere in the world. You can broadcast an acoustic session from your bedroom, stream a DJ set from a club, show how you produce a track, or share a full-band concert from a venue.
You do not need a television studio to begin. A camera, an audio interface, a stable internet connection, and free Live Streaming Software such as OBS Studio can be enough to create a professional-looking broadcast.
However, music streams introduce challenges that do not matter as much during normal video calls. Your audio must remain clean and synchronized. Your computer must process music and video without freezing. Meanwhile, your internet connection must upload everything continuously.
This guide explains the complete process. We will begin with the basics and then build a practical OBS setup step by step. Later, we will cover mixing, streaming settings, platforms, copyright, and common technical problems.
Table of Contents
- What Is Live Streaming?
- Why Musicians Should Consider Live Streaming
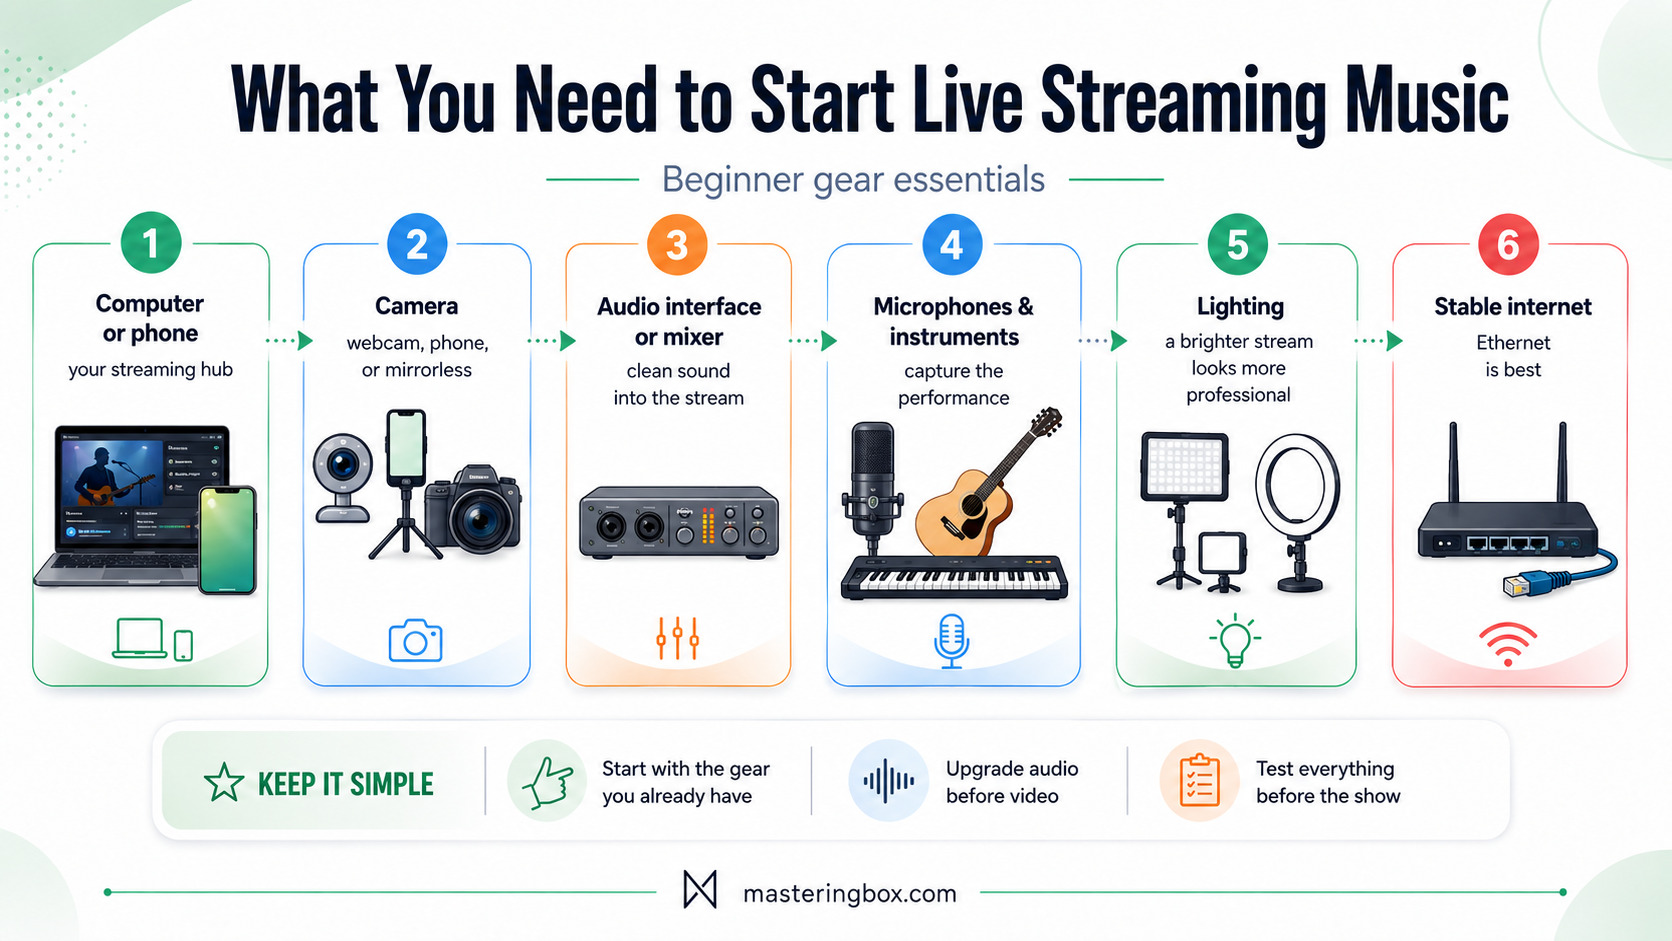
- What You Need to Start Live Streaming Music
- Live Streaming Software: OBS Studio & Other Software
- How to Start Live Streaming Your Music Performance
- Three Practical Live Streaming Setups
- Choosing Between Live Streaming Platforms
- Improving the Performance, Not Just the Technology
- Copyright and Music Live Streaming
- Common Live Streaming Problems
- Final Live Streaming Checklist
- Final Thoughts on Live Streaming for Musicians
What Is Live Streaming?
What is Live Streaming? It is the real-time delivery of audio or video over the internet while that content is being created.
Instead of recording a performance and uploading it later, your software compresses the live audio and video and sends it to an online platform. The platform then distributes the stream to everyone watching.
You can read a more technical explanation of the process in Cloudflare’s guide to how Live Streaming works. There is usually a delay of several seconds between your performance and what the audience sees. This delay comes from encoding, uploading, platform processing, and playback buffering.
That means Live Streaming is not identical to a video call. You may ask viewers a question and receive their answers several seconds later.
Why Musicians Should Consider Live Streaming
Live Streaming can support your music career in several different ways. However, it works best when you treat it as its own format rather than a low-budget replacement for a normal concert.
The strongest streams give viewers a reason to participate. For example, “Watch me rehearse” is quite vague. “Help me choose the final arrangement for my next single” gives the audience a role.
A DJ could compare two possible transitions. A producer could let viewers select the next instrument. A singer could take requests from a prepared song list. Live Streaming can help you:
- Reach listeners outside your local area.
- Build a recurring community around your music.
- Test unreleased songs and arrangements.
- Promote a single, album, tour, or crowdfunding campaign.
- Create videos and social clips from one session.
- Receive tips, donations, subscriptions, or ticket revenue.
- Improve your ability to perform and communicate on camera.
Still, avoid turning every stream into a long advertisement. People usually stay because the show is entertaining, useful, or emotionally interesting. Promotion works better after you have earned the audience’s attention.
What You Need to Start Live Streaming Music
A beginner setup can be surprisingly small. The exact equipment depends on whether you are a solo artist, producer, DJ, or full band.
Your first goal should not be to build the most advanced system possible. It should be to create a setup that you understand and can operate reliably.
A Computer or Smartphone
A smartphone is the simplest option for an informal broadcast. It already contains a camera, microphone, encoder, and internet connection.
However, a computer gives you much more control. You can use an external audio interface, add multiple cameras, display your DAW, create overlays, switch scenes, and record a high-quality local version.
For a planned music performance, a laptop or desktop computer is usually the better long-term choice.
The computer must process your cameras, audio, graphics, and video encoding in real time. If you also run a large DAW session with virtual instruments and plugins, the load can become significant.
Close unnecessary applications before you begin. Also, test the computer with the full music project running rather than with an empty OBS scene.
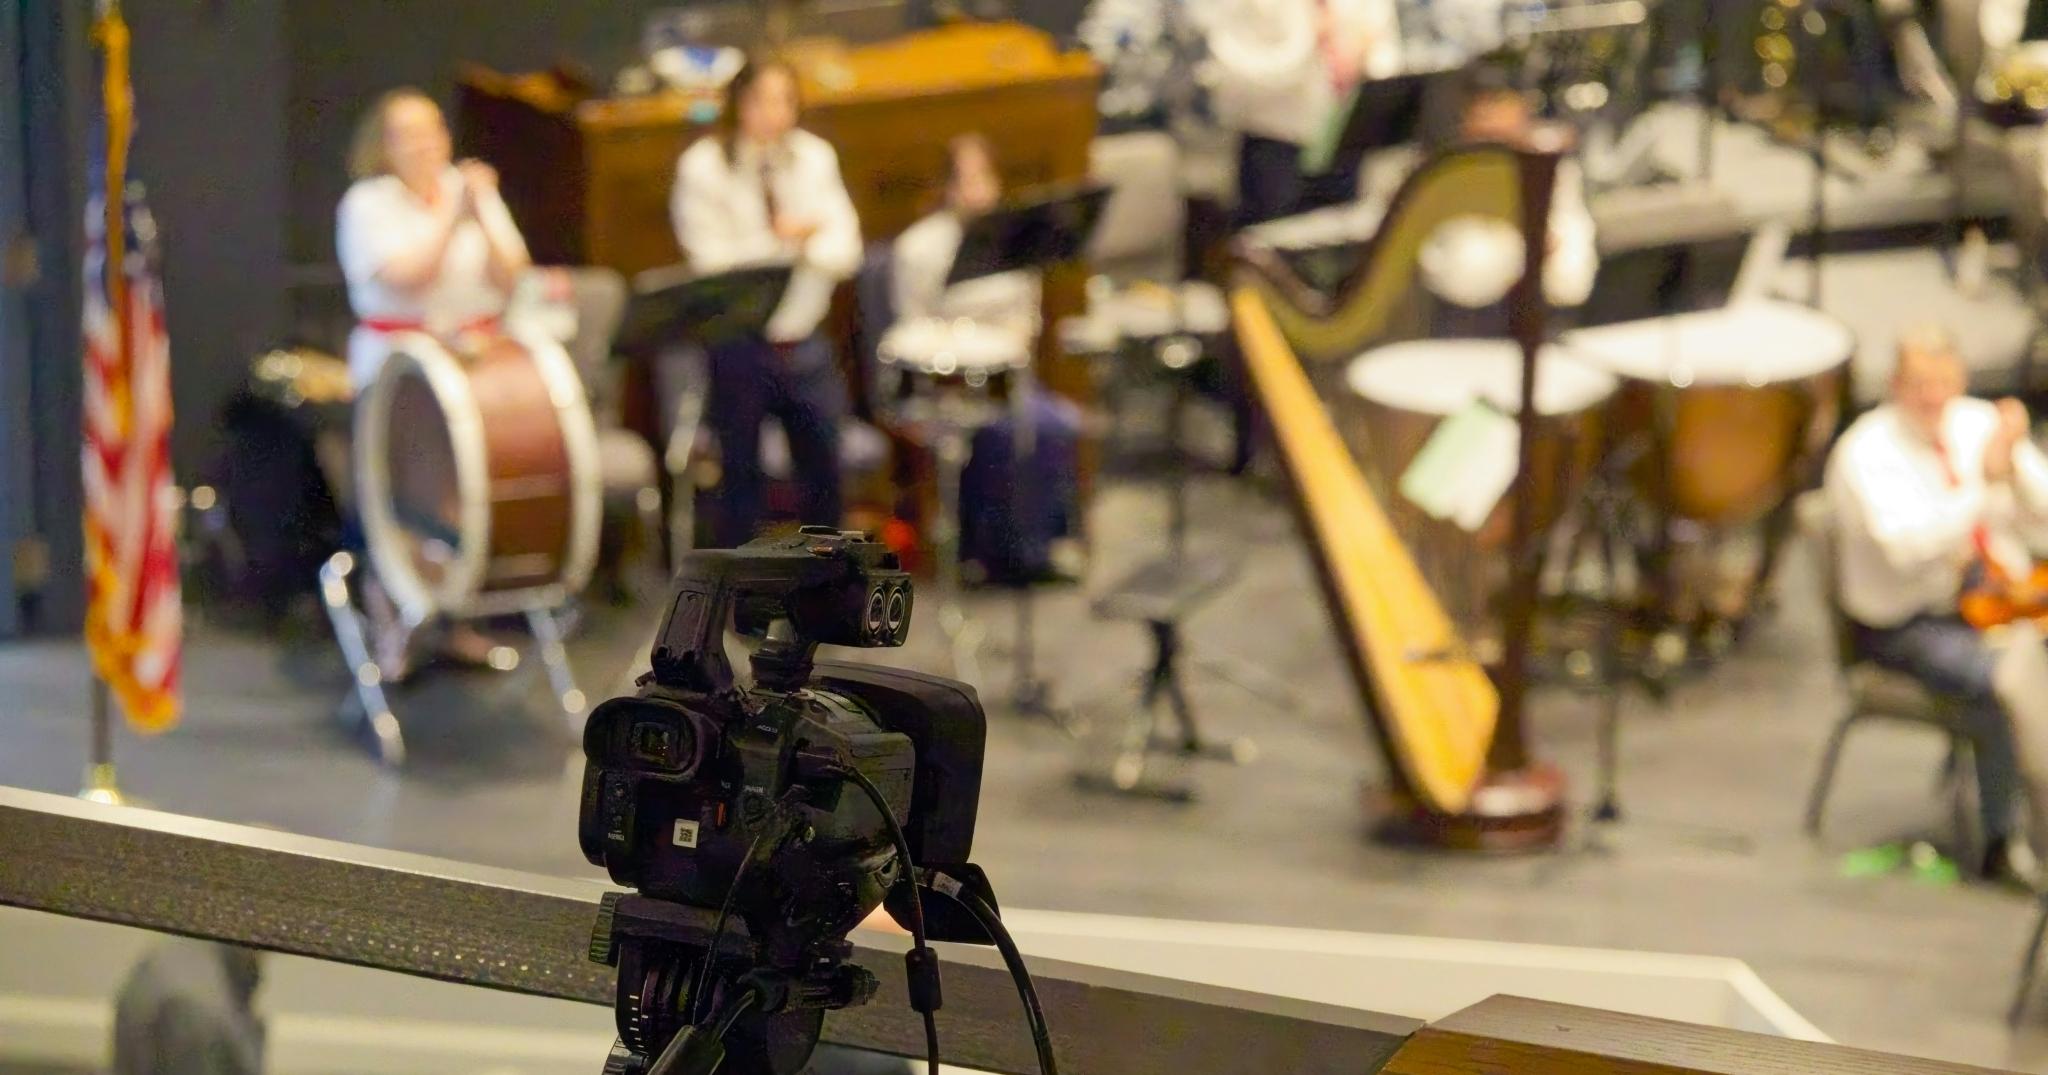
A Camera
Your first camera can be:
- A webcam
- A smartphone used as a webcam
- A mirrorless or DSLR camera
- A dedicated video camera
A webcam is easy to connect and normally stays synchronized with the computer. A recent phone can also produce an excellent image when it has enough light.
Mirrorless and DSLR cameras can improve the visual quality. However, they may require continuous power, clean HDMI output, a capture card, and additional mounting equipment.
Do not buy an expensive camera before improving your lighting. A basic camera in good light often looks better than a premium camera in a dark rehearsal room.
An Audio Interface or Mixer
Music should normally enter the computer through an audio interface or digital mixer. Avoid relying on the microphone built into a laptop or camera for a serious musical performance. It will capture room reflections, computer fans, speakers, and background noise. It may also distort during loud sections.
A simple two-channel interface is enough for many solo performances. You could connect:
- A vocal microphone to input one
- A guitar, keyboard, or instrument microphone to input two
A band will usually need more channels. In that case, a digital mixer can combine the microphones and instruments and send a complete stereo mix to the computer.
Microphones and Instruments
The microphones you need depend on the performance. A solo artist might use one vocal microphone and one direct guitar input. A producer may only need a talking microphone and the stereo output from a DAW. A band could require vocal microphones, drum microphones, direct inputs, and room microphones.
You do not necessarily need to capture every instrument separately. For example, a small band might use direct signals for vocals, bass, keyboards, and guitar. Then, two overhead microphones could capture the drums and some natural room ambience. The important goal is balance, not the number of microphones.
Headphones
Headphones are essential during setup and testing. They let you hear the signal that is entering the stream without sending that audio back into the microphones. This helps prevent feedback and echo. Closed-back headphones are normally the safest choice around open microphones.
During the actual performance, the musicians may use headphones, in-ear monitors, or a normal stage monitoring system. However, someone should still monitor the online mix through headphones.
Lighting
Lighting can make a larger visual difference than changing the camera. Place your main light slightly above eye level and off to one side. Add a weaker light from the opposite direction when the shadows are too strong.
A background light can create separation between you and the wall. Colored lights can add atmosphere, but your face, hands, and instrument should remain visible.
Avoid placing a bright window directly behind the performer. The camera may expose for the window and turn the musician into a silhouette.
A Stable Internet Connection
Your connection must upload the complete video and audio stream continuously. Ethernet is strongly recommended. Wi-Fi can work, but its performance may change when other devices become active or nearby networks create interference. Do not configure the stream to use your full measured upload speed.
For example, a speed test may briefly show 10 Mbps. That does not mean you should send a 10 Mbps stream. Normal fluctuations, audio data, network overhead, and other devices also need bandwidth. Leave a comfortable safety margin.
Live Streaming Software: OBS Studio & Other Software
Live Streaming Software combines your cameras, audio inputs, images, screen captures, and graphics. It then encodes the final program and sends it to the streaming platform. For most beginners, OBS Studio is the best place to start.
OBS is free, open source, and available for Windows, macOS, and Linux. It can handle a simple one-camera performance, but it can also grow into a multi-camera production with graphics, automation, and advanced audio routing.
The official OBS Quick Start Guide covers its Auto-Configuration Wizard, sources, audio devices, and basic testing.
Understanding Scenes and Sources
OBS is based around two main concepts: Scenes and Sources. A scene is a complete layout. A source is one individual element inside that layout. For example, your Main Performance scene might contain:
- One camera
- Audio from your interface
- Your logo
- Your artist name
- The title of the current song
A Talking scene could use a closer camera crop and a larger chat window. You do not need many scenes at first. Four are enough for a basic show:
- Starting Soon
- Main Performance
- Talking
- Stream Ending
Other Live Streaming Software
OBS is not the only option. Streamlabs Desktop offers integrated themes, alerts, and creator tools. Browser-based studios such as Restream Studio can simplify remote interviews and guest invitations. Ecamm provides a streamlined workflow for macOS users. vMix offers advanced production tools for larger Windows-based broadcasts.
However, more features do not automatically produce a better show. OBS remains my preferred beginner recommendation because it is free, flexible, and widely supported. It also gives you direct control over the audio and video workflow.
How to Start Live Streaming Your Music Performance
The easiest way to understand Live Streaming is to build a simple setup from beginning to end. This workflow uses OBS Studio, one camera, and an audio interface, but the same six steps also apply to DJs, producers, and full bands.
Step 1: Choose Your Live Streaming Platform
Start by selecting one primary platform based on the type of performance you want to create and where your audience already follows you.
- YouTube Live works well for concerts, tutorials, release events, and streams that should remain searchable afterward.
- Twitch suits recurring performances, production sessions, and chat-focused communities.
- Mixcloud is especially useful for DJs and radio-style shows.
- Instagram and TikTok are better for informal vertical streams aimed at an existing social following.
Avoid multistreaming during your first few broadcasts. One active chat with fifteen viewers usually feels more engaging than three separate chats with five viewers each.
Step 2: Connect and Frame Your Camera
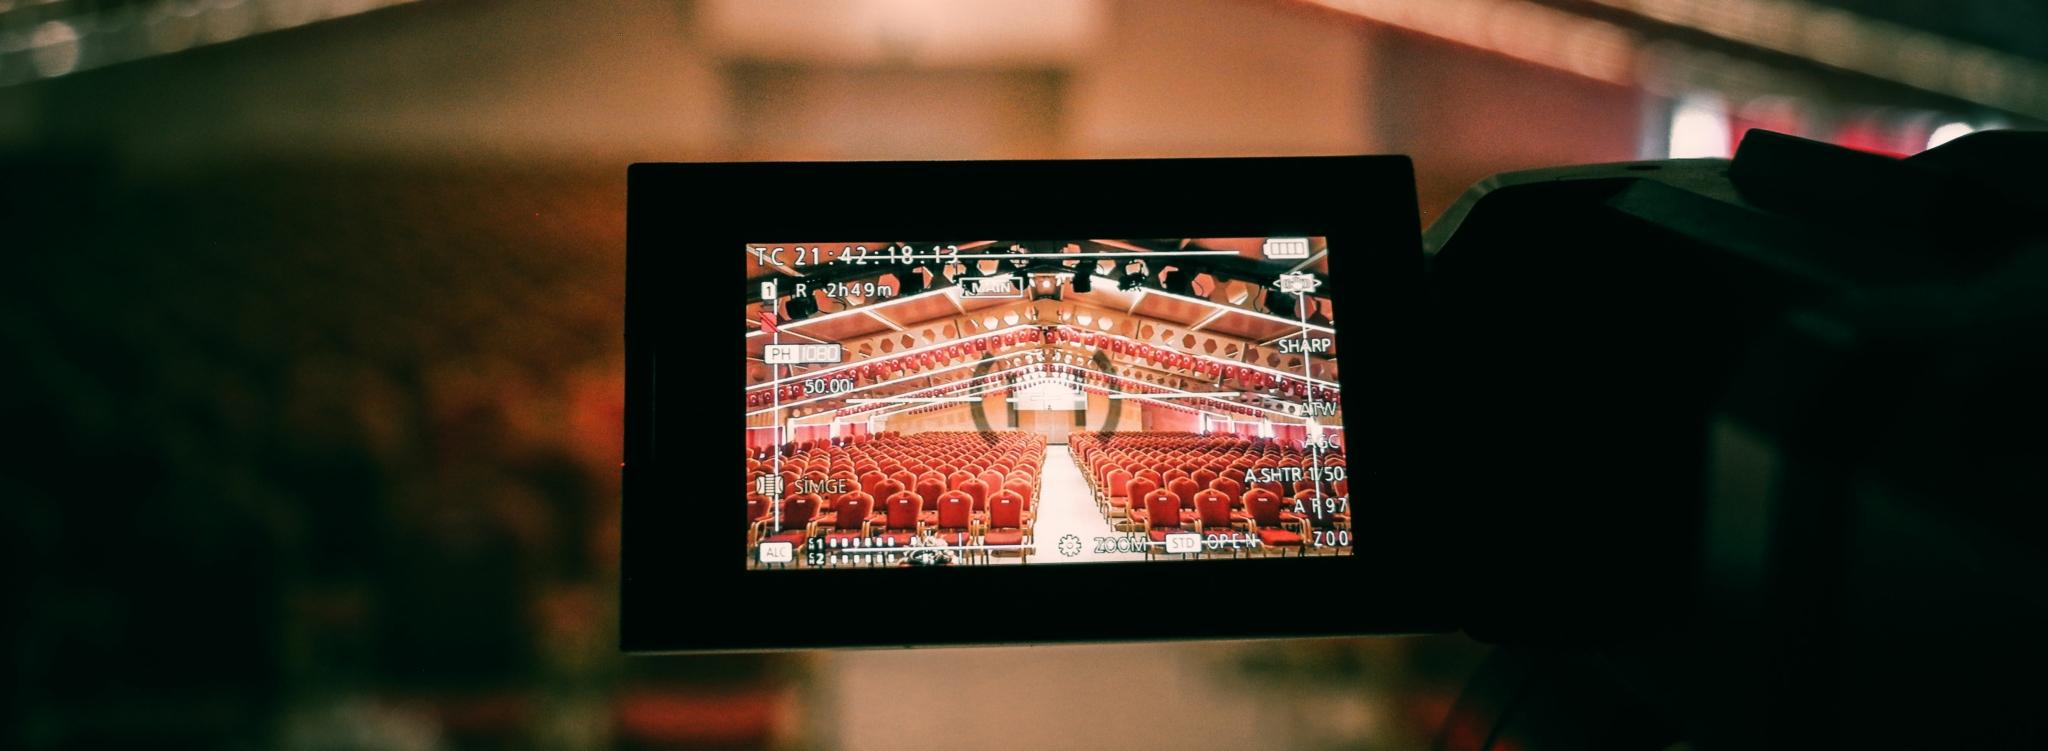
Mount your camera securely and frame the performance so viewers can immediately understand what is happening.
For a solo artist, show the face, instrument, and hands. For a band, begin with a reliable wide shot that includes every performer. Additional angles can come later. In OBS:
- Create a scene called Main Performance.
- Click the + button under Sources.
- Select Video Capture Device.
- Choose your webcam or capture card.
- Resize the camera to fill the canvas.
- Lock the source after positioning it.
Locking the source prevents you from accidentally moving the camera layout during the performance.
Step 3: Connect and Prepare Your Audio
Connect your microphones and instruments to an audio interface or mixer. Then send a clean stereo output into OBS. In OBS:
- Click the + button under Sources.
- Select Audio Input Capture.
- Choose your interface or mixer.
- Play the loudest part of the performance.
- Confirm that the meters move without clipping.
Whenever possible, create a dedicated stream mix instead of using the same mix that feeds the room or stage monitors. A venue mix interacts with loudspeakers and room acoustics, while the online mix goes directly into headphones, laptops, televisions, and phones.
Start with the lead element, which is often the vocal. Then balance the drums, bass, guitars, keyboards, backing tracks, and effects around it. Test the mix through:
- Studio headphones
- Consumer earbuds
- A laptop
- A phone speaker
The mix does not need to sound identical through every device. However, the vocal, rhythm, and main musical elements should remain clear.
Routing Audio From a DAW
Producers and electronic musicians may need to send the DAW master output into OBS. The easiest method is usually the loopback function provided by the audio interface.
Do not send the OBS output back into the DAW. That can create a feedback loop in which the same audio repeats continuously.
When your interface does not support loopback, you may need virtual audio-routing software or a physical cable connecting a spare output to a spare input.
Headroom and Audio Processing
Leave enough headroom for unexpectedly loud notes, drum hits, and backing tracks.
Play the loudest section during soundcheck and keep normal peaks comfortably below 0 dBFS. A limiter should only catch occasional peaks rather than constantly reduce the stream level.
A clean stream that is slightly quiet can be turned up. A distorted stream cannot be fixed by the audience.
OBS includes basic audio filters. A simple processing chain may include:
- Gain adjustment
- Gentle compression
- A final limiter
Use noise suppression and gates carefully. Many noise-removal tools are designed for speech and may damage cymbals, reverb tails, acoustic instruments, and sustained synthesizer sounds.
Step 4: Set Up OBS and Connect Your Platform
Once the camera and audio are working, organize OBS into a few simple scenes and remove any unwanted sources. A practical first setup could include:
- Starting Soon
- Main Performance
- Talking
- Stream Ending
Check the OBS Audio Mixer and mute any source you do not intentionally need. OBS may automatically capture the computer microphone or Desktop Audio, which can create duplicate signals, echo, or feedback.
For a simple performance, you may only need one active audio source: the stereo output from your interface or mixer.
Keep Desktop Audio muted unless you need to capture a DAW, backing-track player, browser, or video application. Use headphones when monitoring the stream, and never play the public broadcast through speakers in the same room as open microphones. To connect OBS to your platform:
- Open Settings → Stream.
- Select the streaming service.
- Connect your account or paste the supplied stream key.
- Save the configuration.
Treat the stream key like a password. Never show it during a screen share or send it publicly. Before continuing, check:
- Stream title and description
- Category
- Thumbnail
- Visibility
- Scheduled starting time
- Chat settings
- Local recording settings
Use a private or unlisted broadcast for your first platform test whenever possible.
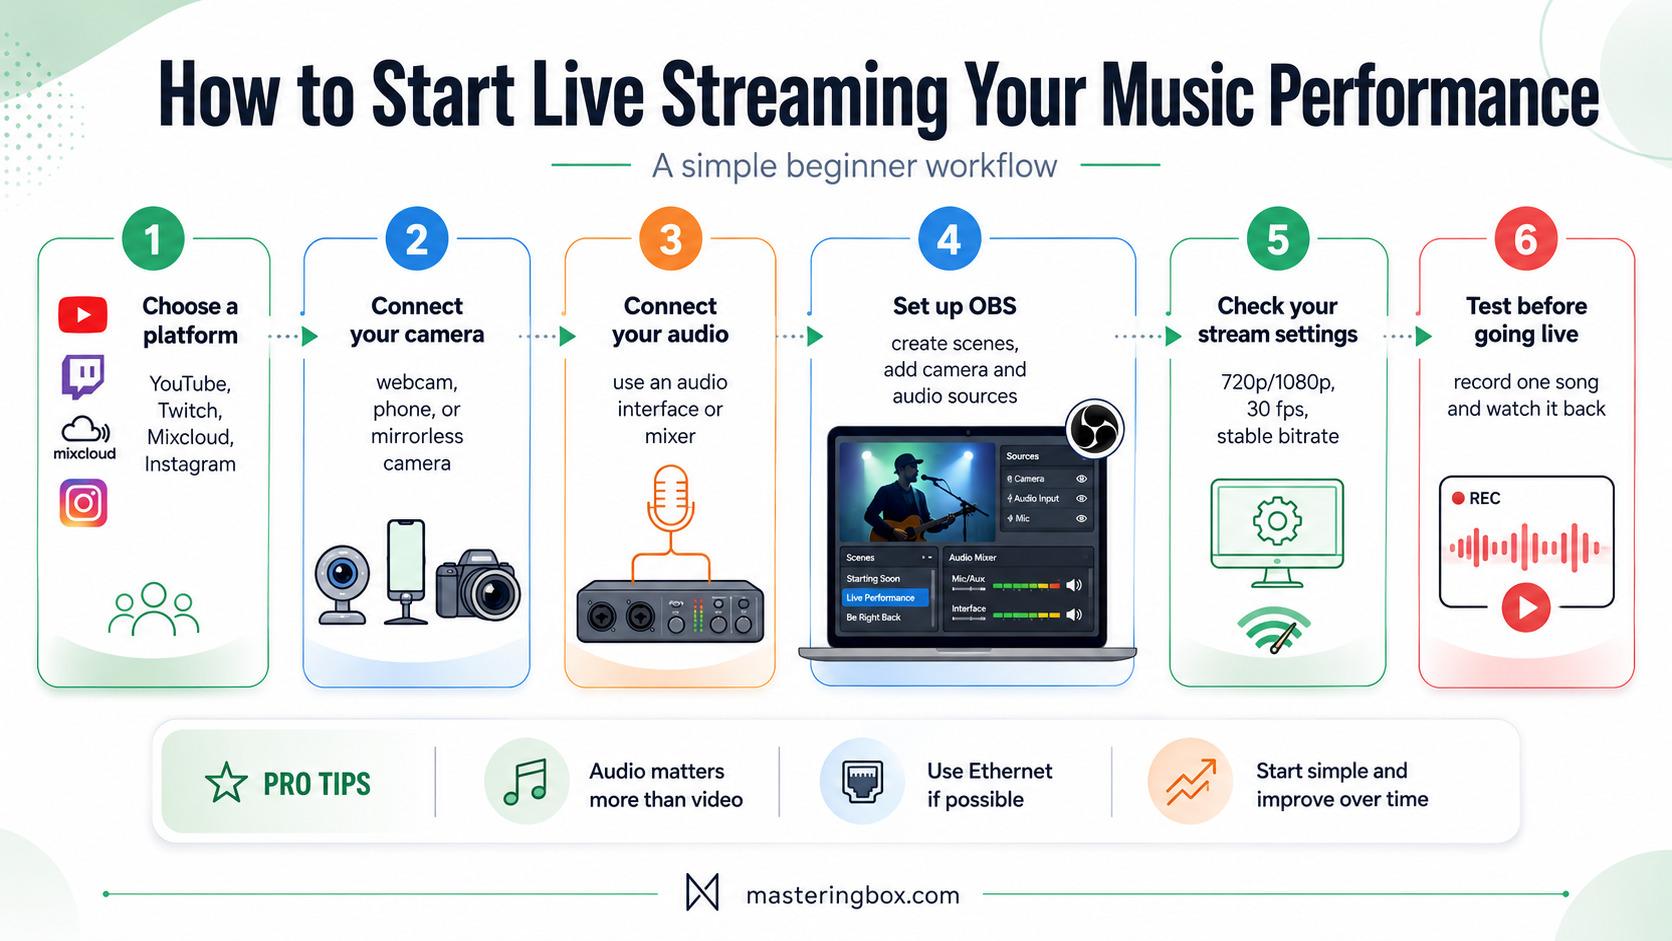
Step 5: Check Your Stream Settings
Choose settings that your computer and internet connection can maintain reliably. A stable 720p stream is better than an unstable 1080p broadcast that constantly buffers.
Open Settings → Video and choose one of these starting points:
- 1280 × 720 at 30 fps
- 1920 × 1080 at 30 fps
Most musical performances do not need 60 fps. The higher frame rate uses more bandwidth and processing power without greatly improving a normal singer, DJ, producer, or band stream.
Then open Settings → Output and configure the streaming section:
| Setting | Recommended starting value |
|---|---|
| Video codec | H.264 |
| Rate control | CBR |
| 720p30 video bitrate | Approximately 4,000 Kbps |
| 1080p30 video bitrate | Approximately 6,000–10,000 Kbps |
| Keyframe interval | 2 seconds |
| Audio codec | AAC |
| Audio bitrate | 128–192 Kbps |
| Audio channels | Stereo |
| Sample rate | 44.1 or 48 kHz |
These are general starting points. Each platform has its own preferred limits, so check the current YouTube Live encoder recommendations or the documentation for your chosen platform before an important broadcast.
Use hardware video encoding when your computer supports it. This reduces CPU usage and leaves more processing power available for your DAW, virtual instruments, and plugins.
Connect through Ethernet whenever possible. Also leave a safety margin between your upload speed and the total stream bitrate. A speed test showing 10 Mbps does not mean a 10 Mbps stream will remain stable.
Step 6: Test Before Going Live
Test the complete performance rather than speaking into the microphone for a few seconds.
Use the same backing tracks, plugins, lighting, camera movement, and scene changes that you plan to use during the real broadcast. Then click Start Recording in OBS and perform one complete song at full performance level. Watch the recording and check:
- Is the lead vocal clear?
- Do loud notes or drum hits distort?
- Are the instruments balanced?
- Does the audio match the video?
- Is the performer properly lit?
- Are private notifications visible?
- Does the computer remain stable?
- Are there duplicate or unwanted audio sources?
To check synchronization, clap once on camera. The sound should match the exact moment your hands meet. Use the OBS synchronization offset when the audio arrives earlier or later than the picture.
After the local recording works, run a private or unlisted Live Streaming test. Watch it from a second device using headphones and confirm that the platform receives the correct picture and sound.
Once the test is stable, stop changing settings. Save the OBS scene collection, close unnecessary applications, and focus on the performance.
Three Practical Live Streaming Setups
Different performers need different signal paths. These examples show how to keep each setup manageable.
Solo Singer-Songwriter
A solo performer can create a strong stream with very little equipment. A practical setup includes:
- One vocal microphone
- One guitar or keyboard input
- A two-channel audio interface
- One camera
- One main light
- OBS Studio
- Headphones
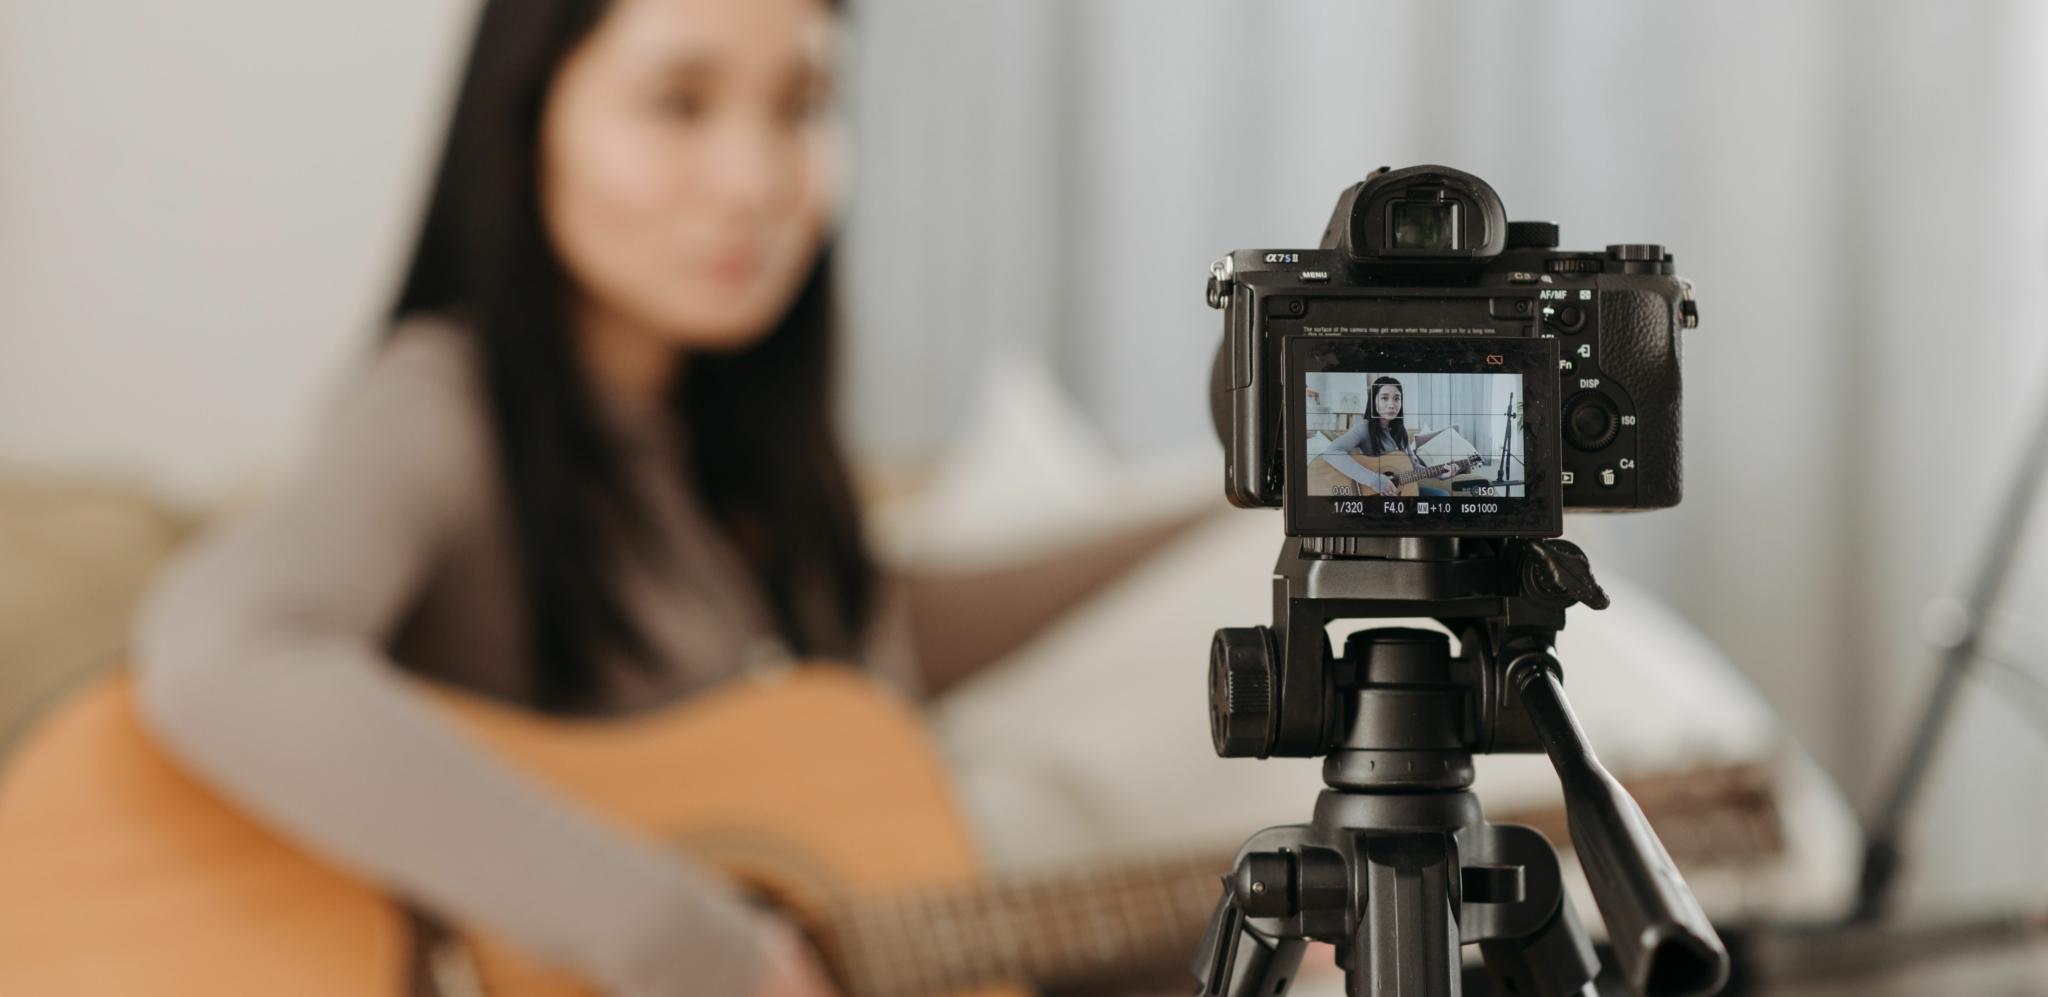
Place the camera so viewers can see your face and instrument. Keep the vocal near the center of the mix and add a small amount of reverb if the direct sound feels too dry.
Producer or Electronic Musician
A producer normally needs to show both the person and the DAW. A useful OBS layout includes:
- A camera in one corner
- A screen capture of the DAW
- Audio from the interface loopback
- A talking microphone
- A second overhead camera for keyboards or controllers
Create separate scenes for the full DAW, the camera, and a combined layout. Avoid filling the screen with plugin windows that viewers cannot read. Zoom into the part of the project that matters.
Full Band
A band requires more inputs and better monitoring.
The ideal workflow uses a digital mixer with a dedicated stereo streaming mix. This lets the engineer balance the stream independently from the venue sound. A basic camera plan could include:
- One wide camera
- One vocalist camera
- One drummer or instrument camera
Start with one reliable wide shot before adding extra angles. A band should ideally have someone who monitors the public feed, changes cameras, and watches the audio. The musicians cannot perform, troubleshoot, and read chat effectively at the same time.
Choosing Between Live Streaming Platforms
The best platform is usually the one where your audience already spends time.
YouTube works well for searchable concerts, tutorials, and release events. Twitch favors recurring shows and active chat. Mixcloud focuses on DJs, radio shows, and music-led broadcasts. Instagram and TikTok make sense for quick vertical performances. Facebook can work when a venue, group, or local community already has an established following.
| Platform | Best suited to |
|---|---|
| YouTube Live | Concerts, tutorials, release events, archived content |
| Twitch | Recurring streams, production sessions, community interaction |
| Mixcloud Live | DJ sets, radio-style shows, music-first broadcasts |
| Instagram Live | Informal performances and existing followers |
| TikTok LIVE | Short vertical sessions and social discovery |
| Facebook Live | Local audiences, venues, Pages, and groups |
Mixcloud publishes platform-specific OBS recommendations in its official guide to going live with OBS.
Do not apply its exact settings automatically to YouTube or Twitch. Platform-specific documentation should always take priority.
Improving the Performance, Not Just the Technology
A technically perfect stream can still feel boring. Prepare a loose structure so the performance has direction. You do not need to script every sentence, but you should know how the show begins, where interaction happens, and how it ends. A simple run sheet might include:
- Starting Soon screen
- Welcome
- Opening song
- Short introduction
- Main performance
- Audience questions
- New or unreleased track
- Final song
- Thank-you message
- Ending screen
Ask viewers specific questions rather than vague ones. “Should I play the acoustic version or the full backing-track version?” is easier to answer than “What do you want?”
Save something interesting for later in the stream. You might preview an unreleased song, explain a production technique, or let the audience choose the final track.
Copyright and Music Live Streaming
Owning a recording or paying for a music subscription does not automatically give you permission to rebroadcast that music.
This is particularly important for DJs, cover performers, karaoke streams, and artists who use commercial backing tracks.
Depending on the platform and rights holder, copyrighted material may be muted, blocked, removed, or claimed.
Before streaming, confirm that you have the necessary rights for:
- Commercial recordings
- Backing tracks
- Samples
- Cover songs
- Countdown music
- Background playlists
- Guest performances
- Recorded collaborations
Twitch summarizes its position in its official music guidelines: only include music when you have the necessary rights or authority.
Even original music can occasionally trigger an automated claim. This may happen when a distributor has delivered your recording to a copyright-identification system.
Before an important broadcast, review your agreements with labels, publishers, distributors, and collaborators.
Common Live Streaming Problems
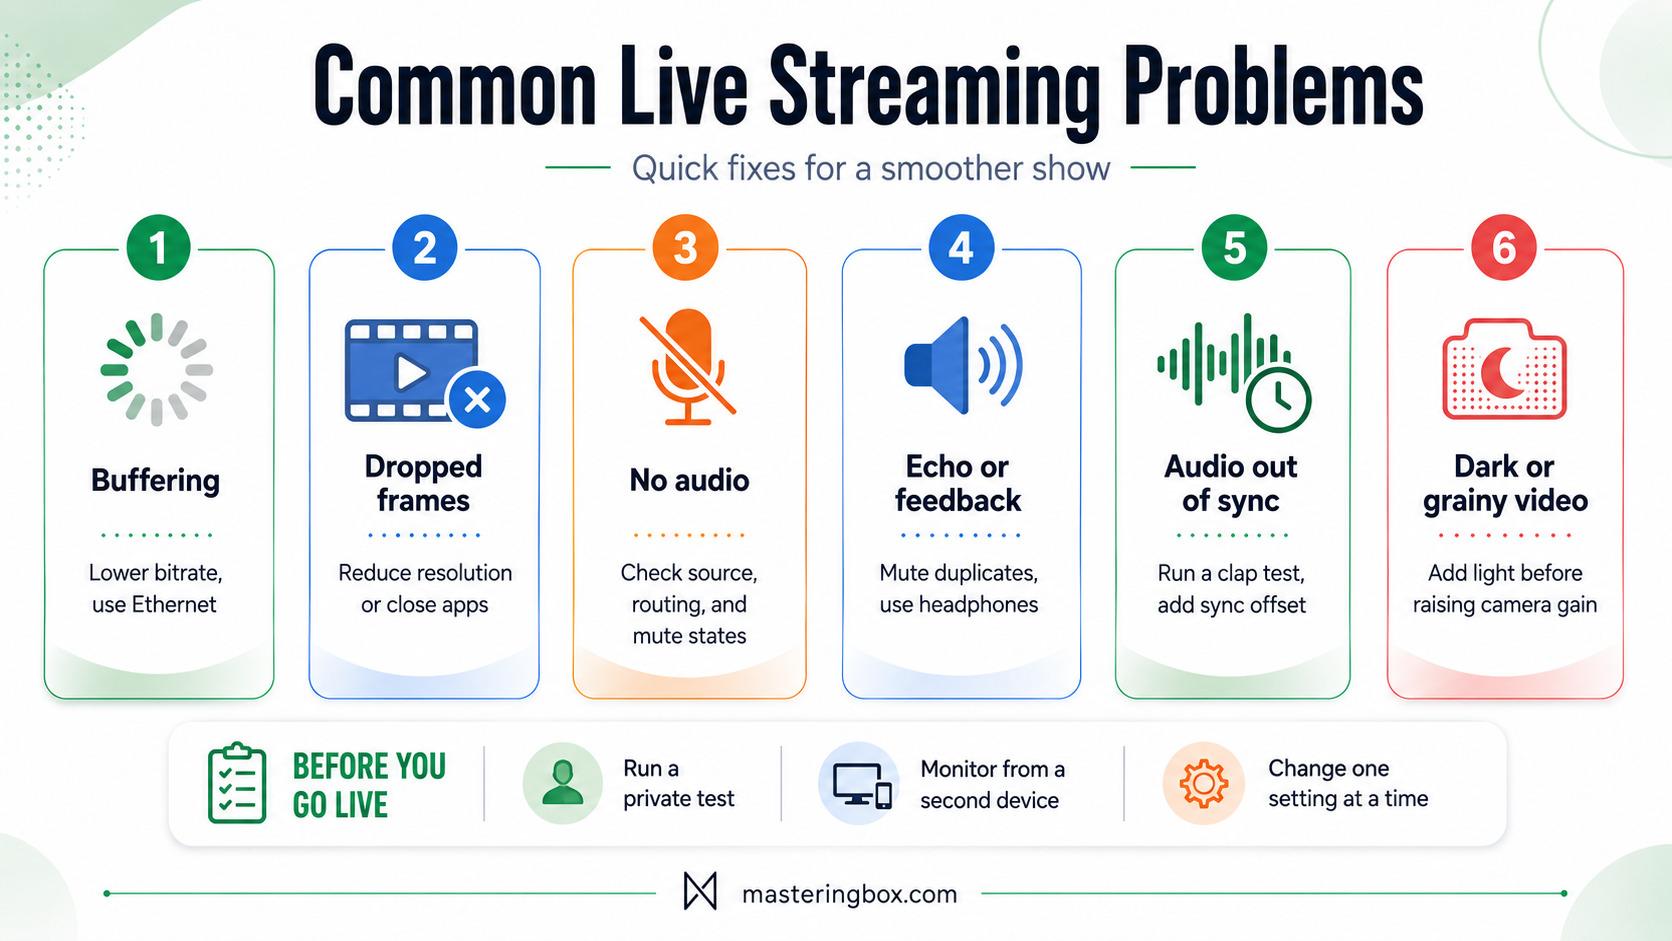
Technical problems become easier to solve when you identify which part of the signal path is failing. Avoid changing several settings at once. Make one adjustment, test it, and then continue.
The Stream Is Buffering
Buffering normally points to an unstable upload connection or a bitrate that is too high. Try these steps:
- Connect through Ethernet.
- Pause cloud backups and downloads.
- Reduce the video bitrate.
- Lower the resolution from 1080p to 720p.
- Reduce the frame rate from 60 to 30 fps.
- Close unnecessary applications.
Protect the music first. Lower the video quality before reducing the audio bitrate aggressively.
OBS Shows Dropped Frames
Dropped frames may come from the network, encoder overload, or rendering overload. Open the OBS Stats window and determine which counter is increasing.
If the encoder is overloaded, use hardware encoding, reduce the resolution, simplify animated overlays, or close processor-heavy applications. If the network is dropping frames, reduce the bitrate and check the connection.
The Audio Is Missing
Confirm that the correct source is visible and unmuted in the OBS Audio Mixer. Then check:
- The interface input
- Mixer routing
- Operating-system permissions
- OBS audio device settings
- Monitoring mode
- DAW output routing
Record a local test before troubleshooting the platform. If the recording also has no audio, the problem exists before the signal reaches the streaming service.
The Stream Has an Echo
Echo usually comes from duplicate audio sources or audio returning through speakers. Mute Desktop Audio and any unused microphone sources. Use headphones on the monitoring device. Also check that your interface loopback is not capturing the OBS output and sending it back into the stream.
The Audio and Video Are Not Synchronized
Different devices introduce different amounts of delay. Record a clap test and determine whether the audio arrives early or late. Then use the OBS synchronization offset to delay the faster source. Run a longer test afterward. Some systems begin correctly but slowly drift out of synchronization.
The Video Looks Dark or Grainy
Add more light before increasing the camera gain. High digital gain brightens the image but also introduces noise. A soft light near the performer usually creates a cleaner result. Clean the lens, lock the focus when possible, and avoid strong backlighting.
Final Live Streaming Checklist
A repeatable checklist reduces stress and prevents small mistakes.
Before every stream, confirm:
- Ethernet is connected when possible.
- Upload speed is stable.
- Cloud backups are paused.
- Cameras have continuous power.
- Lenses are clean and focused.
- The performers are properly lit.
- Every microphone and instrument reaches the stream mix.
- Unwanted OBS audio sources are muted.
- The loudest song does not clip.
- Audio and video are synchronized.
- Starting, performance, talking, and ending scenes work.
- Notifications are disabled.
- The correct platform account is connected.
- The title, description, and visibility are correct.
- Local recording is enabled.
- A second device is ready for monitoring.
- Copyright and performance permissions have been reviewed.
Once everything works, stop changing settings.
Constant last-minute adjustments often create new problems. Save the OBS scene collection, close unnecessary software, and focus on the performance.
Final Thoughts on Live Streaming for Musicians
The best Live Streaming setup is not the one with the most cameras, overlays, plugins, or expensive equipment.
It is the one you can operate reliably while still giving a strong performance.
Start with one camera, one platform, and a clean stereo audio mix. Learn OBS gradually. Record every test. Then add extra cameras, graphics, automation, and more advanced routing only when they solve a real problem.
Your first broadcasts may feel awkward. That is normal.
After several streams, you will understand which camera angles work, where technical failures happen, and what creates audience interaction.
Focus on the music and the people watching. The technology is simply the bridge between them.
À propos de l'auteur
Dídac
PDG et fondateur de MasteringBOXDídac est un ingénieur audio professionnel, un producteur de musique et un ingénieur logiciel. Il est le fondateur de MasteringBOX et l'auteur de nombreux articles sur le blog.
Laisse un commentaire
Connecte-toi pour commenter.
 English
 Español
 Français
 Italiano
 Deutsch
 Português
 Nederlands
 Svenska
 Polski
 Čeština