Headroom is one of the most important concepts in audio production, but it is also one of the most misunderstood. You may have heard that your mix should have “-6 dB of headroom” before mastering, or that you should record around “-18 dBFS,” or that your final master should stay below “-1 dBTP.” These numbers can sound confusing at first, especially because they refer to different stages of the production process.
The simple version is this: headroom is the safety space between your audio signal and clipping. In digital audio, the ceiling is 0 dBFS. If your signal reaches or exceeds that point, it can clip and distort. Leaving headroom gives your recording, mix, or master enough space to handle peaks, processing, EQ boosts, compression, limiting, and format conversion without unwanted distortion.
Headroom does not mean your music should sound weak or quiet. It means your levels are controlled, clean, and ready for the next step. A good mix with proper headroom can still sound powerful, balanced, and exciting. The goal is not to make everything low in volume; the goal is to avoid running out of space.
In this guide, we will explain what headroom means, why it matters in recording, mixing, and mastering, how much headroom you should leave at each stage, and why the famous “-6 dB rule” is useful but not absolute.
Table of Contents
- What Is Headroom in Audio?
- Why Headroom Matters
- Headroom vs Loudness
- Sample Peak vs True Peak
- Headroom When Recording
- Headroom When Mixing
- How Much Headroom Should You Leave for Mastering?
- The -6 dB Headroom Myth
- Headroom in Mastering
- Headroom and Export Settings
- Should You Remove Master Bus Processing?
- Common Headroom Mistakes
- Quick Headroom Checklist
- FAQ: Headroom in Recording, Mixing and Mastering
- Final Thoughts
What Is Headroom in Audio?
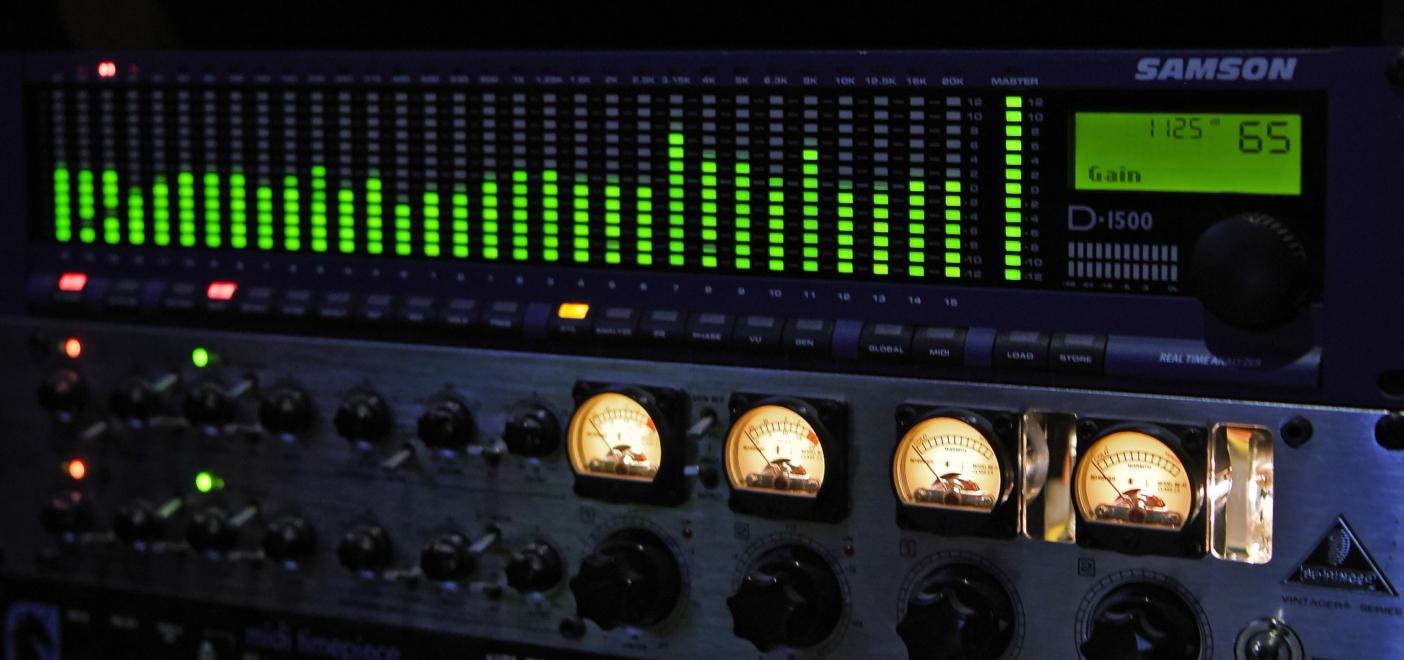
In audio, headroom is the amount of level available before a signal reaches the maximum limit of a system. In digital production, that maximum limit is usually 0 dBFS, which stands for decibels relative to full scale. You can read more about the technical meaning of dBFS, but the practical idea is simple: 0 dBFS is the top of the digital meter.
If your mix peaks at -6 dBFS, you have 6 dB of headroom before reaching 0 dBFS. When it peaks at -1 dBFS, you only have 1 dB of headroom. And if it reaches 0 dBFS or goes above it, you risk digital clipping.

A broader technical definition of headroom in audio also applies to analog equipment. In analog systems, headroom is the level available above the normal operating level before the equipment overloads. Analog overload can sometimes sound warm or musical, depending on the gear. Digital clipping, on the other hand, is usually harsh and unpleasant.
This is why headroom matters so much in modern music production. Most recording, mixing, and mastering workflows are digital, and digital systems have a hard ceiling. Once your signal clips, the waveform is damaged. Lowering the volume afterward may reduce the meter reading, but it does not restore the lost peaks or undo the distortion that has already been printed.
Why Headroom Matters
Headroom matters because music is dynamic. Even if a track sounds steady, it contains fast peaks from drums, vocals, bass notes, synth hits, guitar transients, and other elements. These peaks can be much louder than the average level of the song.
Without enough headroom, those peaks can hit the digital ceiling and clip. Clipping can make a track sound harsh, flat, crunchy, or distorted. Sometimes distortion is used creatively, but accidental clipping on the recording input, mix bus, or exported premaster is usually a problem.
Headroom also gives you room to process the audio. EQ boosts can raise the level. Compression can change the relationship between peaks and average loudness. Saturation can add harmonics and level. Limiters can catch peaks, but if they are pushed too hard they can remove punch and movement. Mastering often requires small adjustments that may increase certain parts of the signal, so a clean premaster with some headroom is easier to work with.
The most important rule is this: headroom is about preventing damage before it happens. Once a vocal recording clips, once a mix bus is crushed by a limiter, or once a master is exported with inter-sample clipping, fixing it later becomes much harder.
Headroom vs Loudness
A common mistake is confusing headroom with loudness. They are related, but they are not the same.
Headroom is about peak level. It tells you how much space remains before the signal reaches the ceiling. Loudness is about how loud the audio feels over time. In modern audio production, loudness is often measured in LUFS, which stands for Loudness Units relative to Full Scale. The AES loudness project explains LUFS and loudness measurement in more detail.
A mix can have low average loudness but still clip if it has sharp peaks. For example, a quiet acoustic recording with a loud snare hit might peak close to 0 dBFS even though the overall song does not sound loud. On the other hand, a heavily limited electronic track may sound very loud but have very little headroom because the peaks have been pushed close to the ceiling.
This is why you should not use LUFS alone to judge headroom. LUFS is useful for understanding perceived loudness, streaming normalization, and master level. But to check headroom, you need to look at peak level and ideally true peak level.
Sample Peak vs True Peak
When you look at a normal digital peak meter, it usually shows the highest sample value in the file. This is called a sample peak. However, audio is reconstructed during playback, and the actual waveform can sometimes peak between the digital samples. These are called inter-sample peaks.
A true peak meter estimates those between-sample peaks. This is especially important when mastering for streaming platforms or compressed formats like AAC and MP3. A file may appear safe on a normal peak meter but still clip after conversion or playback reconstruction.

This is why final masters often use a ceiling of around -1 dBTP, where dBTP means decibels true peak. Apple’s delivery guidance for Apple Digital Masters also emphasizes leaving enough headroom to avoid clipping during playback and encoding.
For mixing, sample peak is usually enough to avoid obvious clipping. For mastering and final export, true peak is more reliable.
Headroom When Recording
Good headroom starts at the recording stage. If you record too hot, you can clip the input before the sound even reaches your mix. This is one of the worst types of clipping because the distortion becomes part of the recording.
A good target when recording is to keep individual tracks peaking around -18 to -12 dBFS. You do not need to record close to 0 dBFS. In 24-bit digital recording, there is plenty of resolution, so you can record at conservative levels without adding noticeable noise.
This is different from old analog workflows, where engineers often pushed levels to improve signal-to-noise ratio or add character from the equipment. In digital recording, recording too hot usually creates more problems than benefits.
For vocals, guitars, bass, drums, synths, and other sources, leave enough room for unexpected peaks. Singers may suddenly sing louder. Drummers may hit harder during the chorus. A bass player may dig in. A synth patch may have a resonant peak. If your input level is already close to 0 dBFS, these moments can clip. As a practical rule:
| Stage | Recommended peak level |
|---|---|
| Individual recording tracks | Around -18 to -12 dBFS |
| Very dynamic sources | Leave even more safety margin |
| Avoid | Recording peaks close to 0 dBFS |
You can always raise a clean recording later. You cannot fully repair a clipped one.
Headroom When Mixing
During mixing, headroom helps you combine many tracks without overloading the mix bus. Even if every individual channel sounds fine on its own, the combined signal can become too loud when all tracks play together.
A common mistake is pushing every channel louder and louder until the master bus clips. Then, to solve the problem, the producer adds a limiter on the master bus. This may stop the clipping, but it can also hide balance issues and remove dynamics before mastering.
A better approach is to manage levels throughout the mix. This is called gain staging, which is setting the level at each point in the signal chain so that plugins, buses, and the master output are not overloaded.
Good mixing headroom does not require every track to be extremely quiet. It means your session has a controlled level structure. Your drum bus, vocal bus, instrument groups, effects returns, and master bus should all have enough space to handle peaks.
If your master bus is clipping, do not just lower the final master fader and assume the problem is solved. First, check whether any plugins, buses, or channels are clipping before the master output. If distortion is happening earlier in the chain, lowering the master fader will only lower the distorted signal. It will not remove the distortion.
A clean mix should have:
- No clipping on individual channels
- No clipping on buses or groups
- No clipping on the master output
- No limiter used only to make the rough mix louder
- Enough dynamic movement for mastering
Creative mix bus processing is fine if it is part of the sound. For example, gentle bus compression, EQ, or saturation can be part of your mix identity. But if a limiter is only there to make the track loud, it is better to bypass it before exporting the premaster.

How Much Headroom Should You Leave for Mastering?
For most producers, the safest answer is to leave around -6 dBFS to -3 dBFS of peak headroom before mastering.
This means the loudest peak in your exported mix should usually land somewhere between -6 and -3 dBFS. If you are using a true peak meter, you can think of this as roughly -6 to -3 dBTP.
The common “-6 dB headroom” recommendation is popular because it is simple, safe, and easy to remember. It gives the mastering process enough room for EQ, compression, saturation, limiting, and other adjustments without immediately hitting the ceiling.
However, -6 dB is not a magic number. A clean mix peaking at -4 dBFS, -3 dBFS, or even slightly higher may still be perfectly usable if it is not clipped or over-limited. The real problem is not whether the mix peaks at exactly -6 dBFS. The real problem is clipping, distortion, and lack of dynamics.
So the better rule is: Aim for around -6 dBFS when possible, but prioritize a clean, dynamic, unclipped mix.
The -6 dB Headroom Myth
The “-6 dB rule” is useful, but it is often misunderstood. Some people think a mastering engineer needs exactly 6 dB of empty space to work. That is not technically true.
In modern digital audio, a mastering engineer can turn the file down if needed, as long as the mix is clean and not clipped. If the file peaks at -1 dBFS but has no clipping, no limiting, and healthy dynamics, it can still be mastered.
The problem is that many mixes peaking close to 0 dBFS are not clean. They are often already limited, clipped, compressed too hard, or exported from a session where the master bus was overloaded. In those cases, lowering the file by 6 dB does not create real headroom. It only creates a quieter version of a damaged or over-processed mix.
This is why the -6 dB rule is best understood as a workflow recommendation, not a law. It helps producers avoid common mistakes, gives more flexibility for mastering and makes the handoff safer. But the actual quality of the mix matters more than the exact number on the meter.
Headroom in Mastering
Mastering is the final stage where the mix is prepared for release. The mastering process may involve EQ, compression, limiting, stereo adjustment, saturation, sequencing, fades, metadata, and final format preparation.

At this stage, headroom is handled differently. The mastering engineer is no longer trying to leave a large amount of space for another engineer. Instead, they are controlling the final loudness and ceiling of the release.
For streaming and lossy formats, a common final ceiling is between -0.2 and -1 dBTP. Lowering the ceiling helps reduce the risk of clipping after conversion to formats like AAC or MP3. For some lossless releases, CD masters, or genre-specific contexts, engineers may use a ceiling closer to 0 dBFS, such as -0.3 dB or -0.1 dB.
This final master ceiling should not be confused with premaster headroom. Before mastering, -6 to -3 dBFS is a safe mix export target. After mastering, the final track may peak much closer to the ceiling because the mastering limiter is controlling the final level.
Headroom and Export Settings
When exporting a mix for mastering, the file format also matters. Use a high-quality format such as WAV or AIFF. Avoid MP3, AAC, or other compressed formats for mastering because they remove audio information and can introduce artifacts. A good export format is:
| Setting | Recommendation |
|---|---|
| File type | WAV or AIFF |
| Bit depth | 24-bit, or 32-bit float if accepted |
| Sample rate | Same as your project/session |
| Master bus limiter | Remove if used only for loudness |
| Peak level | Around -6 to -3 dBFS |
| Clipping | None |
| Tails | Leave reverb and delay tails intact |
Export at the same sample rate as your session. If your project is 48 kHz, export 48 kHz. If it is 44.1 kHz, export 44.1 kHz. Do not change sample rate unless there is a specific reason.
Also make sure the beginning and end of the track are not cut too tightly. Leave the full reverb tail, delay tail, or natural decay. Extra silence can be trimmed later, but a cut-off ending cannot be restored naturally.
Should You Remove Master Bus Processing?
The answer depends on why the processing is there. If your master bus processing is part of the mix sound, you may want to keep it. For example, a gentle compressor that has shaped the groove of the song from the beginning of the mix may be important. A subtle EQ curve or saturation stage may also be part of the tone.

But if the processing is only there to make the mix louder, remove it before exporting for mastering. This especially applies to brickwall limiters, maximizers, and aggressive clipping plugins. A good solution is to export two versions:
- A clean premaster without the final limiter
- A loud reference version with your limiter enabled
The clean version gives mastering room to work. The loud reference shows the sound and energy you were aiming for.
Common Headroom Mistakes
These are the most common mistakes that will ruin your work, make sure to avoid them at all costs!
Recording too hot
Many beginners record too close to 0 dBFS because they think a louder recording is better. In digital audio, this is unnecessary and risky. Record with enough safety margin so unexpected peaks do not clip.
Lowering the master fader after clipping
If your mix bus or plugins are already clipping, lowering the master fader does not fix the damage. Fix the level earlier in the chain.
Using a limiter to create fake headroom
If your mix is limited heavily and then turned down to peak at -6 dBFS, it may appear to have headroom, but the dynamics are already reduced. Real headroom comes from a clean, dynamic mix.
Confusing LUFS with headroom
LUFS tells you perceived loudness. Peak and true peak meters tell you how close you are to clipping. Use both.
Exporting MP3 for mastering
Always export a high-resolution WAV or AIFF file for mastering. MP3 is a delivery format, not a mastering format.
Quick Headroom Checklist
Before sending your mix for mastering, check the following:
- The mix does not clip at any point
- The loudest peak is around -6 to -3 dBFS
- The master bus limiter is removed unless it is essential to the sound
- The file is exported as WAV or AIFF
- The bit depth is 24-bit or higher
- The sample rate matches the project
- Reverb and delay tails are not cut off
- The mix still has dynamics and punch
- You have a loud reference version if needed
FAQ: Headroom in Recording, Mixing and Mastering
These are the top questions people are asking, if you have another one, let us know in the comments and we’ll add it here!
What is the best headroom for mastering?
A safe target is for your exported mix to peak around -6 dBFS to -3 dBFS. The mix should be clean, dynamic, and free from clipping. The exact number is less important than avoiding distortion and over-limiting.
Is -6 dB headroom required for mastering?
No. -6 dB is a useful guideline, not an absolute rule. A clean mix peaking slightly higher can still be mastered. However, aiming for -6 dBFS is a safe habit because it reduces the risk of clipping and leaves plenty of room for processing.
Can I just lower the master fader to create headroom?
Only if nothing is clipping before the master fader. If plugins, buses, or channels are already clipping, lowering the master fader will not fix the distortion. It is better to control levels earlier in the mix.
Should I use a limiter before mastering?
Avoid using a limiter only to make the mix louder before mastering. If the limiter is part of your creative sound, you can send both a limited reference and a clean version without the limiter.
What level should I record at?
A good recording target is around -18 to -12 dBFS peak level. This leaves enough room for unexpected peaks and helps prevent digital clipping.
What is the difference between headroom and loudness?
Headroom is the space between your peaks and the digital ceiling. Loudness is how loud the music feels over time. Headroom is measured with peak or true peak meters, while loudness is usually measured in LUFS.
What should the final master peak at?
For streaming and lossy formats, anything below 0 dBTP is ok. But a common safe ceiling is between -0.2 and -1 dBTP. This helps prevent inter-sample clipping and distortion after encoding.
Final Thoughts
Headroom is not about making your music quiet. It is about keeping your audio clean, controlled, and ready for the next stage. In recording, headroom protects you from clipped takes. When mixing, it keeps your buses and master output from overloading. Finally, in mastering, it allows the final processing to happen without unnecessary distortion.

The most practical advice is simple: record conservatively, mix without clipping, export your premaster around -6 to -3 dBFS, and avoid loudness limiters before mastering unless they are part of the creative sound.
The -6 dB rule is not magic, but it is a good habit. If your mix is clean, dynamic, and has a few dB of space before the ceiling, you are giving the mastering process the best possible starting point.
Sobre el autor

Dídac
CEO y Fundador de MasteringBOXDídac es un ingeniero de audio profesional, productor musical e ingeniero de software. También es el fundador de MasteringBOX y el autor de muchos de los artículos del blog.
Deja un comentario
Inicia sesión para comentar

