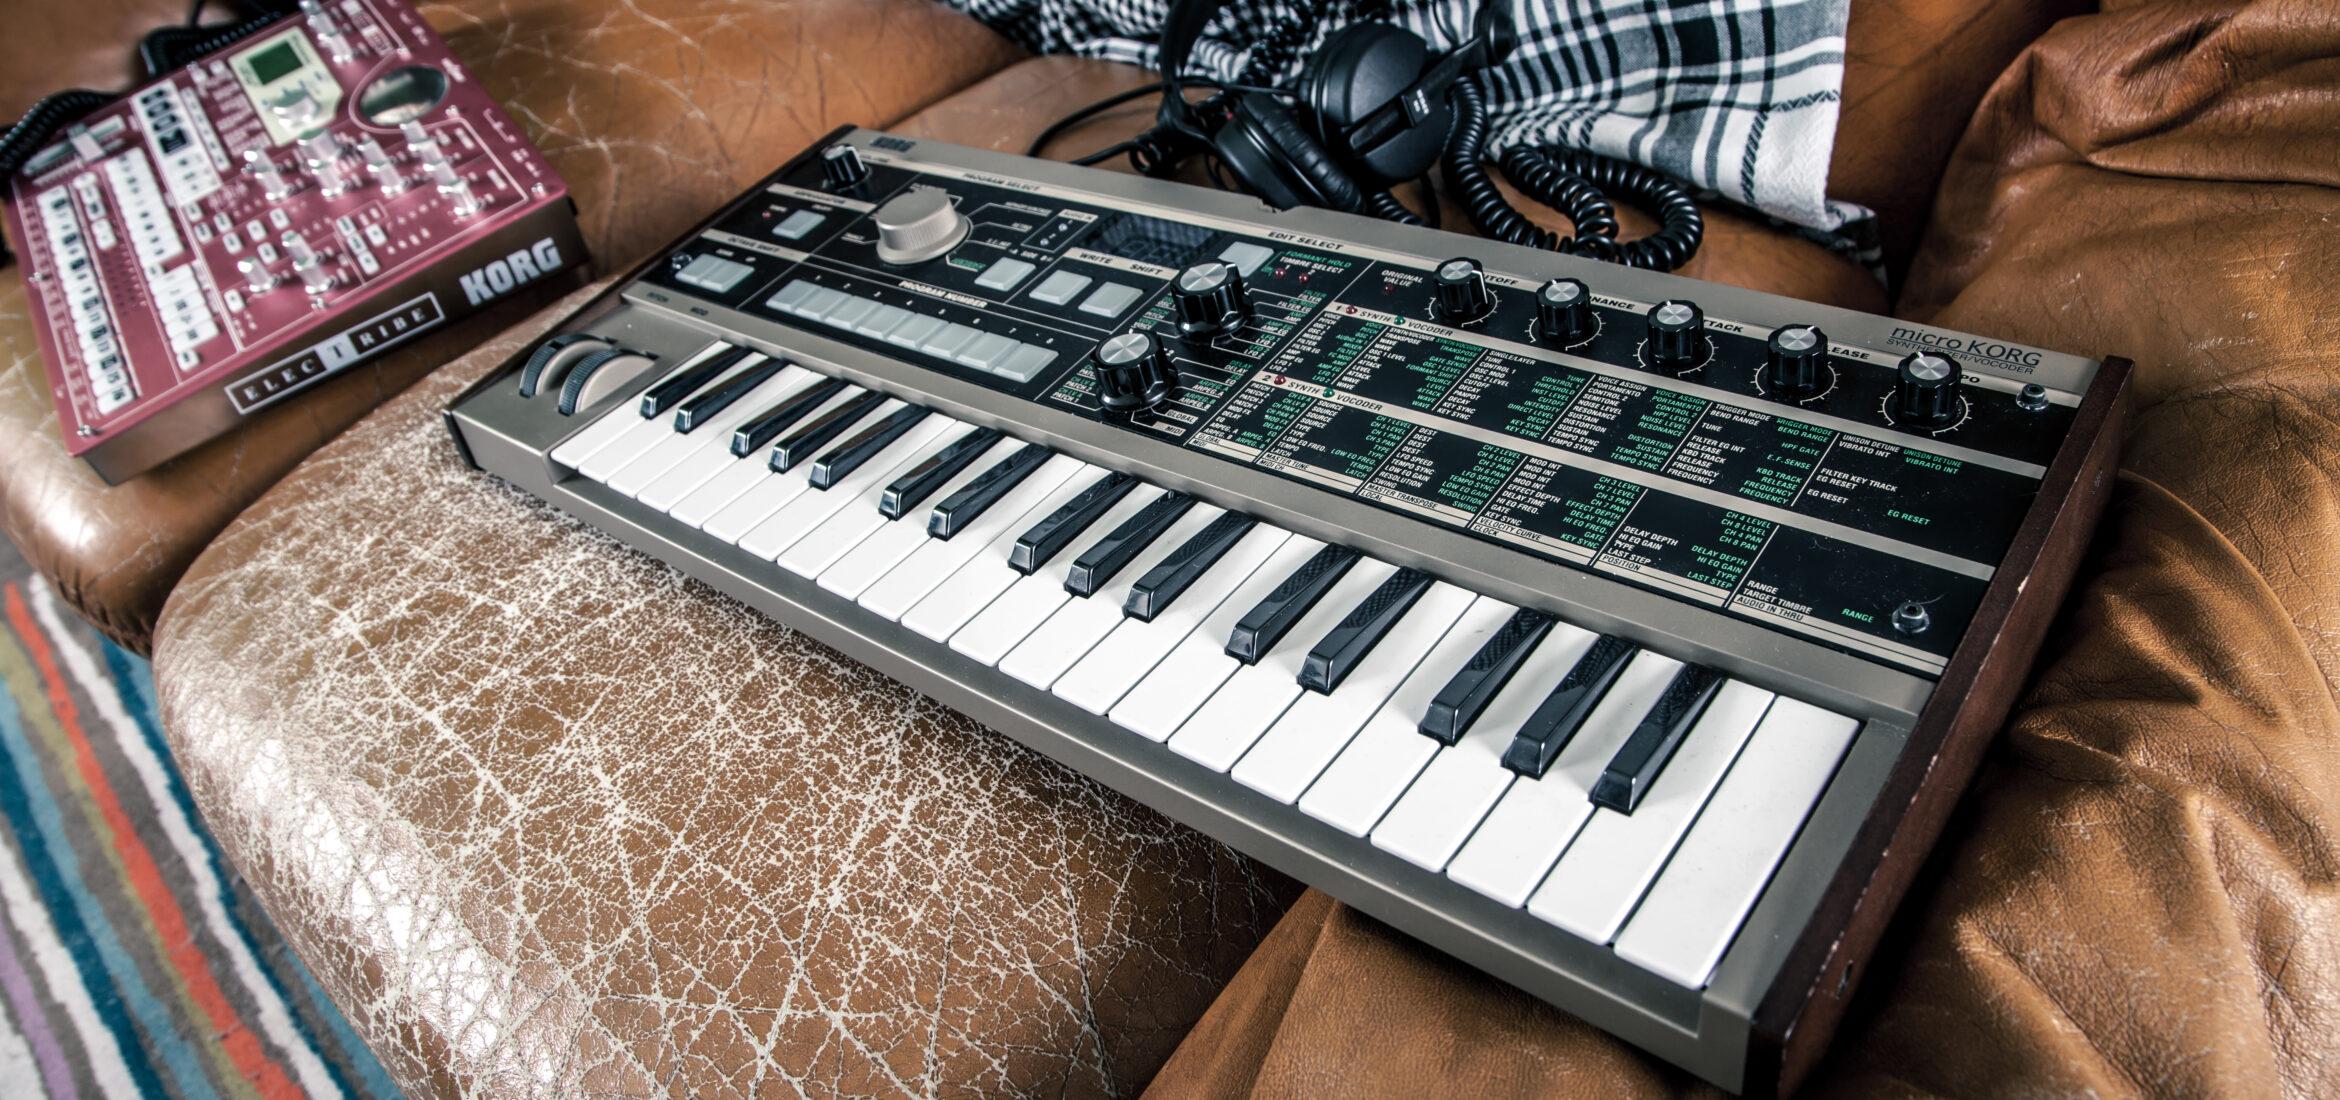
Virtual instruments have risen to prominence since their arrival in the early 1980s. These sounds dominated popular music culture for a whole decade and continue to find their way into every genre, from hip-hop to rock. While some musicians prefer to work with real instruments, there’s undoubtedly a place for MIDI (Musical Instrument Digital Interface) in many songs.
Whether you’re simply laying down some ideas on a MIDI keyboard or trying to mix digital sounds into your song, it’s important to know how to manipulate these digital instruments properly. Here are three ways to make your MIDI sound realistic.
1. Replicate Human Error
What makes virtual instruments so alluring is that they are essentially perfect. They can be mapped directly to tempo, tuned exactly in key, and «performed» without error. While this perfection is good for certain genres, it can also lead to a robotic sound. If you want to use MIDI in a more natural way, try eliminating some of this perfection.

Try cutting some notes a bit short or letting them linger a bit longer. Slightly move MIDI notes left or right on the track to better represent the minor timing errors that humans make while playing. You might even try lightly bending some notes up or down to replicate instruments falling out of tune or strings bending upward.
You don’t want to go too far in this process, however, or you risk making your MIDI sound even less human and instead just poorly produced. Find that balance between accuracy and imperfection.
2. Vary the Velocity
Velocity refers to how hard a note is hit or how much attack it has. A snare hit with high velocity will be louder and sharper. When musicians play real instruments, they hit notes at different velocities to accentuate parts of the song. When recording MIDI, the notes by default sit at the same velocity.
Many DAWs have MIDI options to vary or «quantize» the velocities of MIDI notes to produce a more realistic sound. Logic Pro even features a randomization option to randomly change the velocities of a highlighted MIDI section within a specified range. So if you want your MIDI bass section to generally sit at the same level, but don’t want every note to be at the same velocity, you can randomize the section so that some notes hit slightly harder than others.
3. Pan To Add Space
Panning is a mixing technique that should be used in any song. If you have multiple MIDI tracks, they shouldn’t all sit in the center of the mix. Think of the way an orchestra is laid out. You have violins on one side, cellos on another, some timpani towards the back, etc. If you’re sitting in the audience, you’ll hear different instruments coming from different directions, creating a fuller sound.

If you’re worried about your MIDI songs not sounding realistic enough, a lack of panning might be the reason. Envision this theoretical orchestra in your mind and map out where you want each track to sit in the mix. Once you have this general idea, you can go in with a fine-toothed comb and make smaller adjustments.
Conclusion
These are just a few tips for making your MIDI sections sound more realistic. If you have any others, leave a comment! Be sure to try different plug-ins and EQ settings to achieve even better results!
Sobre el autor

Ethan Keeley
Escritor, locutor, músico y editor de audioEthan Keeley es músico, locutor y escritor de Rochester, Nueva York. Cuando no está de gira con su grupo Unwill, trabaja en nuevas canciones e historias.
Deja un comentario
Inicia sesión para comentar


