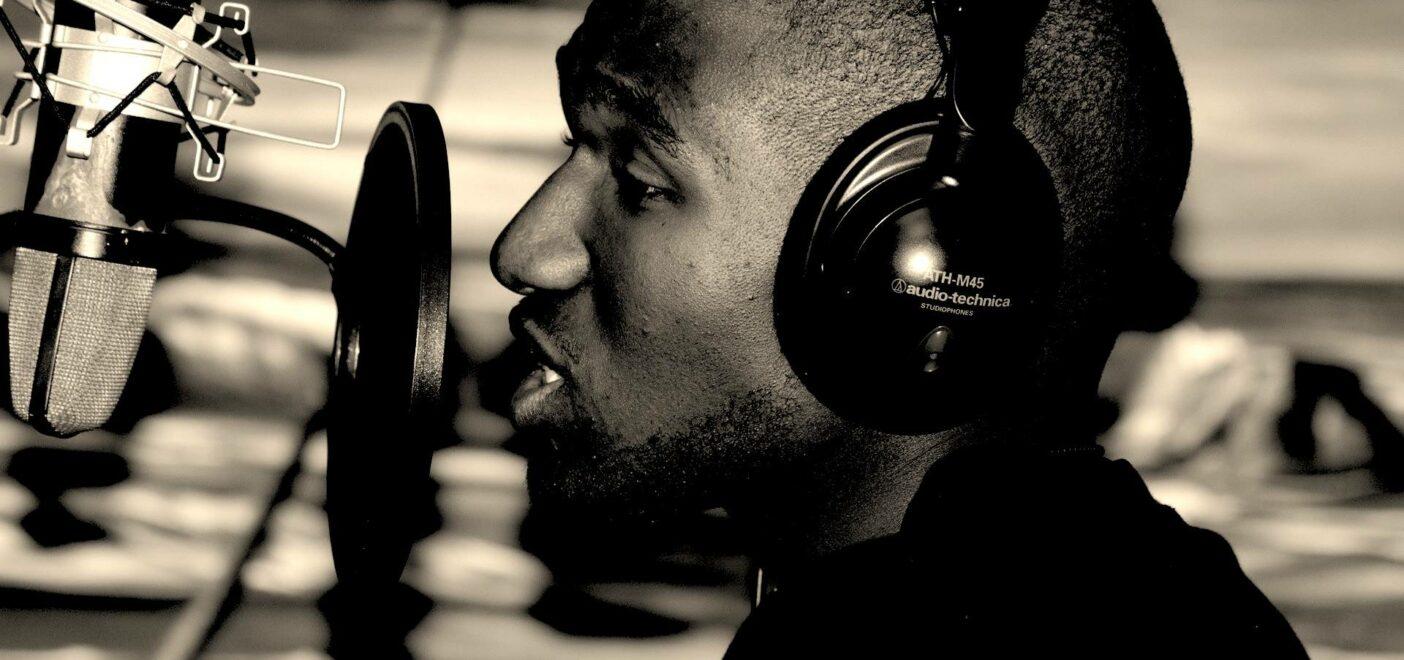
We’ve said it before but we’ll say it again: vocals are hard to get right. Aside from drums, they’re usually the most challenging aspect of a mix for a variety of reasons. For starters, a good vocal take starts with the vocalist, a human being prone to error, physical ailments, and bad days. But even the best vocal takes need to simultaneously blend in while standing out. This is the primary role of mixing vocals, but vocal recording techniques also play a part in shaping the overall vocal quality in the mix. Employing these techniques can actually make vocal mixing less intensive and more effective. So let’s take a look at 5 ways to shape a vocal take in the recording studio.
1. Vocal Recording 101: Know Your Vocalist
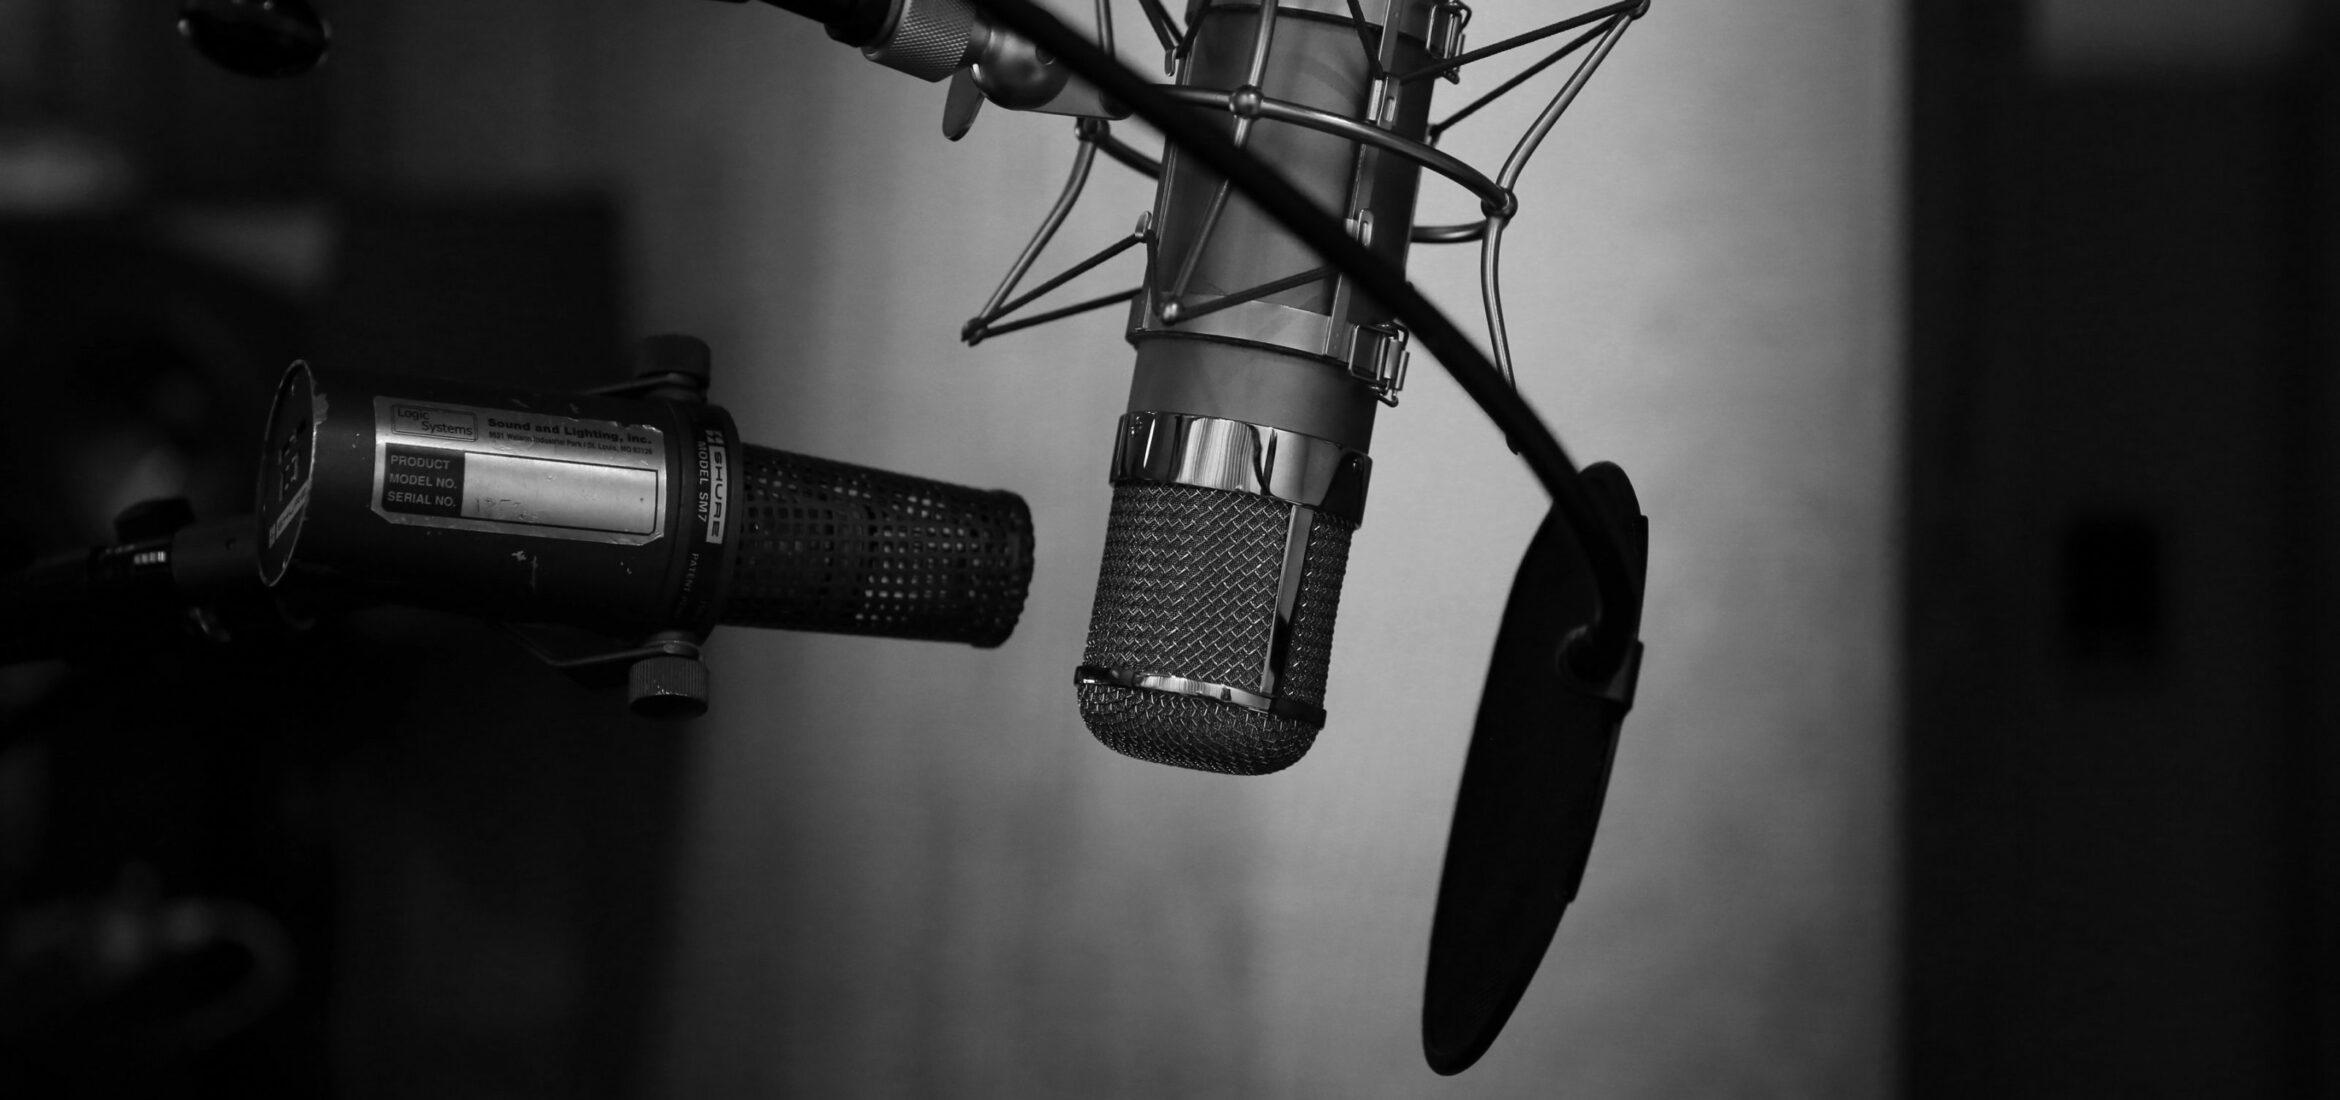
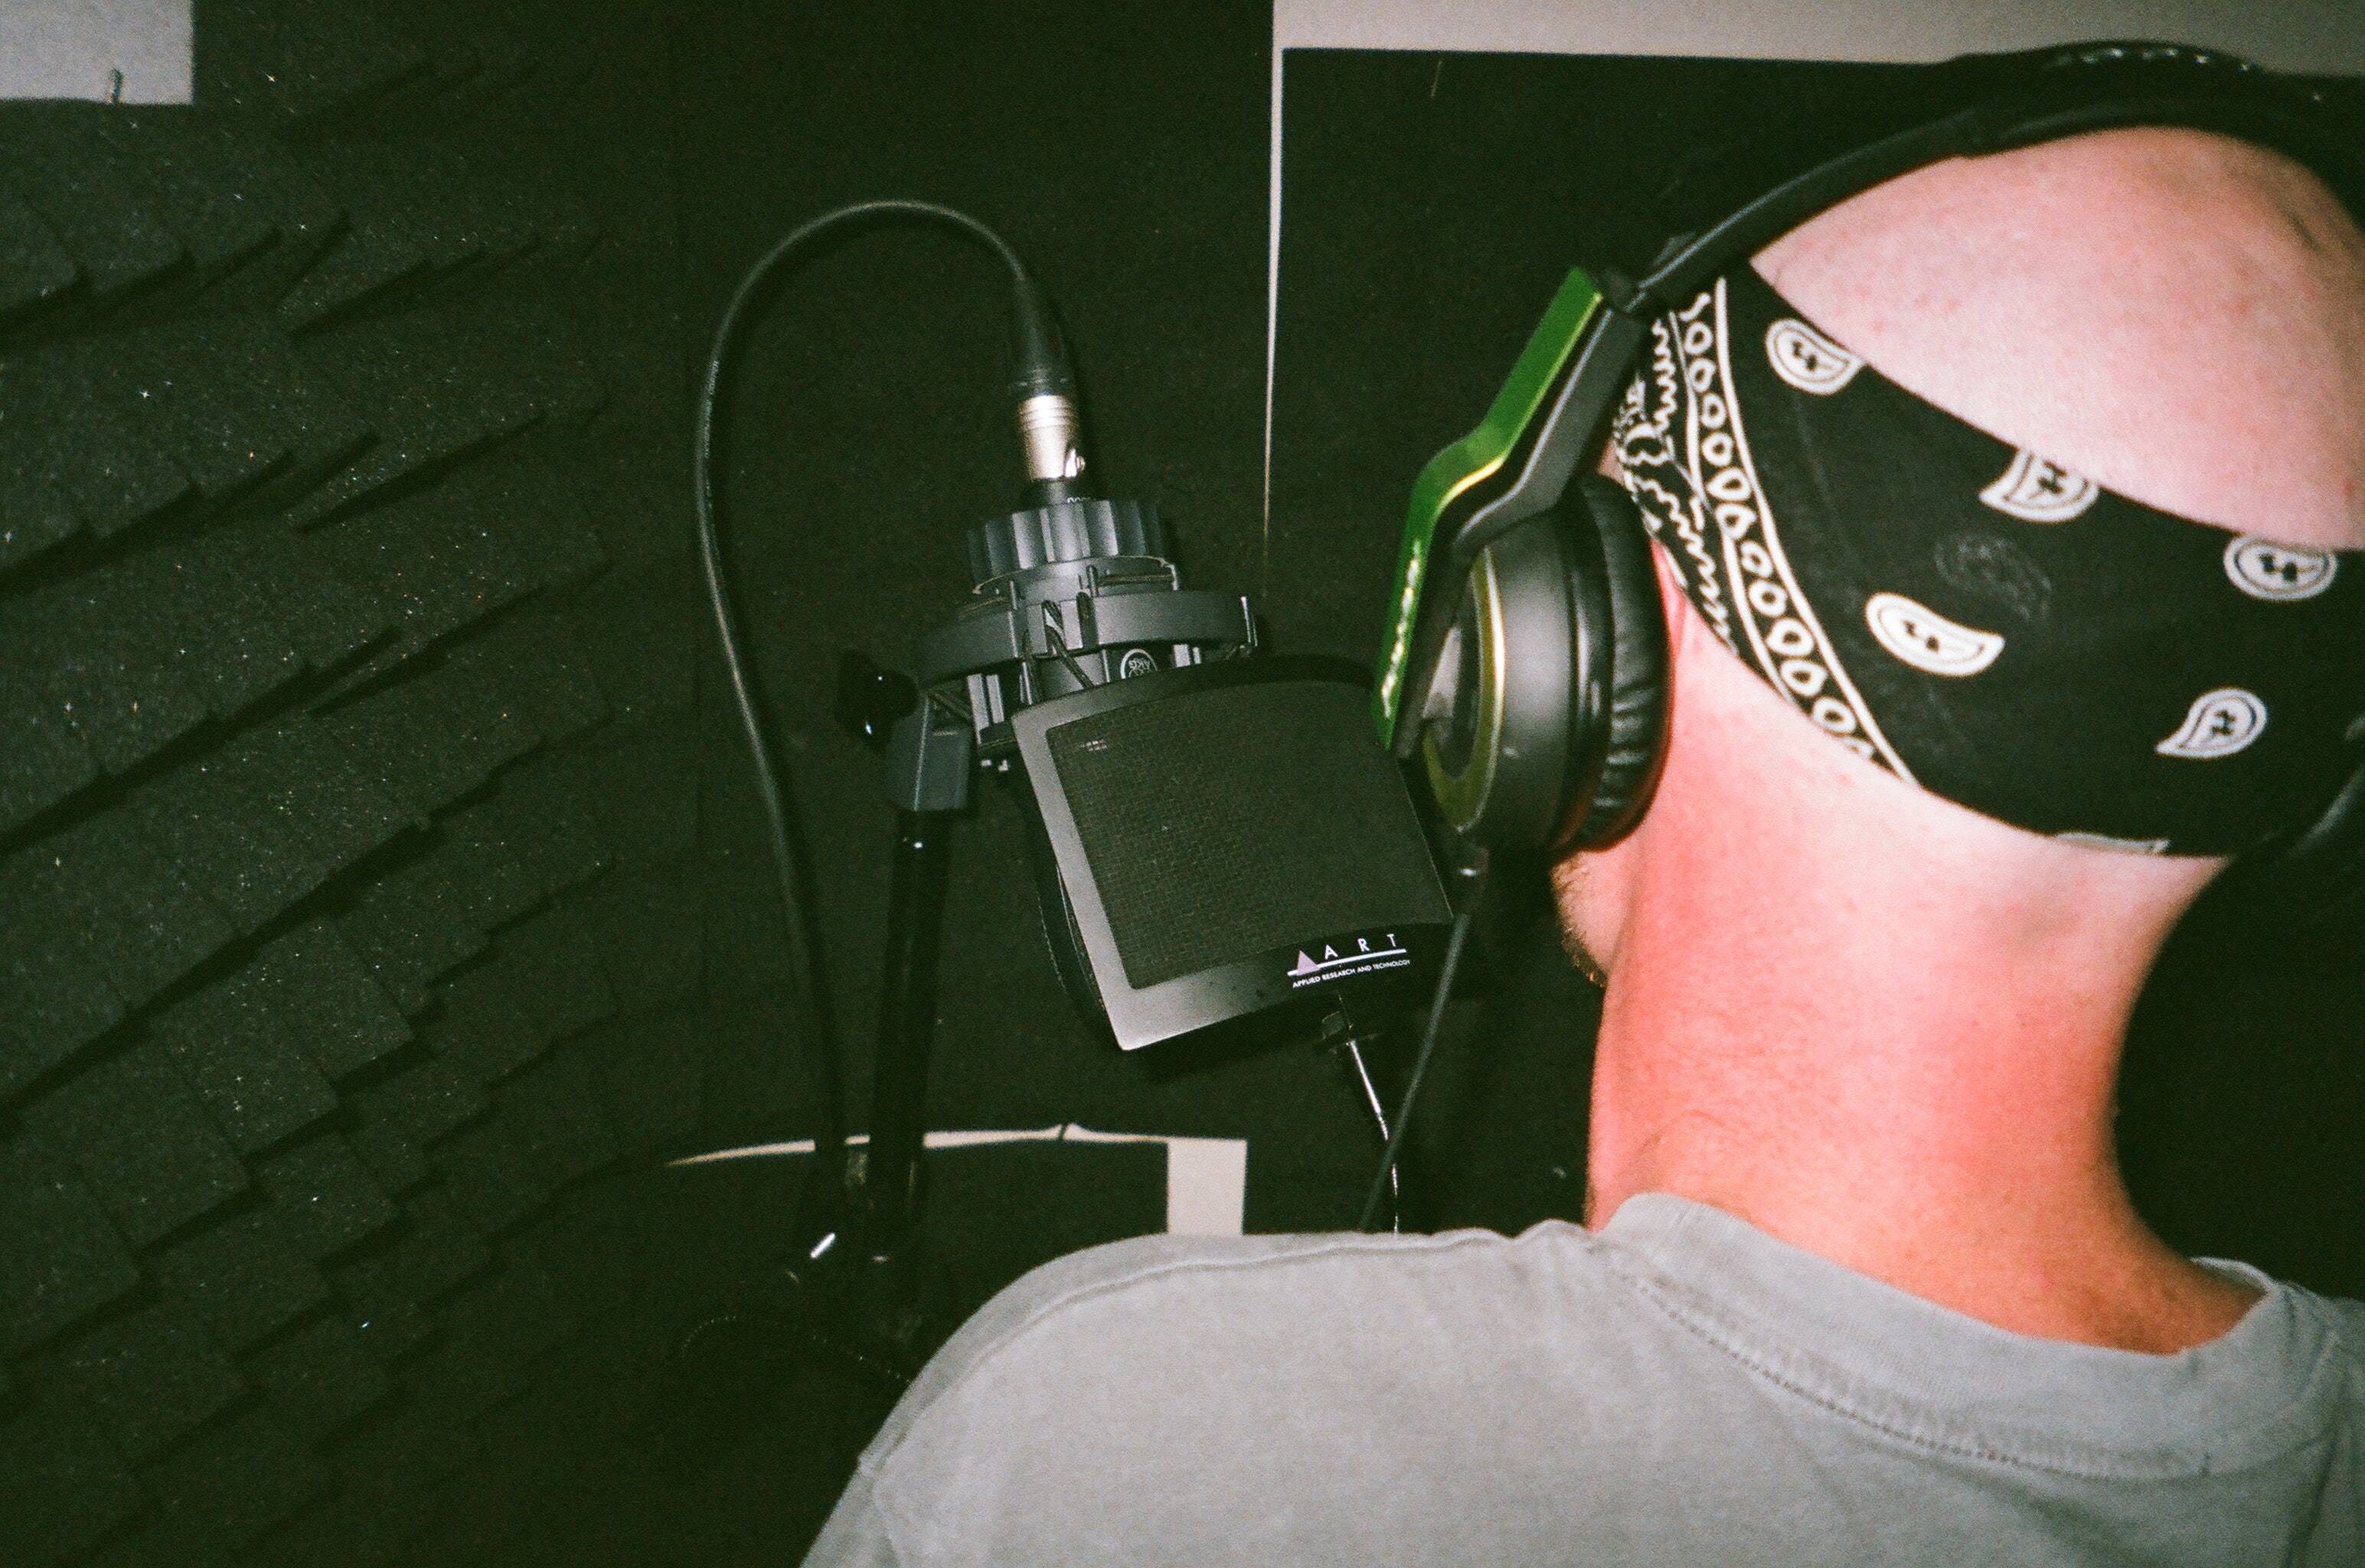
Professional music producers deal with all kinds of vocalists in the studio. From the classically trained to the gritty growlers, every voice is unique. Some voices yield a warm, dark tone while others cut right to the high end of the frequency spectrum. Whatever the case, you should try to get to know the tones and tendencies of every vocalist you record so you can make informed decisions regarding vocal microphones, polar patterns, and room setups. You’ll get better results, for instance, if you choose a mic with a frequency response that best captures vocals. When you have multiple mics available, why not try using different ones to see which takes turn out better or more unique. What would be the difference, for example, between recording with an SM58 and an SM57? If possible, listen to previous work of that vocalist before vocal recording, or run through some test recordings with them to get prepared and choose the best mic.
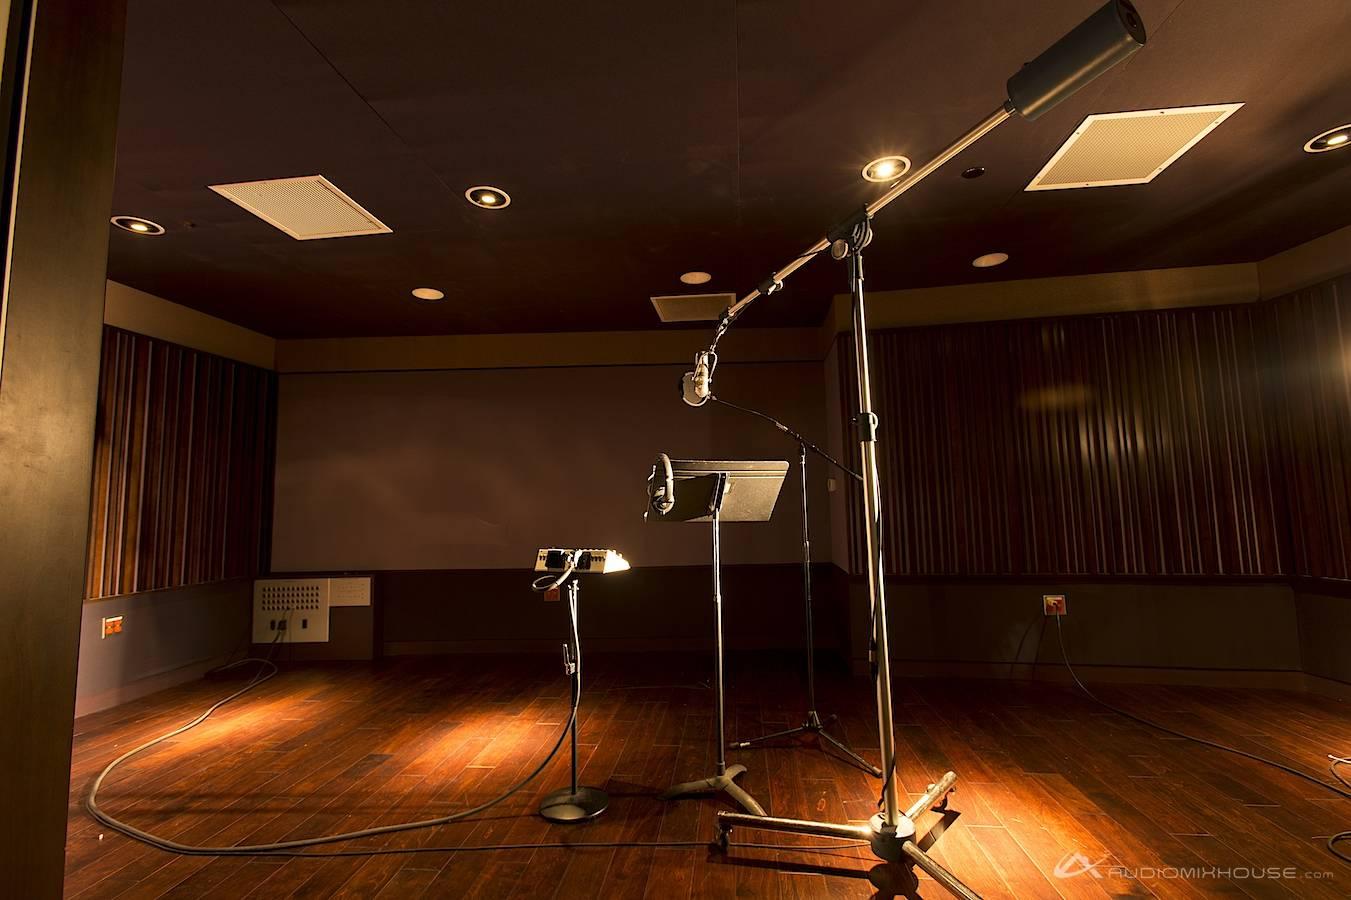
2. Try Tracking in Different Spaces
Proper acoustic room treatment gives you more control and awareness of your studio’s frequency response and reverberation. Taking the time to treat your room will result in more precise recordings and more efficient mixing sessions. And when it comes to vocal recording, how you treat your room will help determine the tonal quality of the vocals. This means that recording in different rooms, or adjusting the way a room is treated or set up can significantly change the way a vocal takes sounds.
Of course, every studio is different. Larger studios might feature several annexed rooms, each treated for different purposes. Smaller ones might only have the main mixing room and another room for general recording purposes. You have to work with the space you have. For vocal recording, even a small vocal booth can give you more control over the shape of vocals going in. Devoid of a booth, certain objects like acoustic panels and moving blankets can achieve a similar effect. You can also try ditching these dampening methods entirely. The more open and reflective the room, the more reverb and ambiance you’ll get. This can result in an interesting vocal track, albeit one that’s harder to mix, edit, and blend after the fact. Different shapes, sizes, and types of soundproofing panels will also affect the room’s frequency response, and therefore the tone and color of the vocal recording. Know what you want when recording vocals, and make adjustments or change locations accordingly. This is also incredibly applicable to beginners starting a podcast.
3. Use the Proximity Effect to Your Advantage
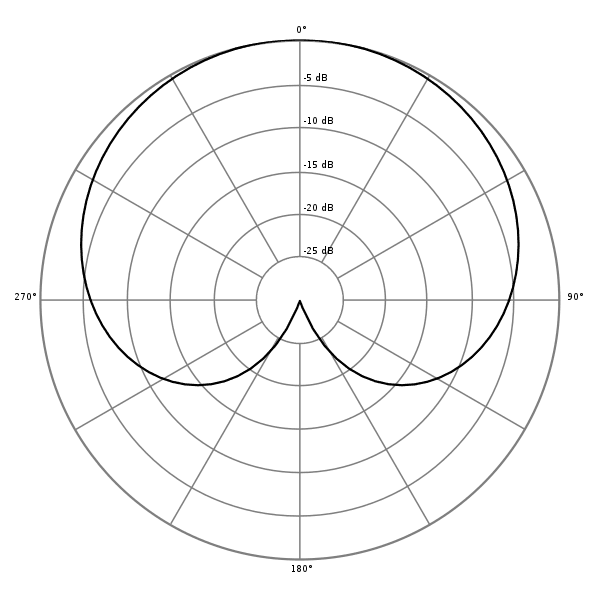
The proximity effect refers to the change in frequency response when a cardioid microphone moves toward the audio source. In our discussion of microphone polar patterns, we explained that the cardioid pattern picks up the most sound directly in front and the least sound from behind. This pattern is often used for vocal recording, as it helps isolate the vocal performance, minimizing reflections from the sides and back. The proximity effect is a unique characteristic of mics with cardioid polar patterns. As the mic gets closer to the sound, lower bass frequencies get boosted, while mid and high-range frequencies are reduced. The reason for this effect has to do with pressure differentials and the movement of sound waves.
Some people view the proximity effect as a drawback or problem. However, as long as you’re aware of this phenomenon and know when it occurs, you can use it to your benefit. For instance, if you want a vocal take with more warmth, or if you want to soften the sharpness of a nasal vocalist, bringing a cardioid mic closer can achieve this before you even begin mixing with EQ. Keep in mind that the proximity effect does not occur with omnidirectional microphones, as this pattern picks up audio from all sides.
4. Play with Polar Patterns
On the note of polar patterns, don’t hesitate to try out different ones for vocal recording. Yes, cardioid remains king for standard vocal takes. However, implementing figure-8, omnidirectional, and variations of these polar patterns can result in unique vocal sounds as well. If you want to get a bit experimental, try creating a stereo effect using a figure-8 microphone, or capture some additional reverb with an omnidirectional mic. Again, results will vary depending on the vocalist and how you’ve treated your room.
5. Two Mics are Better than One
If you’re recording vocals, you need to at least have one reliable studio microphone with flat frequency response. And sometimes, that’s all you need. But the more options you have, the more creative you can get. Imagine the vocal recording possibilities with two mics instead of one. Employing a second microphone suddenly opens all kinds of doors. You can easily begin doubling vocals, experiment with phase relations, further shape tone by blending the resultant vocal tracks, and switch between microphones when the mix requires it. You can even use two mics with different polar patterns and throw a third room mic somewhere to capture additional reflections. The bottom line is that more mics will give you even more control over the vocal take once you get into mixing.
Conclusion
There is no one way to record vocals. Like anything else in music production, it’s wise to follow guidelines regarding positioning, distance, gain staging, technique, room treatment, etc. But once you’ve established a proper vocal recording setup, you’re free to experiment. Being aware of these five vocal recording techniques will help you shape your vocal takes before you start mixing. So, know your vocalist, treat your room, don’t fear the proximity effect, mess around with polar patterns, and set up an additional mic or two before hitting record! Just hear what happens.
À propos de l'auteur

Ethan Keeley
Rédacteur, chanteur, musicien et monteur audioEthan Keeley est un musicien, un doubleur et un écrivain de Rochester, dans l'État de New York. Lorsqu'il n'est pas en tournée avec son groupe Unwill, il travaille sur de nouvelles chansons et histoires.
Laisse un commentaire
Connecte-toi pour commenter.