
One of the biggest challenges within the realm of professional audio recording is capturing a natural sounding voice while maintaining clarity. Through experience, I have learned there are plenty of ways to record vocals with a crystal-clean sound. By following simple steps, you can ensure your tracks have some of the strongest sounding vocals in the industry. Every track has the capability to sound perfect with a healthy ear and a little bit of patience.
1. Get a Condenser Microphone

The first step to recording clean vocals is a good receiver. The best microphones for vocals should embody the tonality of the song, as well as the artist’s characteristics. Most studios use condenser microphones when recording vocals because of their sensitivity to loud sounds (read: Vocal Recording Techniques). If possible, stay away from USB or cordless microphones – stick with XLR corded microphones. Corded microphones optimize quality in several aspects of the recorded vocal. Once you have your microphone, make sure you enable the low cut filter on it. This filter reduces low frequencies in vocals that might add muddiness to your recording. Apply a pad only if your signal is peaking, but is still clean. Applying a pad isn’t always necessary so check your settings. Once you have your microphone set up, your signal is then sent to the preamp or patch bay first depending on your setup.
2. Record Vocals using a Preamp
Some argue that a professional preamp is an essential step towards achieving the cleanest vocals. You will want to pick a preamp that will work best with your setup. The preamp should be set to positive values, but be careful and listen for distortion. You never want to turn the preamp up too loud because this will distort your vocal recording (unless you desire distorted vocals). Completing the proper setup of the preamp takes us to our next step – audio interface.
3. Invest in a Good Audio Interface
Make sure you get an audio interface that will optimize your dynamic range and quality in your recorded vocals. Inside most interfaces, there are A/D converters – this is what transfers your analog signal to a digital format, and sends it to the DAW. These converters can be purchased externally if need be. In most circumstances, however, you will want to choose an interface that has the highest quality converters. High-quality converters keep crisp characteristics of the recorded signal as well as maintaining the dynamic range you’ve captured with your microphone. Check this article for more information on how to choose your audio interface.
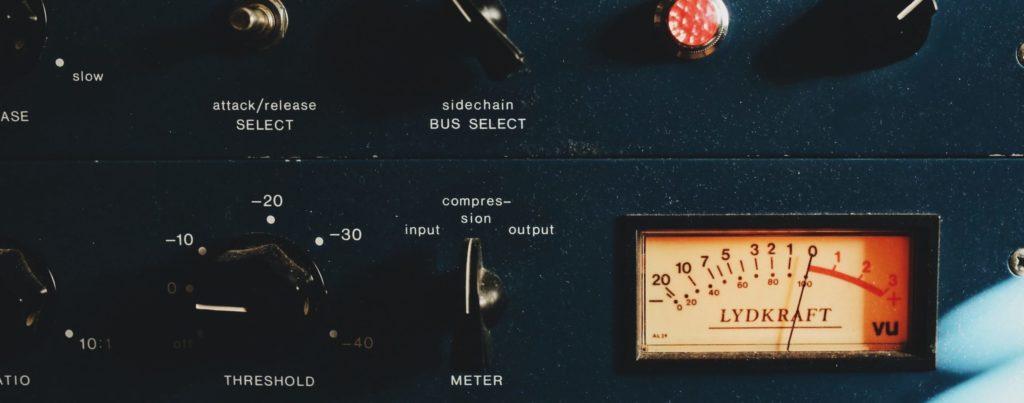
4. Process your Vocals Using Compression and EQ
When you record vocals, you want to have the vocals compressed in such a way that you hear crisp characteristics. However, too much compression in this stage will result in an over-compressed vocal file that will be next to impossible to recover. If you are still experimenting with recording your vocals, I suggest you limit the amount of vocal compression and equalizing you do. It is not recommended to pre-compress or pre-equalize the signal before recording it; you should do it after it’s recorded to preserve the recording’s original qualities that will be vital when you get to the mixing stage.
5. Creating an Acoustic Environment

At this point, you have created a clean signal using your microphone, preamp, converters, and interface. The last step to record vocals in a professional manner is ensuring your recording environment is acoustically sound and absorbing stray frequencies. You want to avoid absorbing too much sound as this can result in a vocal that doesn’t sound natural. If you don’t have access to a recording vocal booth, try recording in a small, carpeted room with lots of furniture.
Conclusion
You now have all the steps to achieving the cleanest signal path for recording vocals. Following these instructions will give you a solid foundation to move into your mix and master. Ensuring a clean recording is every bit as critical in achieving clean vocals as is the mixing and mastering process. You are now ready to begin mixing your vocals.
Laisse un commentaire
Connecte-toi pour commenter.