If you’ve purchased studio monitors for either your home or professional setup, you’ve probably had the same initial thoughts as me. Where should I put them and what do I point them at? This may seem like a relatively simple topic to some of you but there are in fact many major considerations that you might have overlooked. Today, I want to take an in-depth look at studio monitor setup and help you to make the most out of your sound!
Placing Monitors in the Room
One of the most fundamental things that can drastically alter the sound you hear is room positioning. This principle is much the same as with microphone placement in a recording. Where you set up in the space you have as well as the proximity to other objects will change the what the microphones pick up. This is the same for your ears when it comes to studio monitor setup. The first general rule to follow is the rule of thirds. By positioning your studio monitors a third of the way into the room, you position yourself in a space where you are least susceptible to room modes. This is by no means a definitive position but it’s a great place to start.
Room Dimensions
Another great rule to adhere to is making sure that your studio monitors fire down the longest dimension of your room. Let’s say we have a space that is 9ft x 15ft. By having our speakers fire down the 15ft dimension of the room, we are going to be provided with fewer reflections off of the rear wall. This is due to the wavelengths of higher frequencies being relatively short and therefore not having the energy to reach the rear wall.

Surfaces and Space
A final rule to try and keep to is making sure that your monitors are as far away from hard, reflective surfaces as possible. Having studio monitors setup close to walls and sitting on desks tends to result in the build-up of low-frequency energy due to proximity effect. This means that you will be hearing a somewhat muddier sound than you should and getting a warped perception of your mix. Equally, studio monitors that are mounted on desks can cause rumble and vibrations which can affect their output and create additional, unwanted noise.
This can typically be solved by moving your setup away from the walls and mounting your studio monitors on dedicated, detached stands. By utilising stands along with isolation pads, you can minimise rumble and excessive vibrations whilst eliminating frequency build ups due to proximity.
I appreciate that not everybody has a huge room that they can completely re-arrange to suit studio monitor setup. Many of you are probably working out of a bedroom studio and so don’t have much space to move around. These rules are helpful guidelines for getting the best out of your setup. If you can at least adhere to one of them, you should see an improvement over your current sound.
Studio Monitor Setup and Your Ears
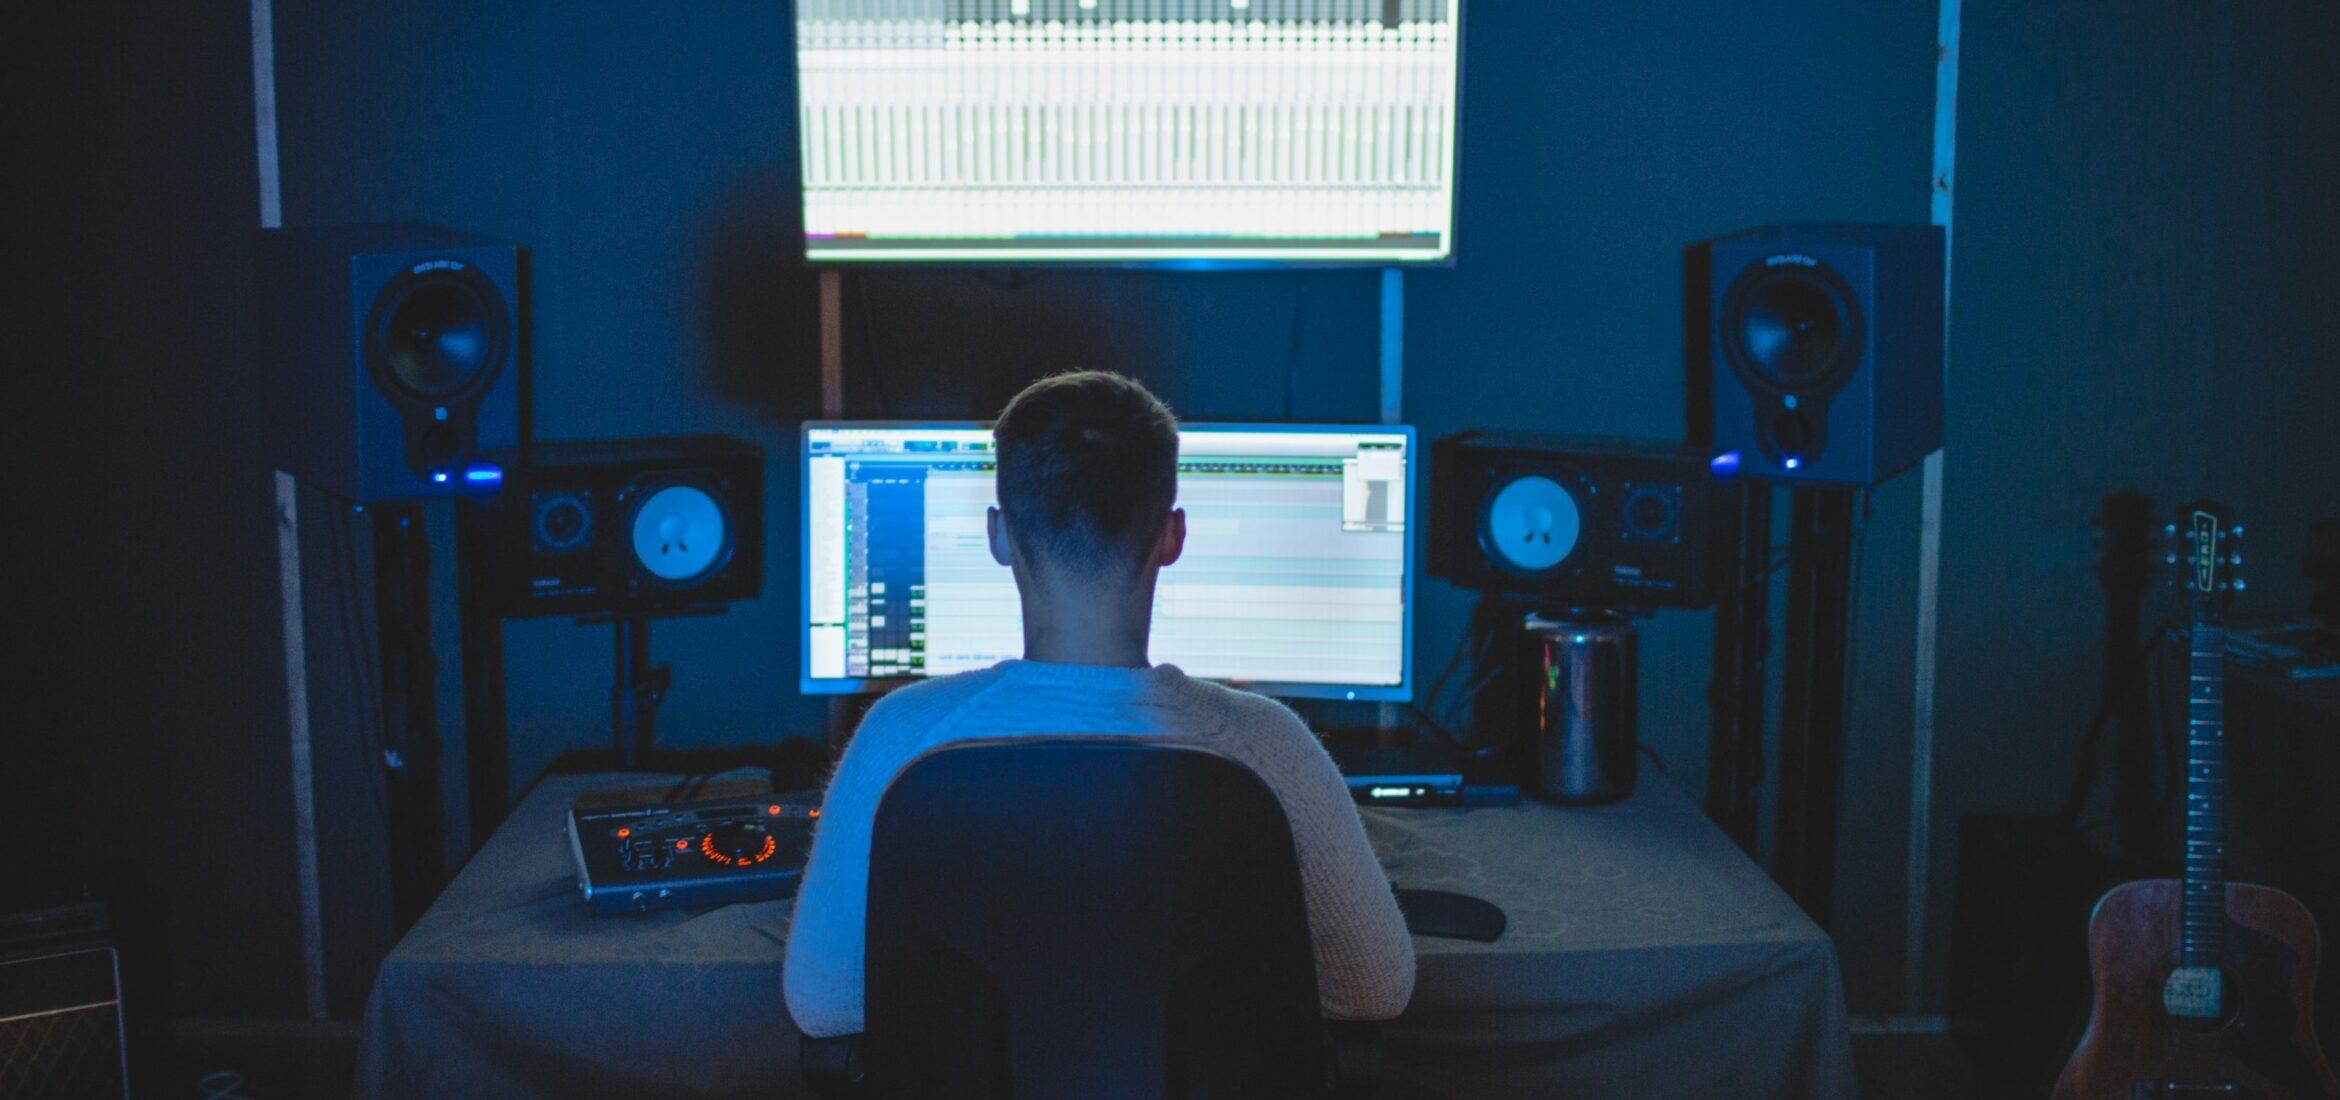
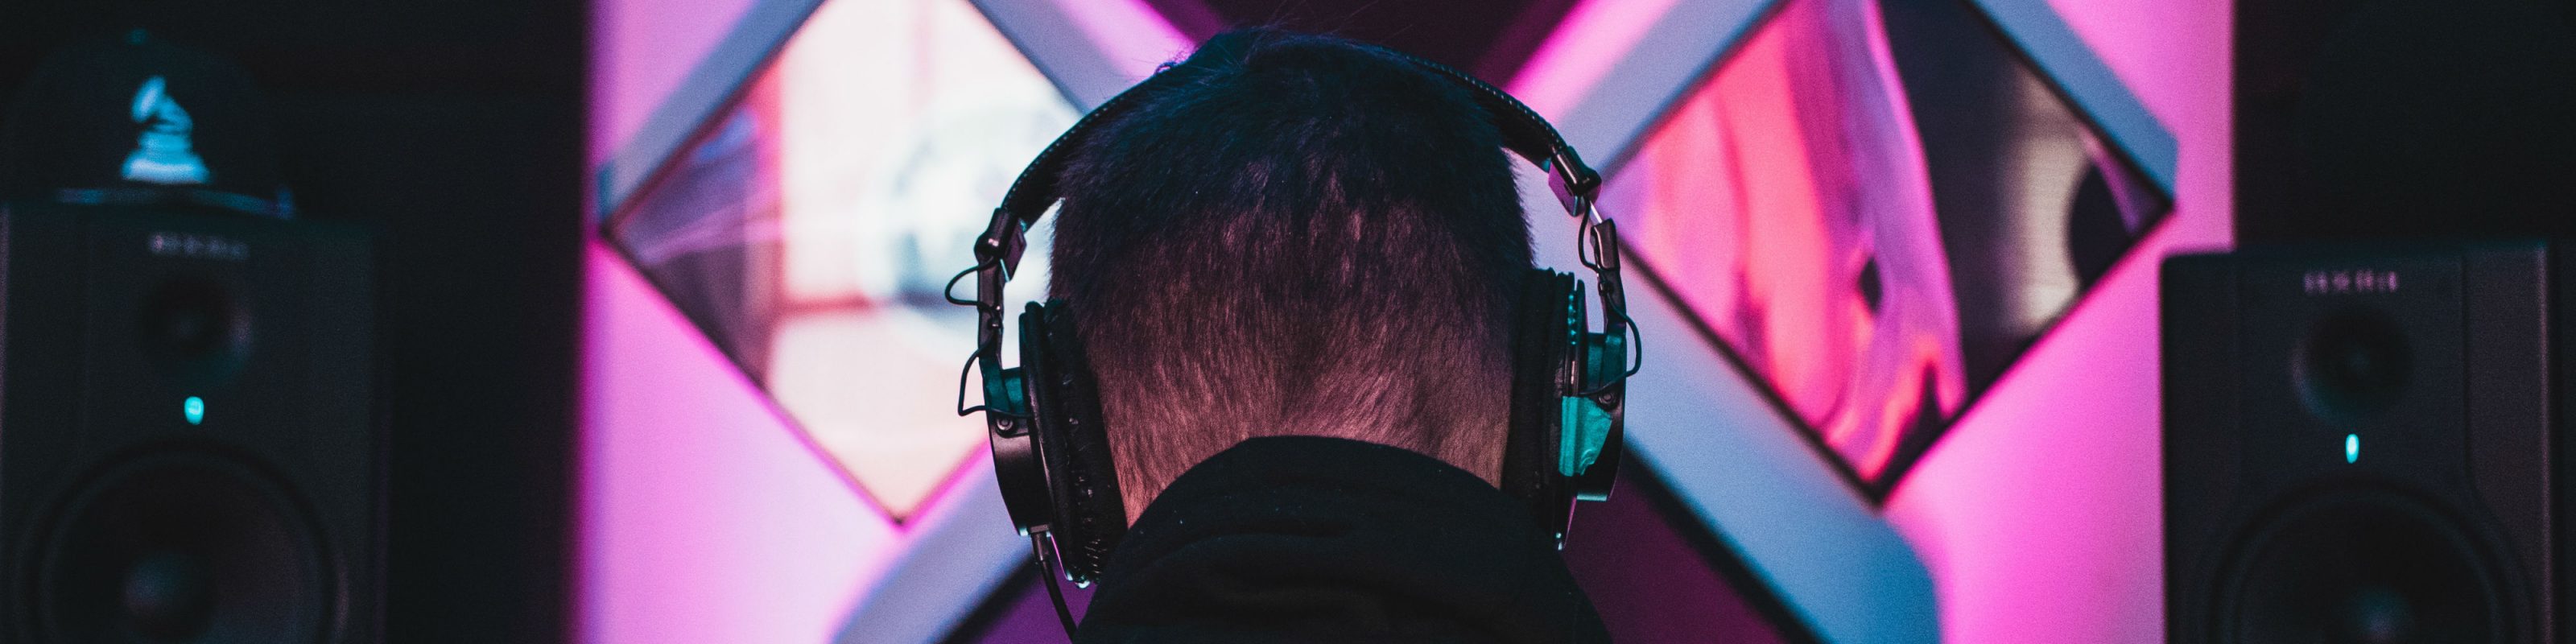
First and foremost, you’re going to want to have your monitors set up in as close to an equilateral triangle as you can. Creating this equidistant arrangement makes for the most accurate stereo image whilst placing you at an appropriate distance from the sound source. Having your monitors too close together is likely to impact your perception of the stereo image and result in weak mixes. Equally, being too close to your studio monitor setup will also affect how you hear the stereo image of your mixes.
As you can probably tell from this design idea, it’s all about symmetry. Creating a symmetrical system between the sound source and the ears creates balance across the stereo field. This concept should also be applied to the space you’re in, taking notes from what we discussed earlier about placement within the room. If your left monitor is 18″ off of the wall, you want to make sure that your right monitor is 18″ from the opposite wall. Getting this right not only makes for stronger and more balanced mixing, but it’ll also fulfil your inner Feng shui urges.
Positioning in the Vertical Plane
Another key consideration when deciding your studio monitor setup is the height at which your monitors are placed. The simplest explanation here is that you want your monitors to be at the height of your eye line. By this, I mean you want to be able to look across a flat plane and stare straight into the tweeters of your monitors. By doing this, we effectively align the tweeters with our ears, creating the path of least resistance from the monitor to the ear.
In always working with an equilateral setup, you create strong continuity and balance between the sound source and your ears. Factoring in perfect vertical alignment, you should be 80% of the way to perfect studio monitor setup. You will also find that this helps if you ever go and work elsewhere. An equilateral setup with the monitors at head height is very typical of most recording studios. Having this continuity will make your life easier when working with others.
Acoustic Treatment
Acoustic treatment is the final hurdle when it comes to perfect studio monitor setup. This is a topic that I have covered in detail in a full acoustic treatment article so I won’t delve too deep into it here. Essentially, without the perfectly designed space, your room is always going to have certain problem areas, regardless of where you place your monitors. This, unfortunately, means that no matter how many times you rearrange your space to get the perfect utilisation of the space, you probably won’t have quite achieved perfection.
Room modes are a common problem in almost any space and reflective surfaces create imbalances in our perception of certain frequencies. This is where you’d want to start building in acoustic treatment. By using absorption and diffraction, you can eliminate the build up certain frequency ranges. This helps to reinforce the idea of a truly neutral monitor environment and makes for drastically improved mix quality.
The reason that I have left this section until the end is that this is where costs can start to get quite high. You can attempt to do the job yourself but the science of acoustics is something that you can do an entire degree on. It’s very technical and requires precise mathematics to combat. If you don’t want to shell out for acoustic treatment or you simply don’t have the space to build it in, at least following my previous tips will make for a much better setup and monitoring space.
Calibrating Your Studio Monitors
Now that you’ve got your studio monitor setup in the perfect position for your room, we need to calibrate their outputs to cement our symmetrical balance. For this, you’re going to need an SPL meter and either a tone generator plugin or a WAV file of some pink noise.
The reason we will be using pink noise to do this job is that it provides an equal amount of sound energy across each octave. This means that we are measuring a constant amount of energy across every available frequency that your monitors can produce. To set this up, you want to make sure that your pink noise plugin/file is playing back at -18dBFS. This is equal to 0VU and so represents the loudest that we would want our monitors to ever be outputting.
Now that your tone is ready to go, it’s time to grab the SPL meter. If you don’t have access to an actual meter, no need to worry. I have found many free iPhone apps that work very well for this so just go ahead and grab one of those. Once you’ve got that setup, you want to place the SPL meters (or your phones) microphone in the same position that your ears would be normally. I find that resting the meter on the top of a music stand or the back of your chair works well for this. With that all set up, let’s move on to the actual calibration.
Individual Speaker Calibration
This process is best completed by measuring one speaker at a time. This means that if you have two studio monitors, you will want to do one and then the other. If your setup includes a second pair or a mono speaker, those should also be done separately. Set the output of all of your speakers to their quietest setting and then set the master volume of your audio interface/desk to the loudest position. By doing this with your output device set to its loudness setting, we ensure that you’ll never experience clipping in your system.
Hit play on your pink noise and slowly turn the volume of one speaker up. As a good frame of reference, we are aiming for 85dB from each individual speaker. This is a historically approved Dolby system setting that allows for a sensible but powerful monitoring level. As you slowly turn up each speaker, keep an eye on the SPL meter until it hits 85dB. Now, you can mute that speaker in your DAW (if you don’t have this option you can use panning to send the full signal to only one speaker) and repeat the process with the next speaker.
Now that we have each individual speaker set to output with a constant of 0VU = 85dB in your space, we can ensure balance across the stereo field. This means that when you’re panning elements of a mix, what you are hearing is a perfect representation of what you’re doing, regardless of the reflections of the room. This final step of the article is possibly the most important, especially if you have a less than perfect space. Even if you haven’t been able to create physical symmetry, having your monitors set up with output symmetry at least provides a clear stereo image.
TL;DR
Studio monitor setup is a really important part of the music making process. If what you’re hearing from your monitors isn’t what is actually happening, your mixes aren’t going to sound great when heard anywhere else. Equally, you can forget about mastering without a perfect set up. Make sure to take into account the space you’re working in to best make use of its characteristics. Use your listening position as a focal point and aim to create a symmetrical, equilateral triangle with your ears and the speakers. You can use acoustic treatment to further improve your setup and combat particular problem areas. Finally, take the time to properly calibrate your setup to ensure balance and continuity in the stereo field.
Sobre el autor

Tim Dunphy
Ingeniero de sonido y redactor de contenidos especializadosMás de 10 años de experiencia trabajando en el sector del audio. De todo, desde enrollar XLR hasta masterizar álbumes. Soy un hombre hecho a sí mismo y mantengo mis activos en Bitcoin. ¿Qué más hay que saber?
Deja un comentario
Entrar para comentar